Yes, I made my own shoes once.May do it again some day, too.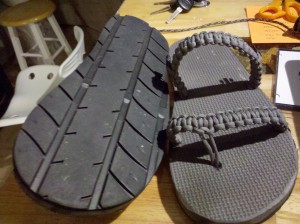
Being that I live in Florida, I thought flip-flops would be the perfect show to make, particularly since I work in and around the water all the time. I have a problem with chlorine eating away whatever shoe I would wear while working, so I wanted to use materials that were at least somewhat resistant to chlorine.
Materials list:
- 550 Paracord
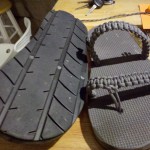
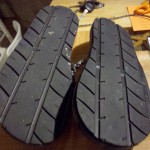
- Tire tread picked up off the side of the road from a blown tire. I think this was an Aquatread, fitting considering my intended use for working around water. I also suggest one that is rather thin, you will NOT wear these out, and they can be heavy if you use a thicker piece of tire. Make sure you have pieces large enough to cover the bottoms of both feet. Look for large strips that are laying flay on the ground, they will be FAR easier to work with.
- Foam floor tiles, one should do.
- Glue – I used Barge cement, but Shoe Goo would probably work also
- Acetone. I think I used nail polish remover.
Tools used:
Bench belt sander
Band saw
Knife
sharpie
The work:
The worst part was removing all of the wire 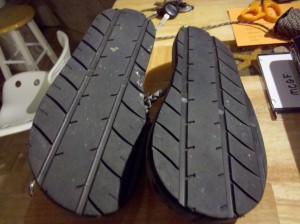 from the tire scrap. Most tires are “steel belted radials” meaning they are wire mesh covered in rubber. The good news is many of the tire scraps you will find along the road are from blowouts that occur at the steel belt level of the tire, doing much of the work for you.
Once you have your tire scrap(s) free from all wire, use the acetone to clean the non-tread side. It will be very bumpy and rough with channels where their used to be wire, but clean it, it will make for a better glue-up once you get to that point. You will do this again just before glue up.
Make a template out of cardboard, or some other semi-rigid material. You only need one, just flip it over for each foot. I traced an old flip-flop I had.
Using a sharpie, trace the template onto the non-tread side of the tire scrap and foam floor tile. On the tire, try to place it so that the tread runs as straight as possible along the heal-to-toe axis. This will line the tread up so that it “runs true” when you are walking. Otherwise you will need to go in to have your legs aligned and your shoes will wear unevenly :p On the foam floor tile, be sure to have the textures side up on both pieces. Remember to flip the template for each foot.
At this point, I used a bandsaw to cut out the traced pattern from the tire scraps. You could also use a very sharp razor knife, and I’ll guarantee there will be less smoke this way. It was NOT a fun part of the project. The foam floor tile wasn’t nearly as bad on the bandsaw, but there was still some smoke. Plan accordingly. (Let me add at this point if you do not know how to use any of the equipment I mention, don’t blame me if you hurt yourself. You being a dumbass is NOT my fault. Take responsibility for your actions and think – no one else can do that for you. If you can not follow this simple rule, please hit alt-F4, and then the enter key right now.)
You now should have 4 foot outlines, one of each material and one left and one right, based on tread and pattern orientation.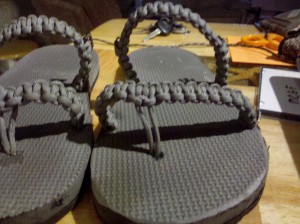
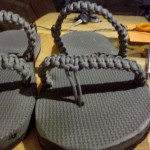
One at a time, using the sharpie, place each foot on the corresponding foam piece, and mark the side of the feet where you would like to have the straps attached. I opted for two straps across, and a toe divider on the front strap. If you need some ideas, go look at other sandals and flip-flops for inspiration.
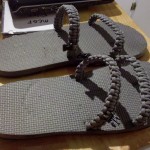
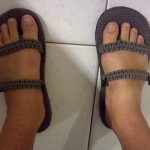
Punch or drill small holes at these marks and using the methods found here at Stormdrane’s blog, braid your straps, being sure to run the core lines through the foam piece on one side, under the bottom, then back up through the other hole. Make your weave on the top side only, and be sure to use a double line for the core. I opted to glue up once I had the core lines through, then braided after the glue had set up. If you do it that way, the sandal is more rigid for doing the braid, just be sure to NOT pull the cords out!
When setting up the core lines, use your foot as a guideline with two or three fingers under the cords as you snug them up. This will be taken up as you do the braiding.
For the glue up, again clean the tire piece on the non-tread side. Also clean the foam piece. then follow the directions on the glue package. When waiting for the glue to set up, be sure to put the piece under a LOT of pressure. I sued two pieces of ply wood and a bunch of clamps to squeeze the snot out of the work piece while the glue set. Other than a hydraulic press, I do not think you can put it under too much pressure.
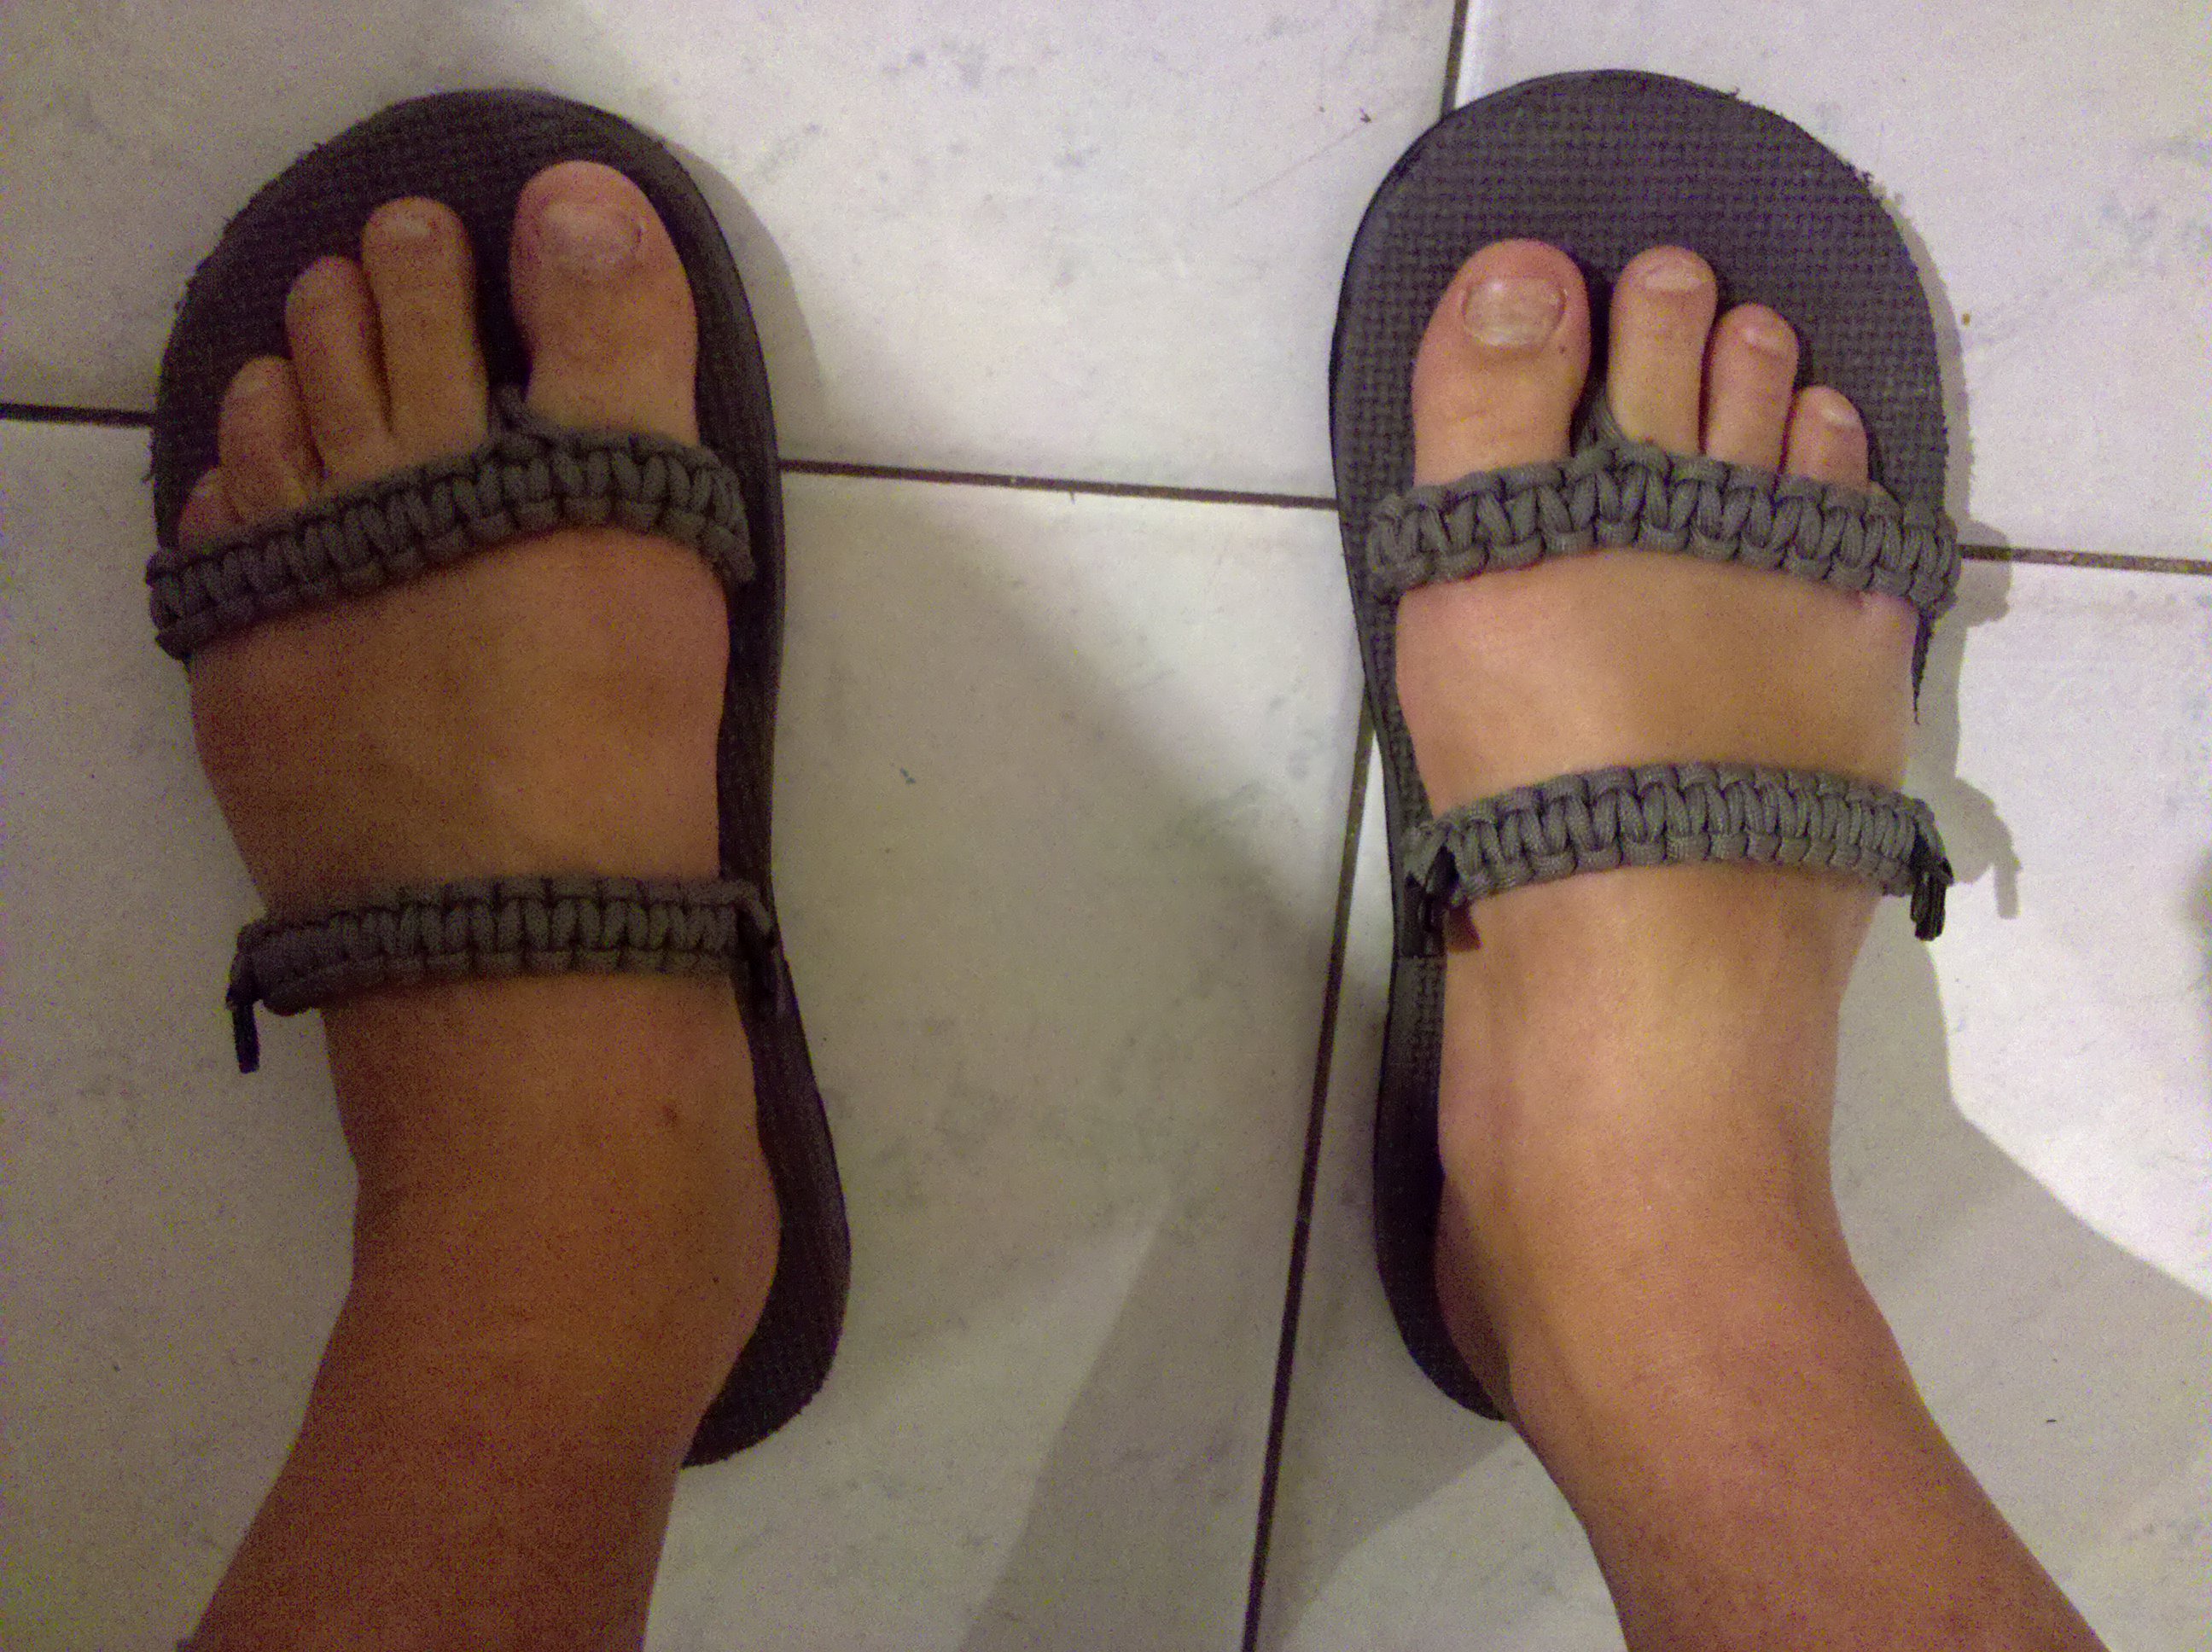
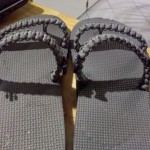
Once the glue has set, do your braids. Its starting to look like a flip-flop! On mine, you will notice clips on the rear strap. This is for a strap around my heel, but I never need to wear it.
With your braids done, you should have a nasty, glued-up mess along the edge of each shoe. Using a belt sander, GENTLY trip off the sides. The foam section is VERY soft, and you can take a large portion away in a VERY short time.
There, you now have your very own custom made flip-flops! It only took 6 hours and $20 in materials, but should last a lifetime.
Notes:
Many thanks go out to Stormdrane. He’s been an inspiration for all my projects that involve 550 paracord. The guy knows his knots! Find him and his blog here:
http://stormdrane.blogspot.com/
Also, in my opinion, his most famous tutorial, the paracord bracelet with buckle:
http://stormdranespbtutorial.blogspot.com/
For the Holy Bible of knot books, I HIGHLY recommend The Ashley Book of Knots. If you can find a used copy for under $40, GRAB IT! I have an old water-damaged copy that I treasure!

Thats pretty awesome! Very good work. I’m messing around trying to make an all paracord sandal. Might have to give this a shot too.
I want to see that sandal if you ever get it done….I’m a paracord fanatic…ever see StormDrane’s stuff? The guy is a paracord genius!
I have not seen StormDrane’s stuff but I am going to look him up. I finished the first sandal going to work on the design a bit then make another. You can check it out here http://survivalpunk.com/para-cord-sandal/ let me know what you think
You can find him at http://stormdrane.blogspot.com/
I think I’ve seen those shoes before, possibly the Instructable…nice write-up…
Very cool idea. I have a friend that grew up in Africa. He told me they would find tire scraps and make their own shoes as well. I am going to have to try this one. The tire tread bottoms should be a great conversational piece this summer camping at the lake or pool side.
I got the idea from a buddy that saw them (And had a pair) in Vietnam. He said he left them behind when he came back home, but wished he still had them – they were probably still in use with LOTS of miles still left in them!