We use a lot of coconut milk in our cooking. However, the prices keep creeping higher and higher, so I’ve started looking for alternatives for buying canned coconut milk. And since there are loads of coconuts that grow around here, why can’t I just make my own?
It turns out I can, and rather easily, too.
The process is very simple. Grind coconut meat, steep it in hot water, then strain it. The result is basically a coconut tea, but that is all coconut milk is.
Let me elaborate on the process.
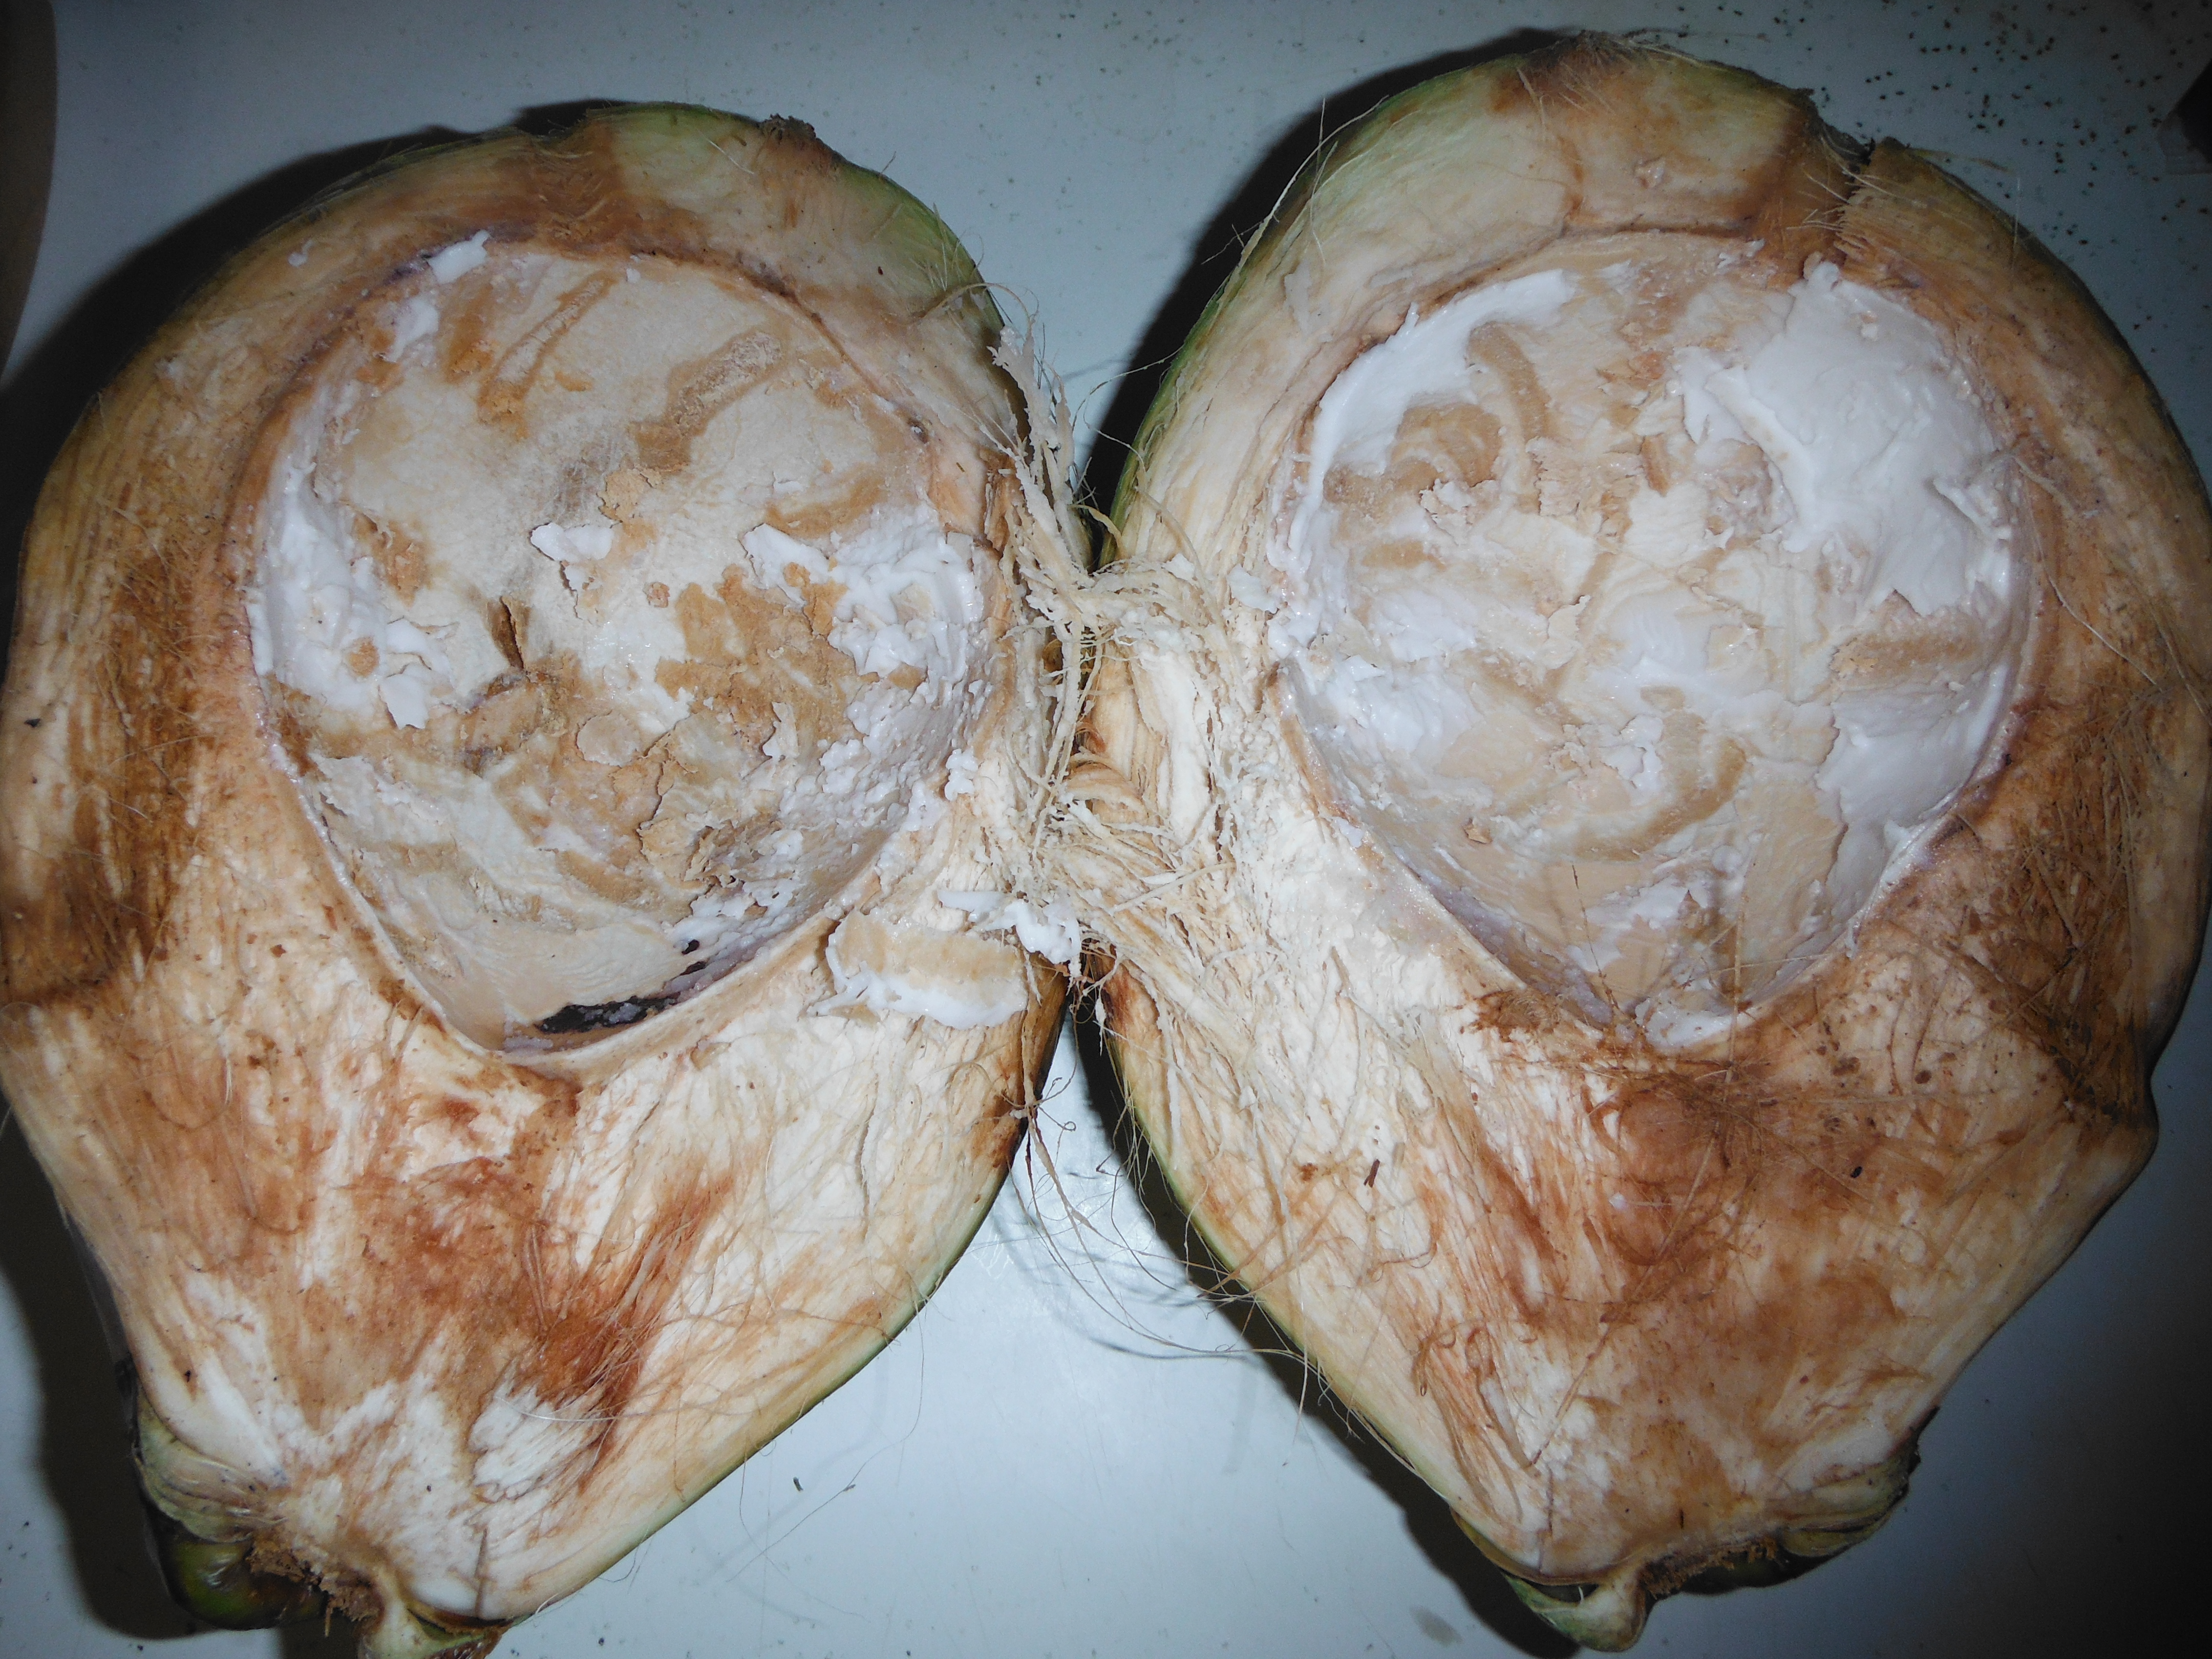
I started with a green coconut. I removed the water (see tomorrow’s post for how). I then split the coconut with a machete, one swift blow.
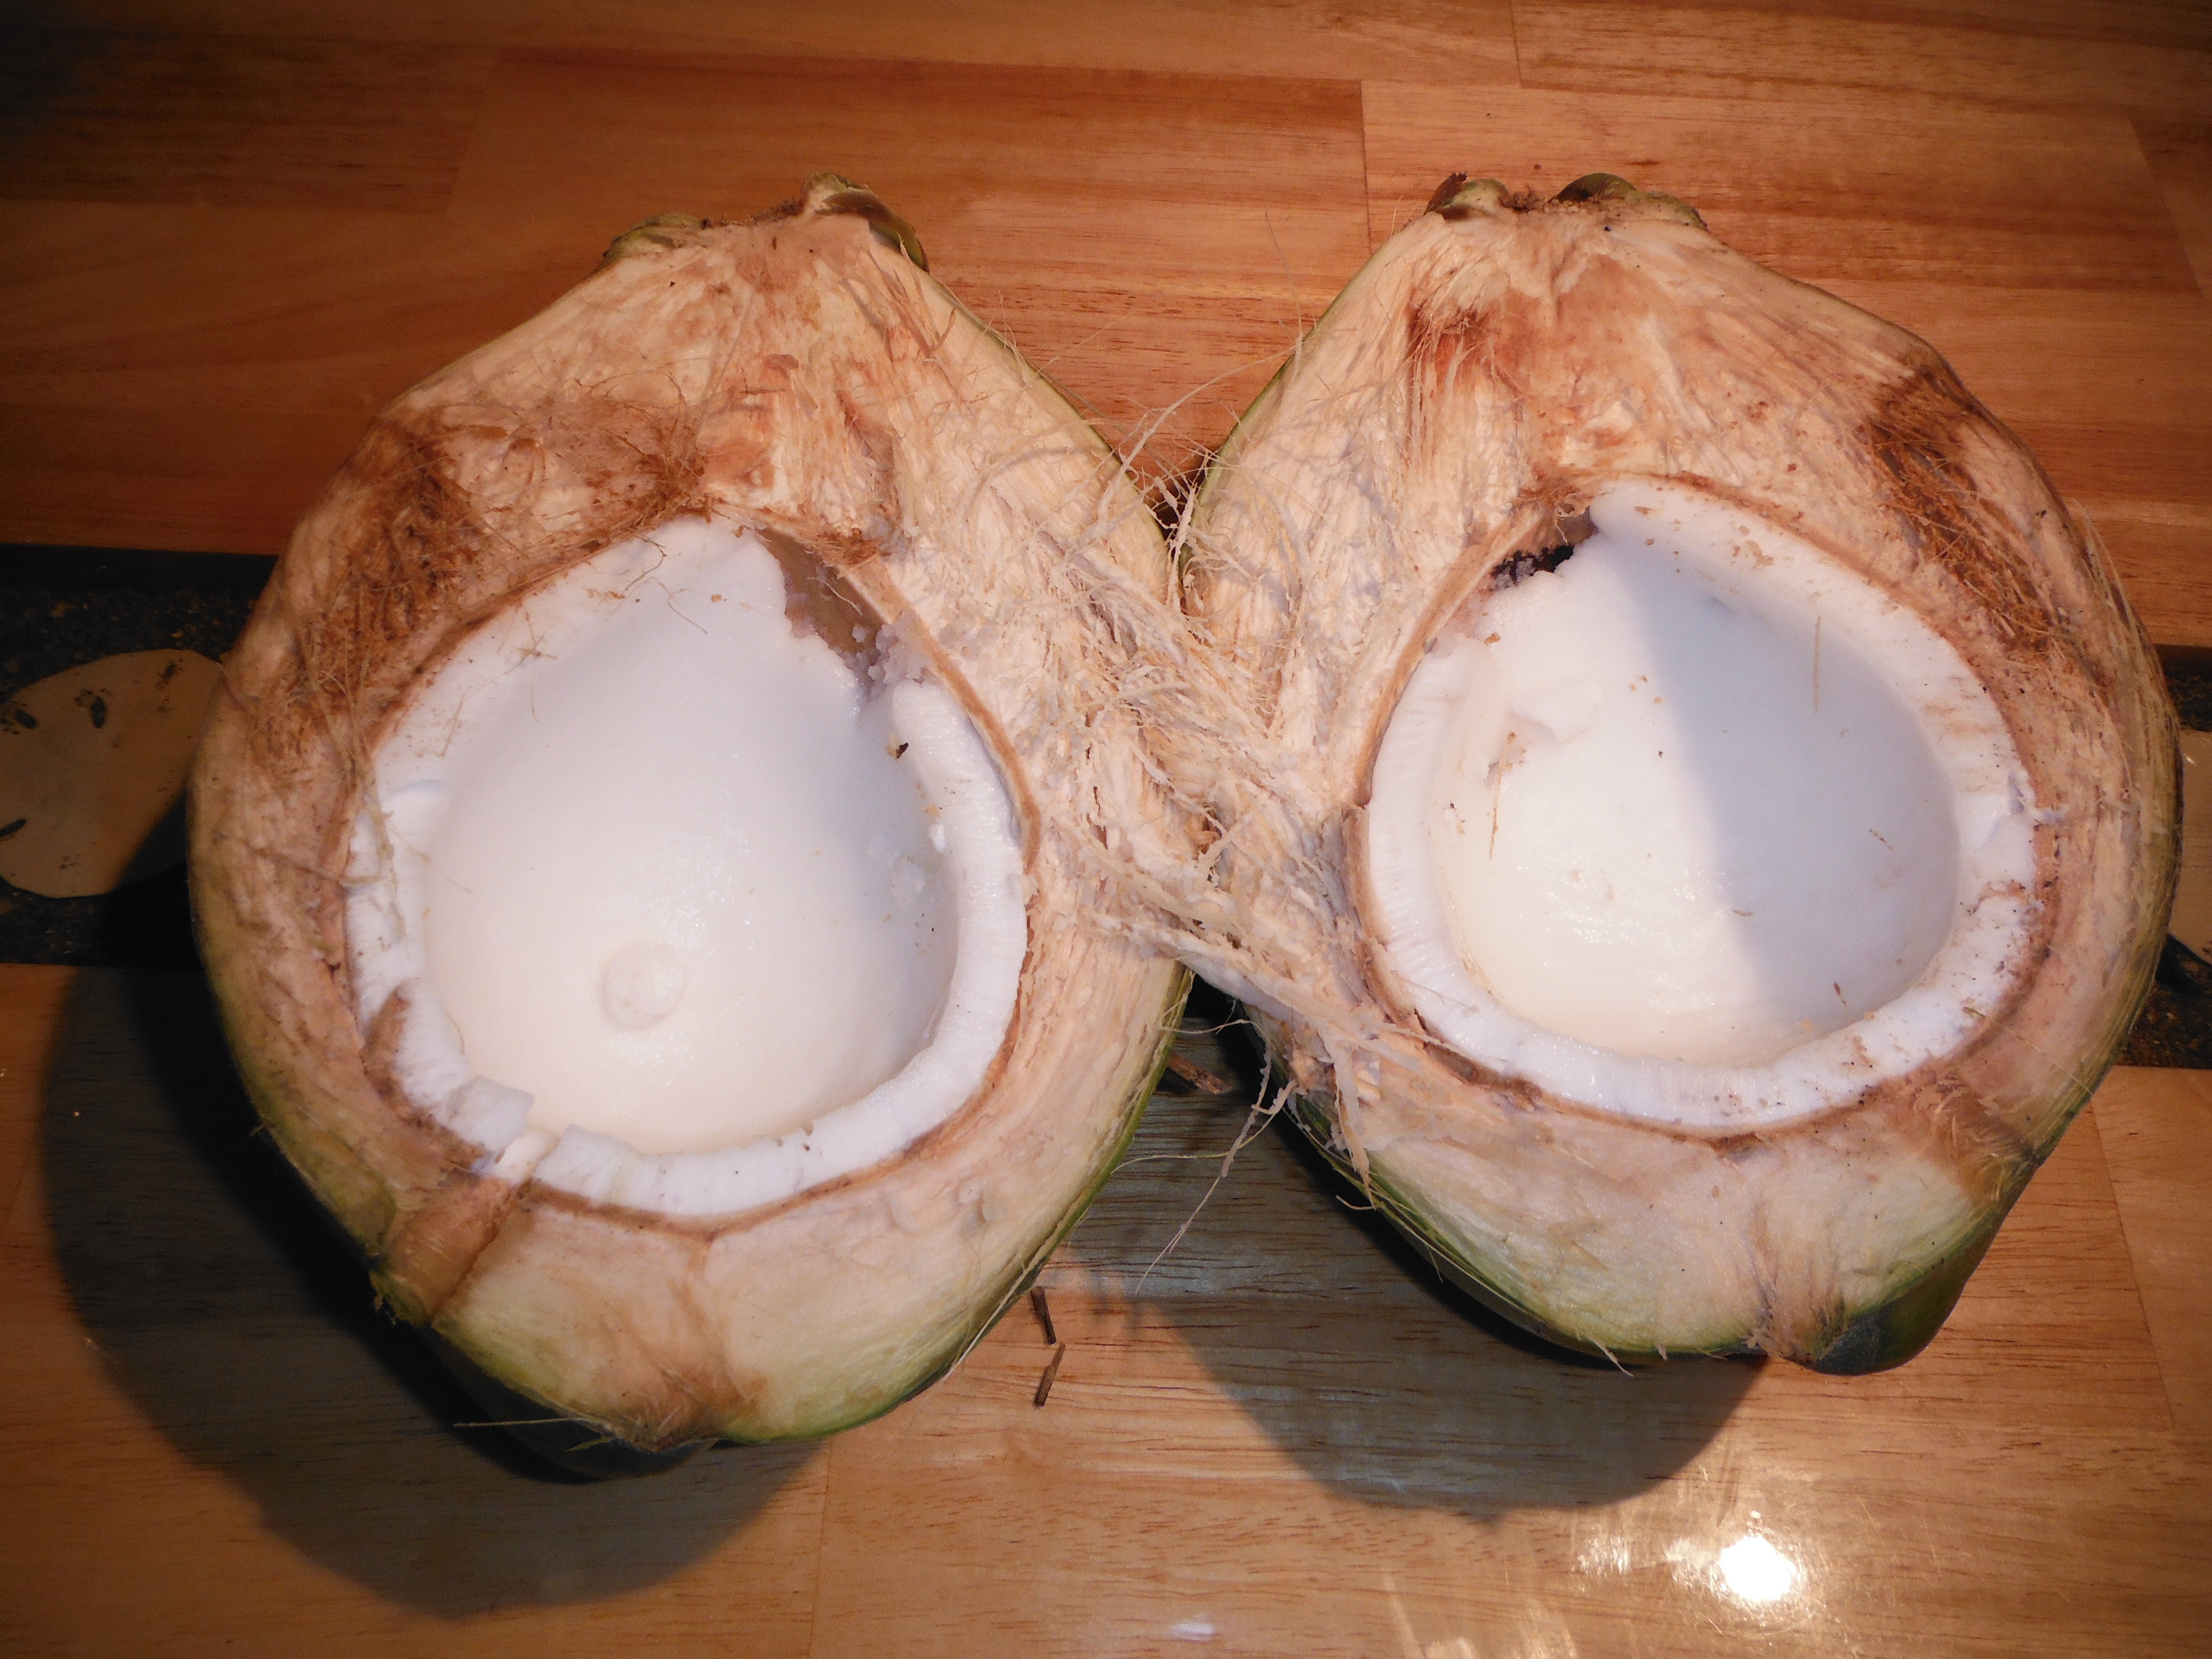
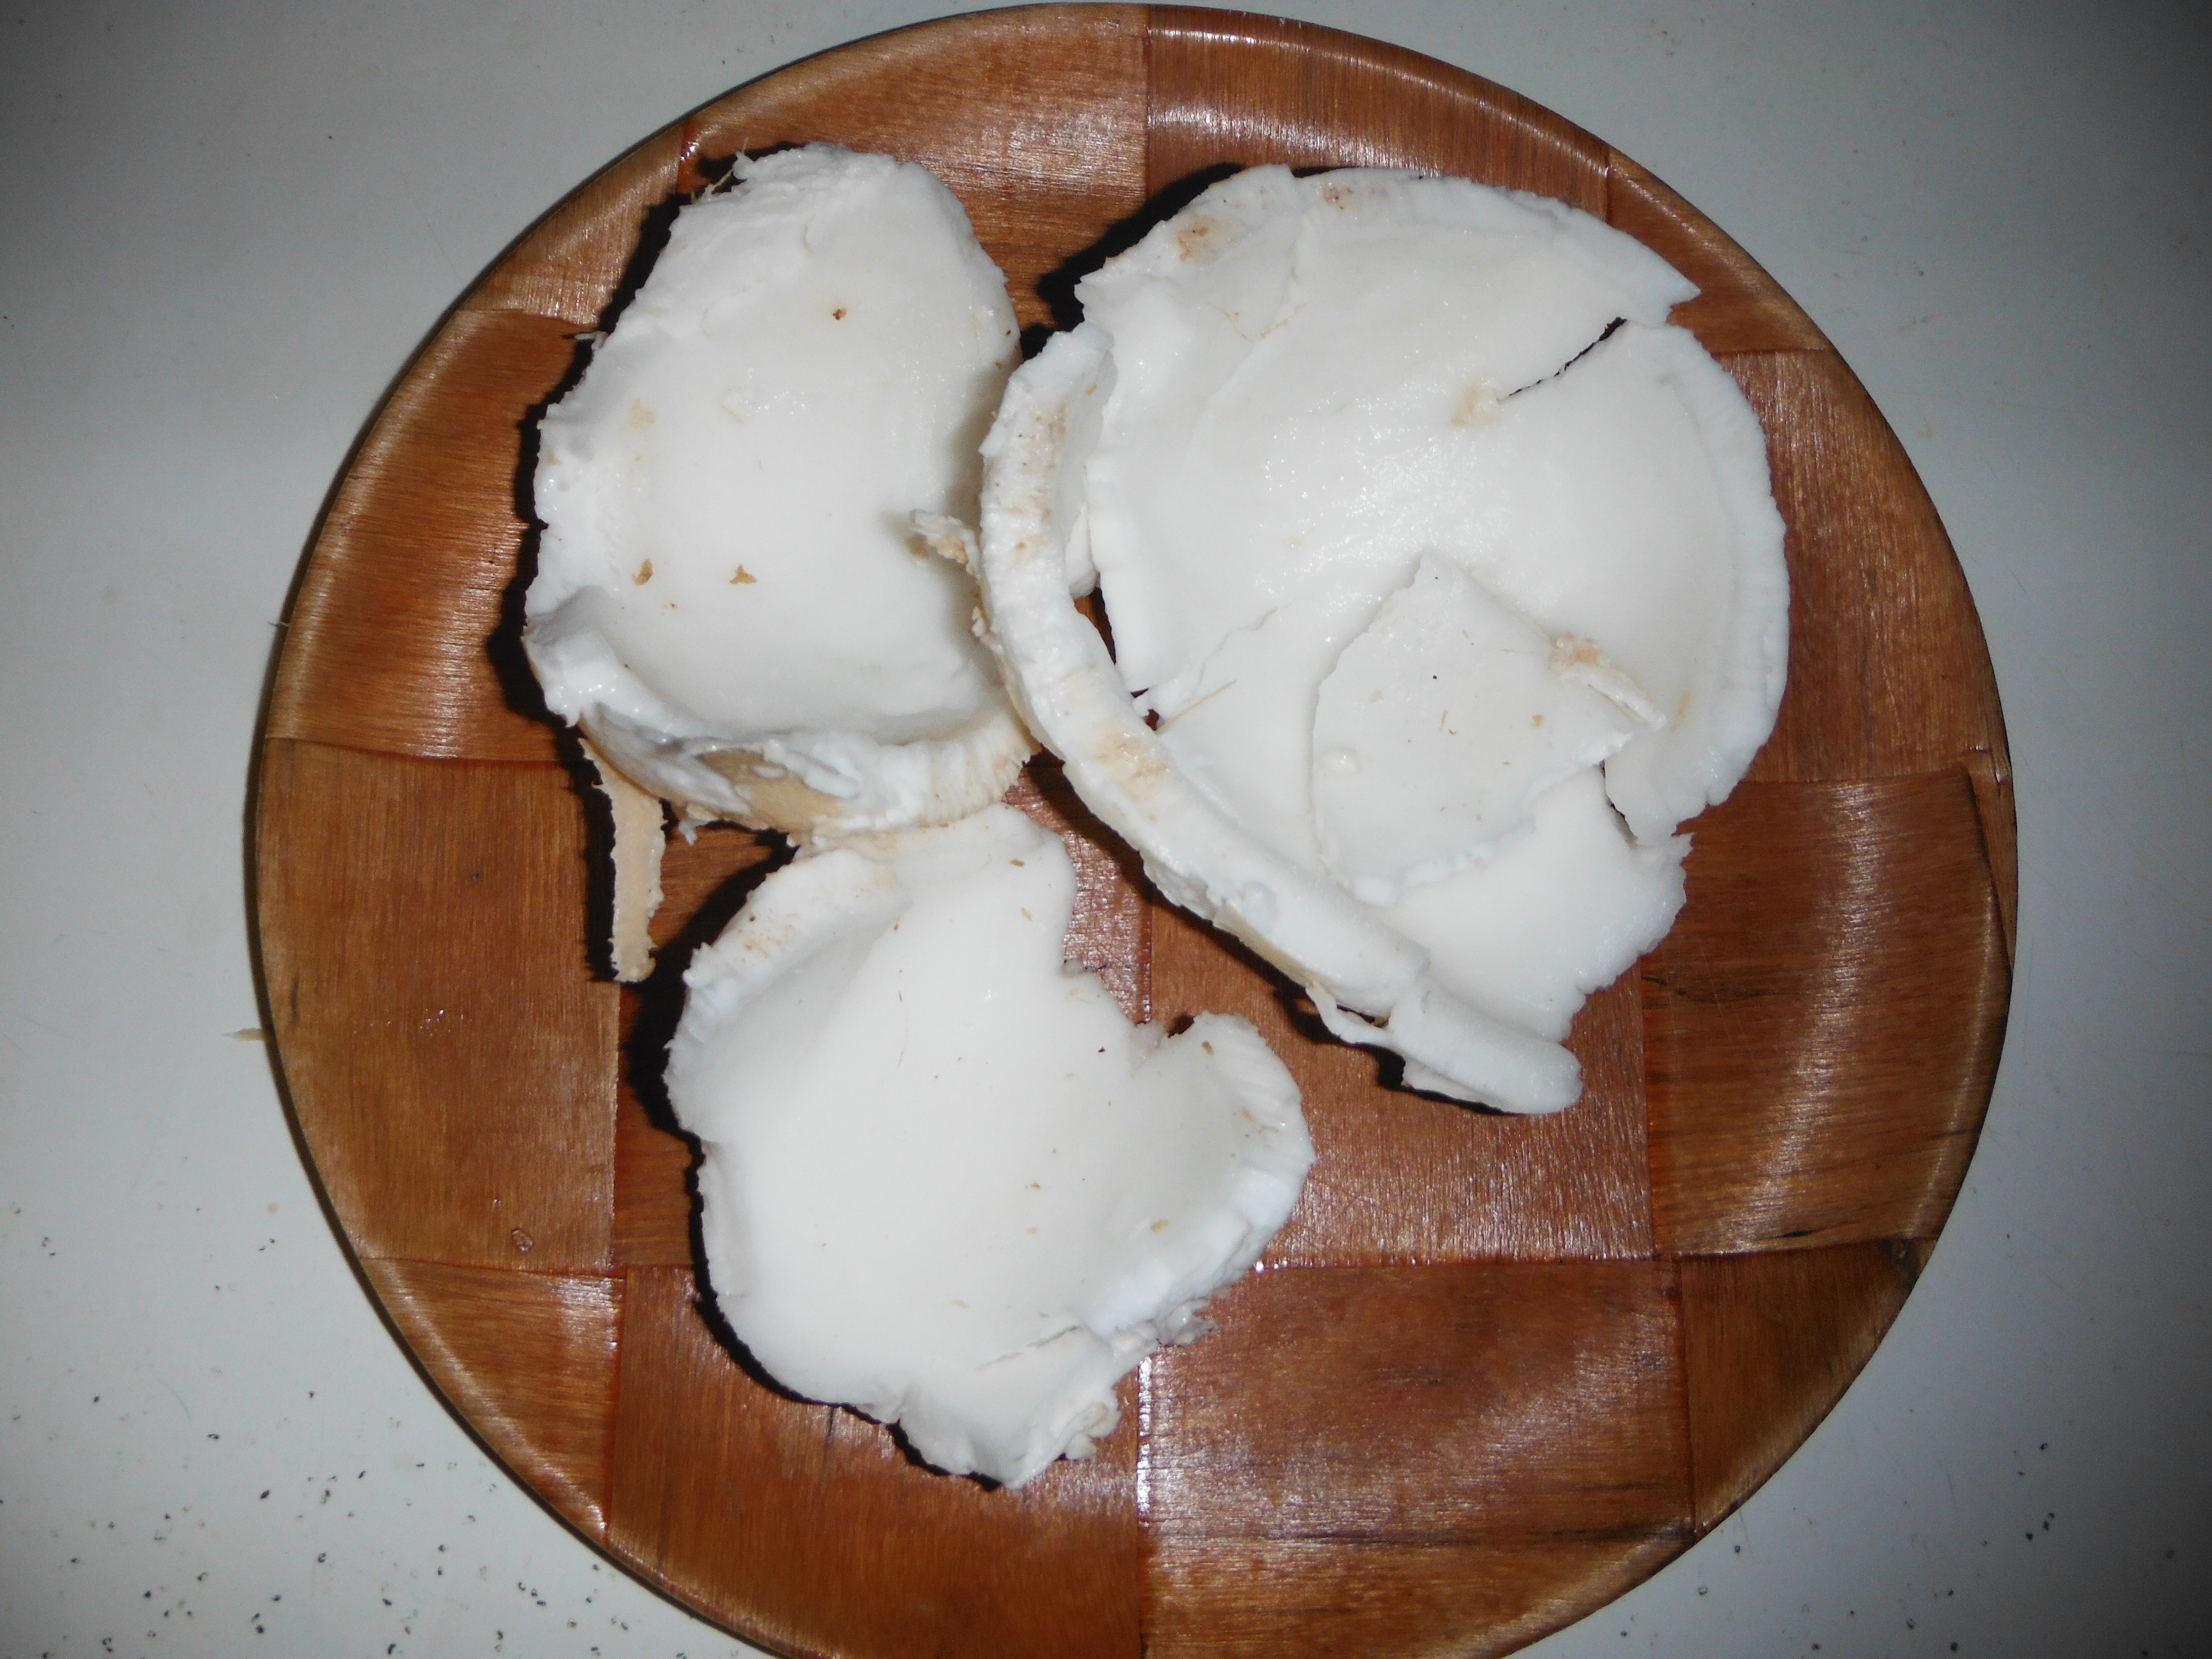
Then remove the meat. If the coconut is young and green, this can be done with a spoon. If it is older, try sticking it int he freezer for a few hours, it should then slip out of the hard shell much easier.
The empty shells – I don’t have a good use for these…yet.
Rinse the meat, then throw it in a heavy duty blender.
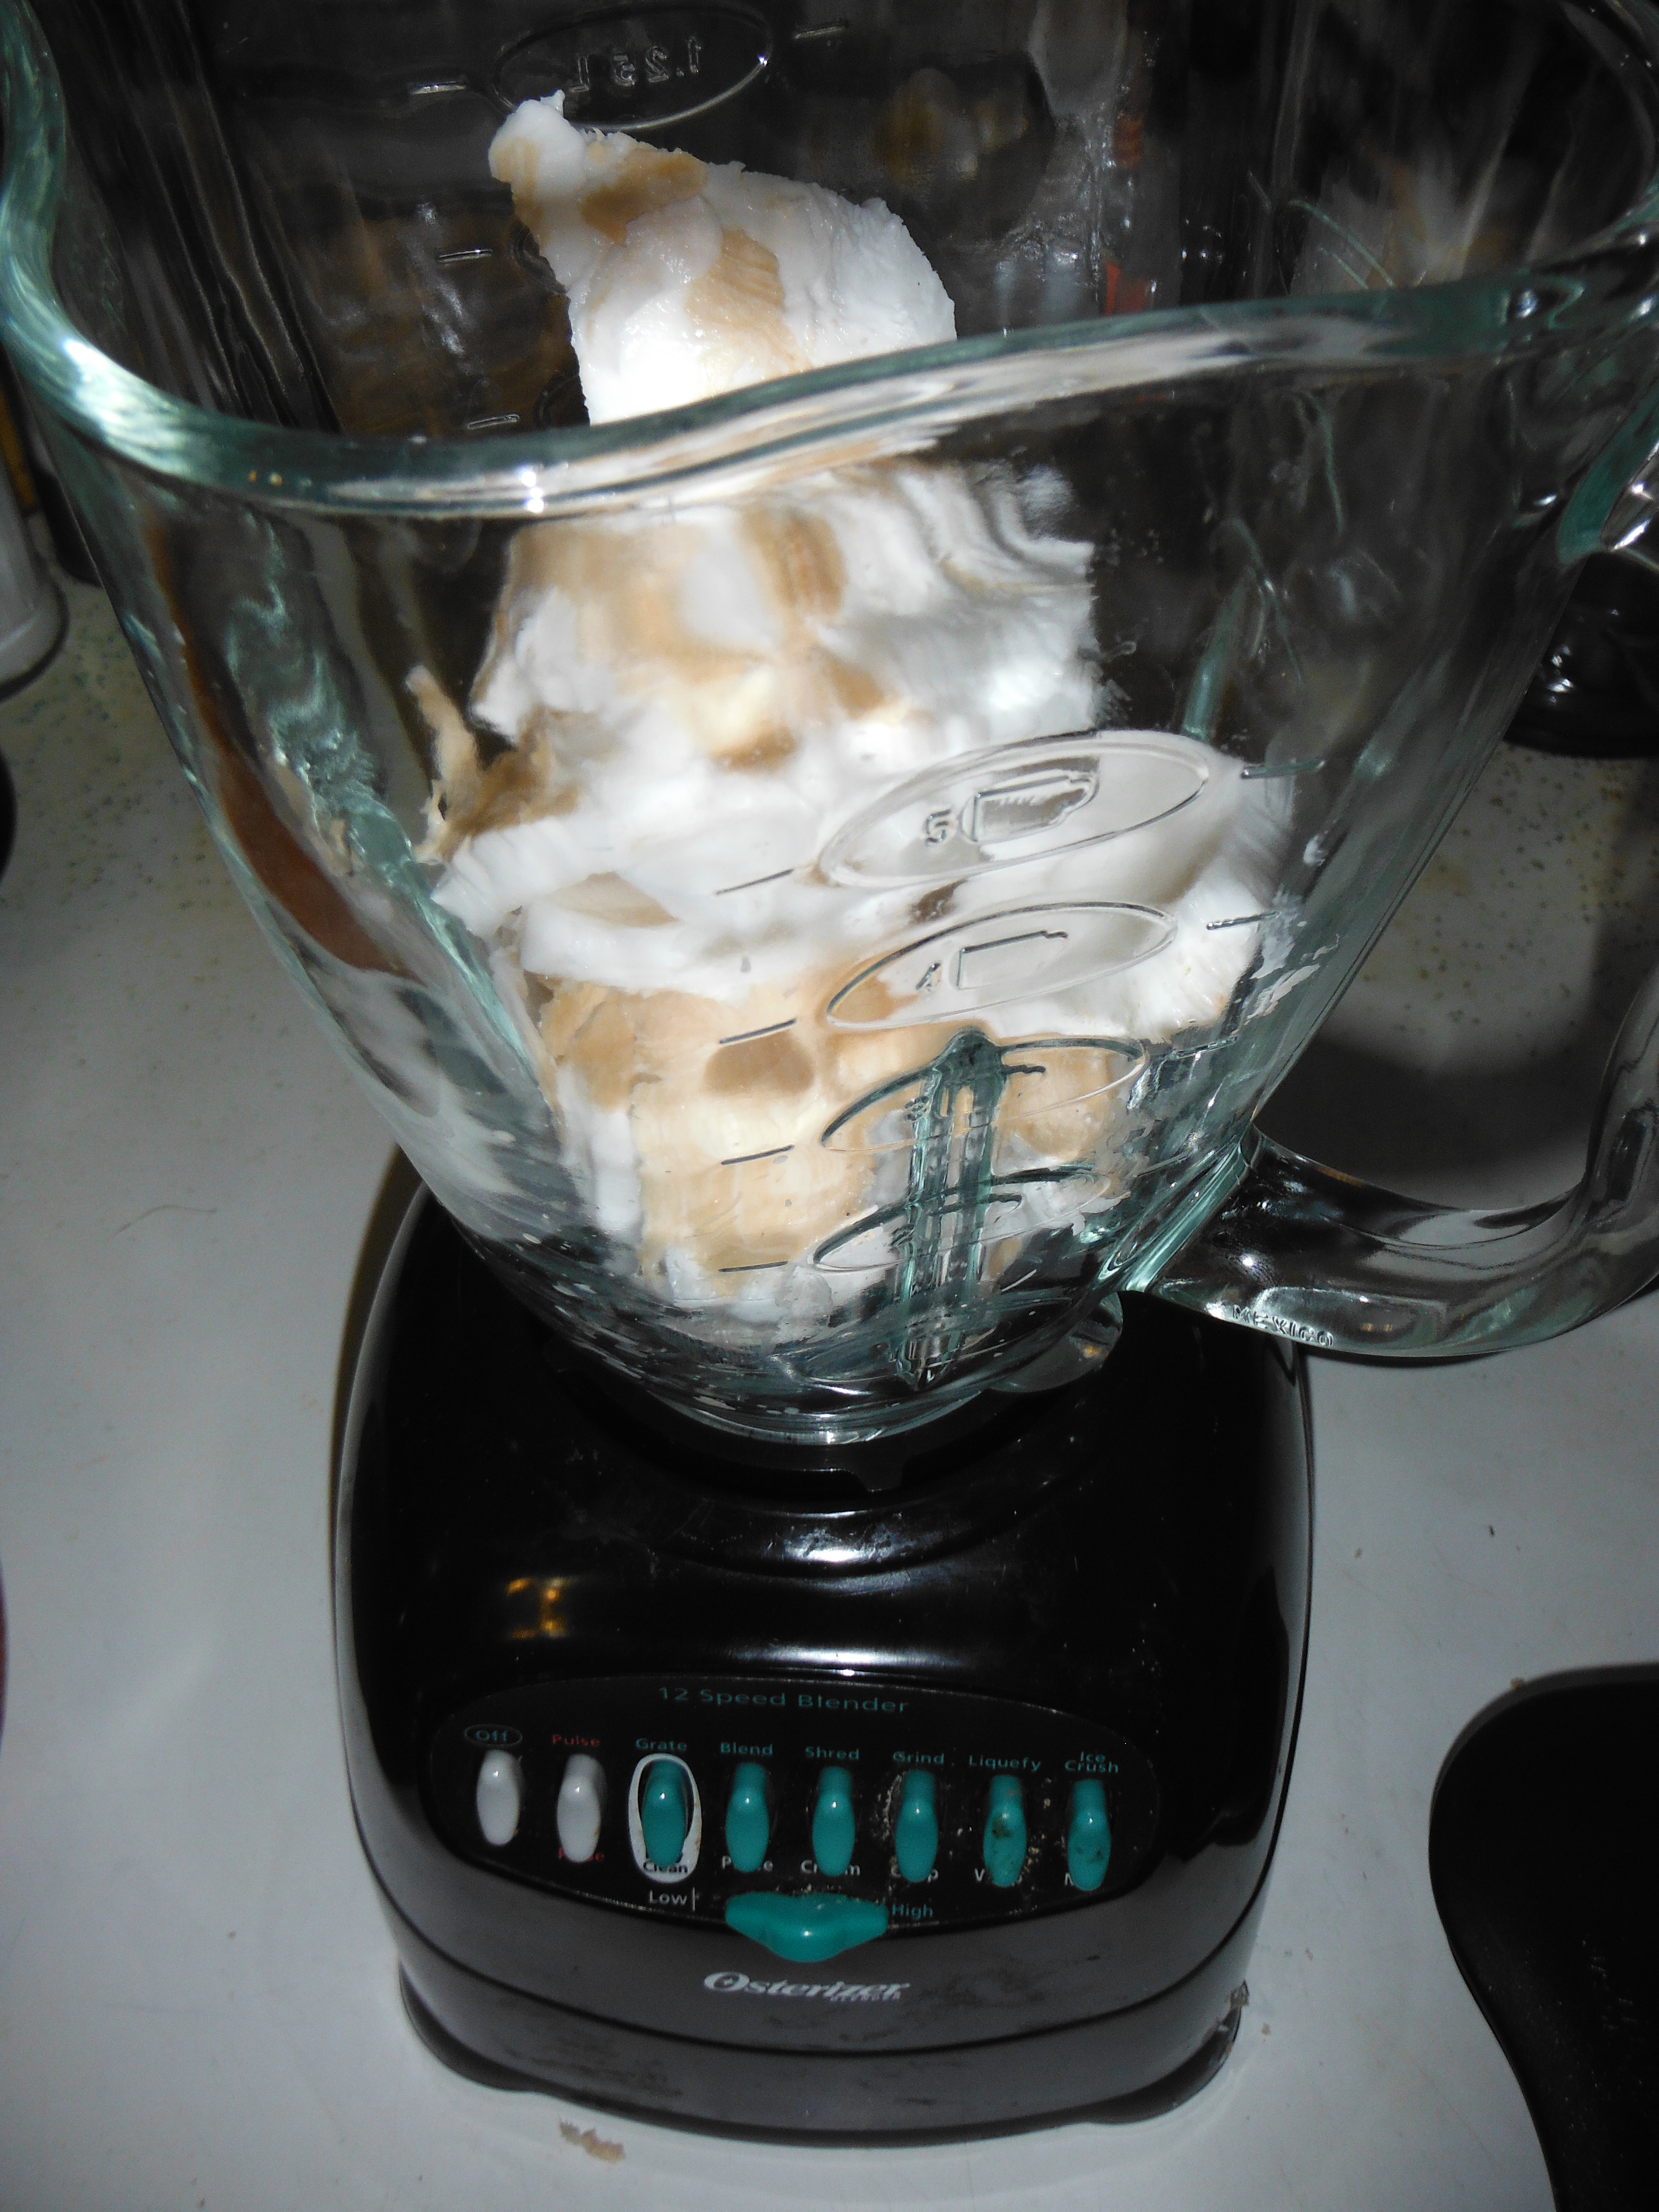
Measure out a pint of hot (not boiling) water. Add enough of it to allow the coconut to start breaking down. Once is it all ground up, continue grinding for a couple minutes.
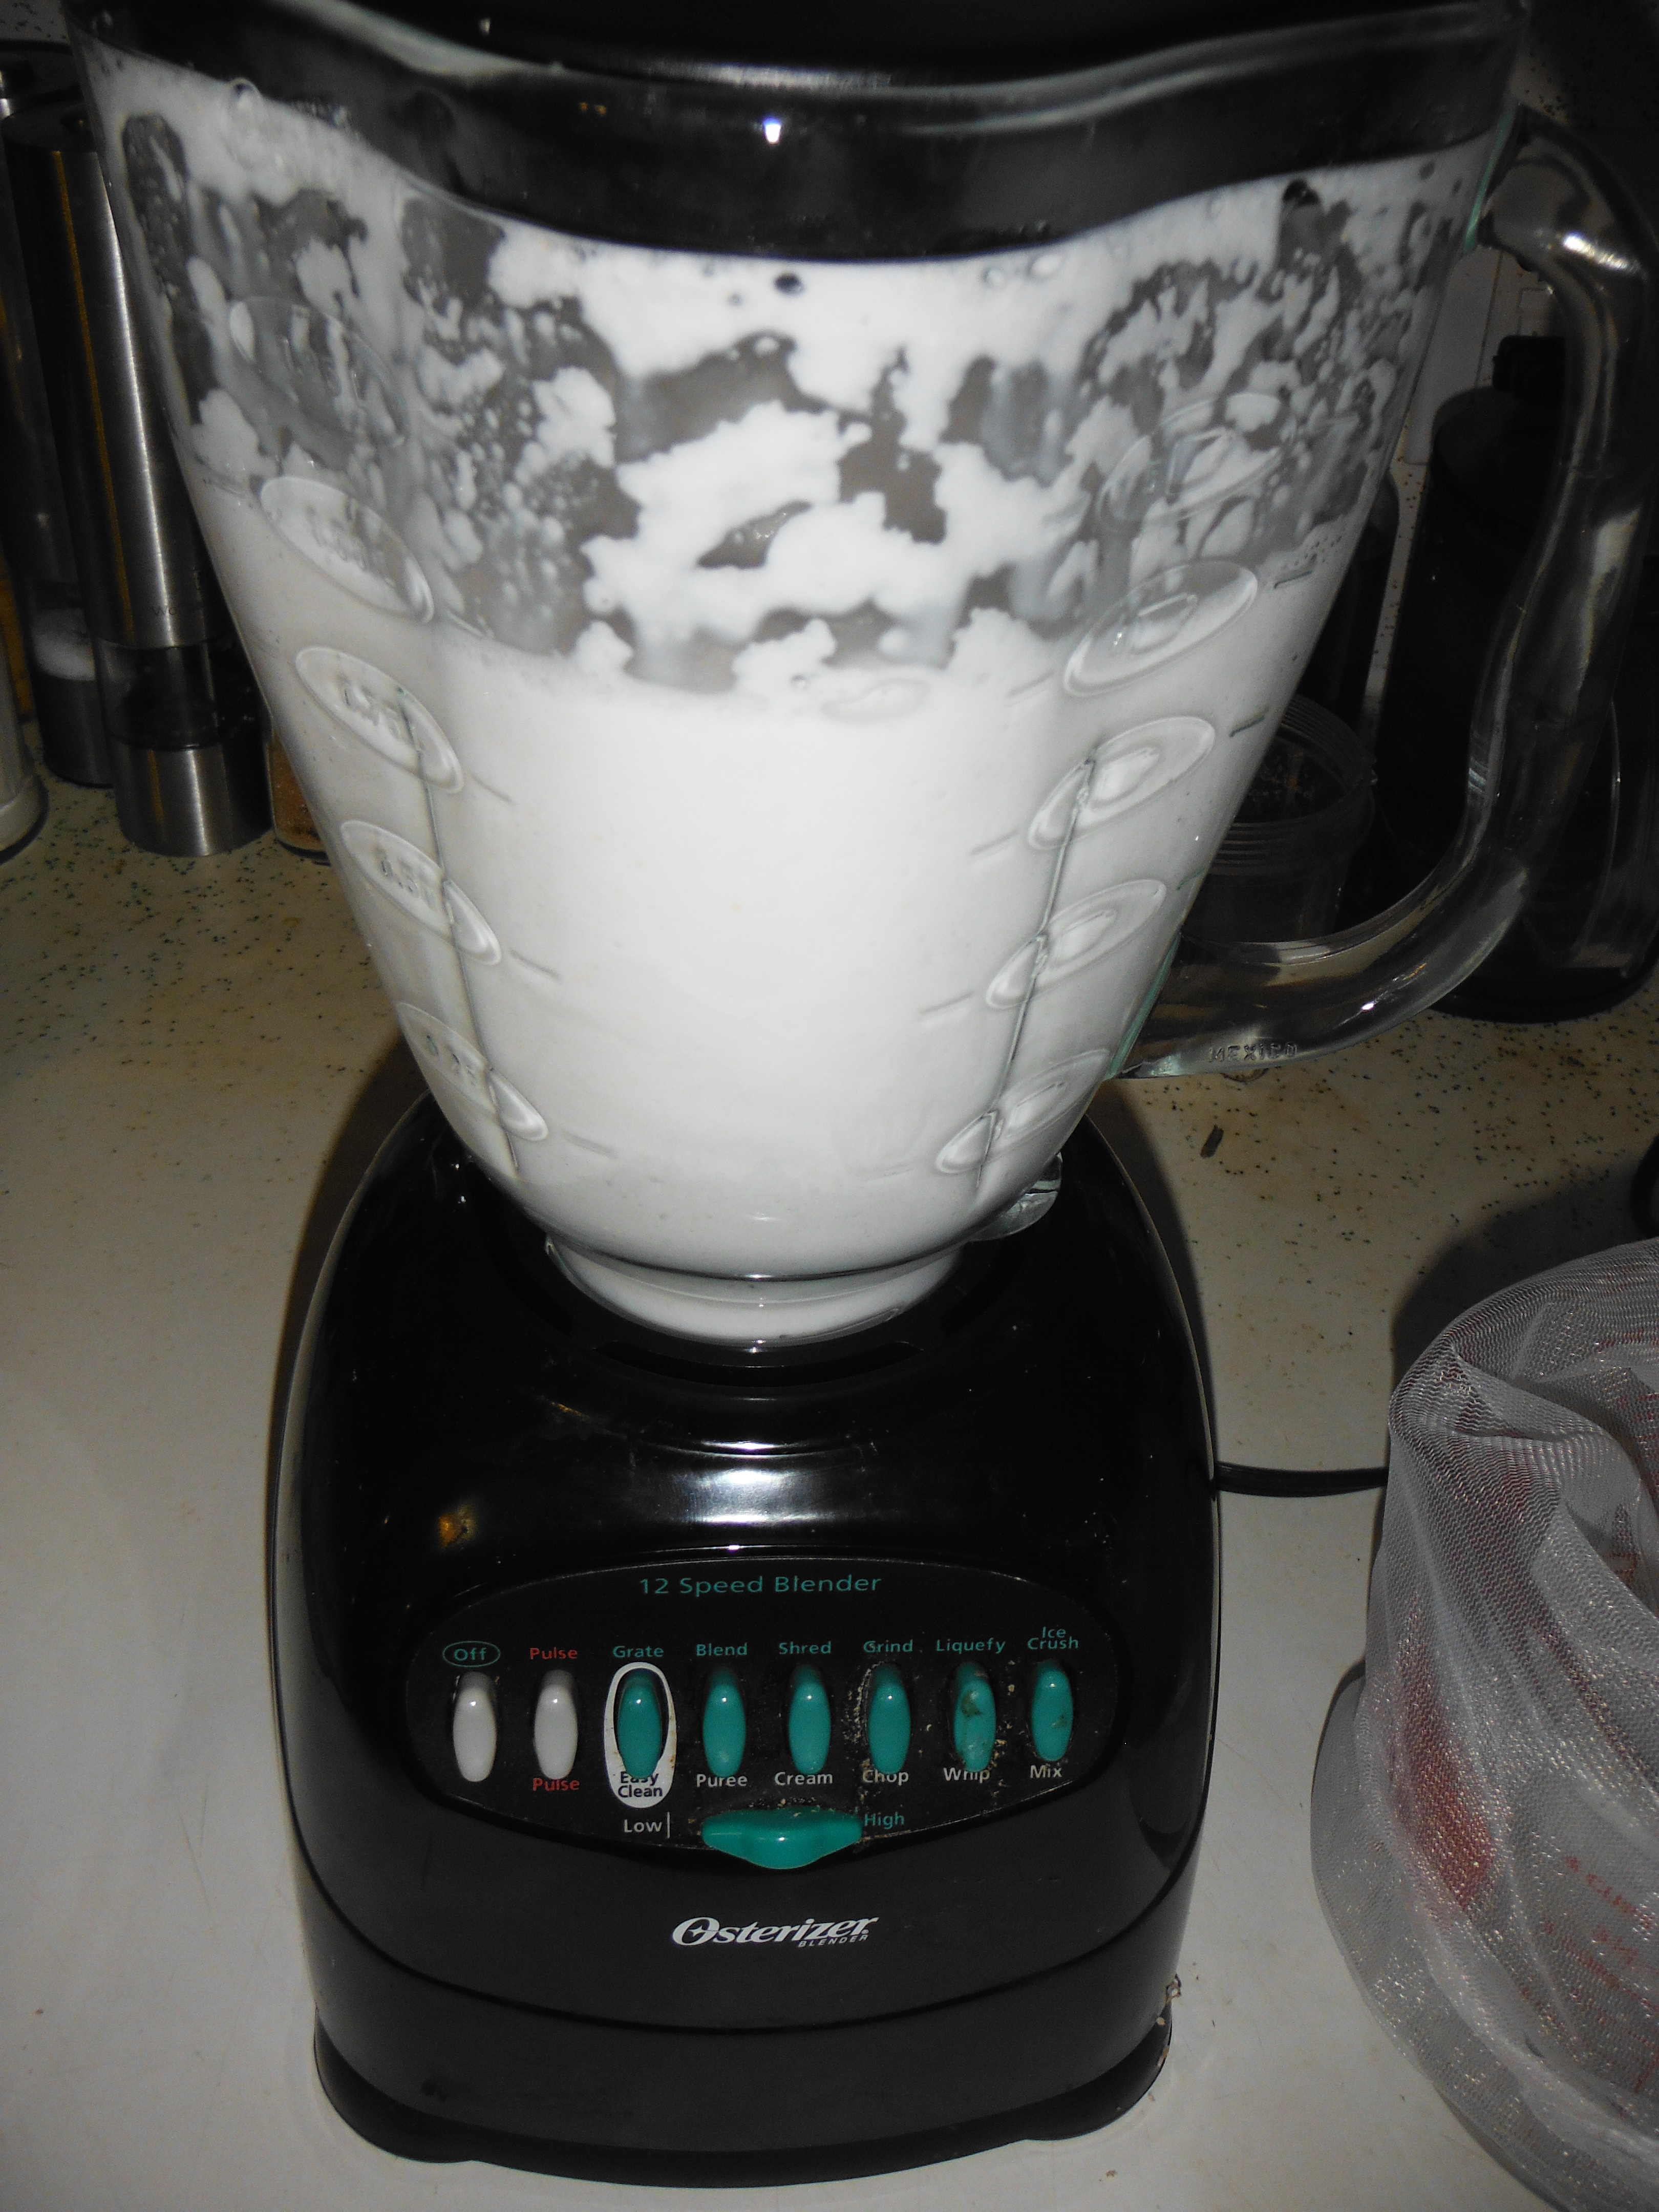
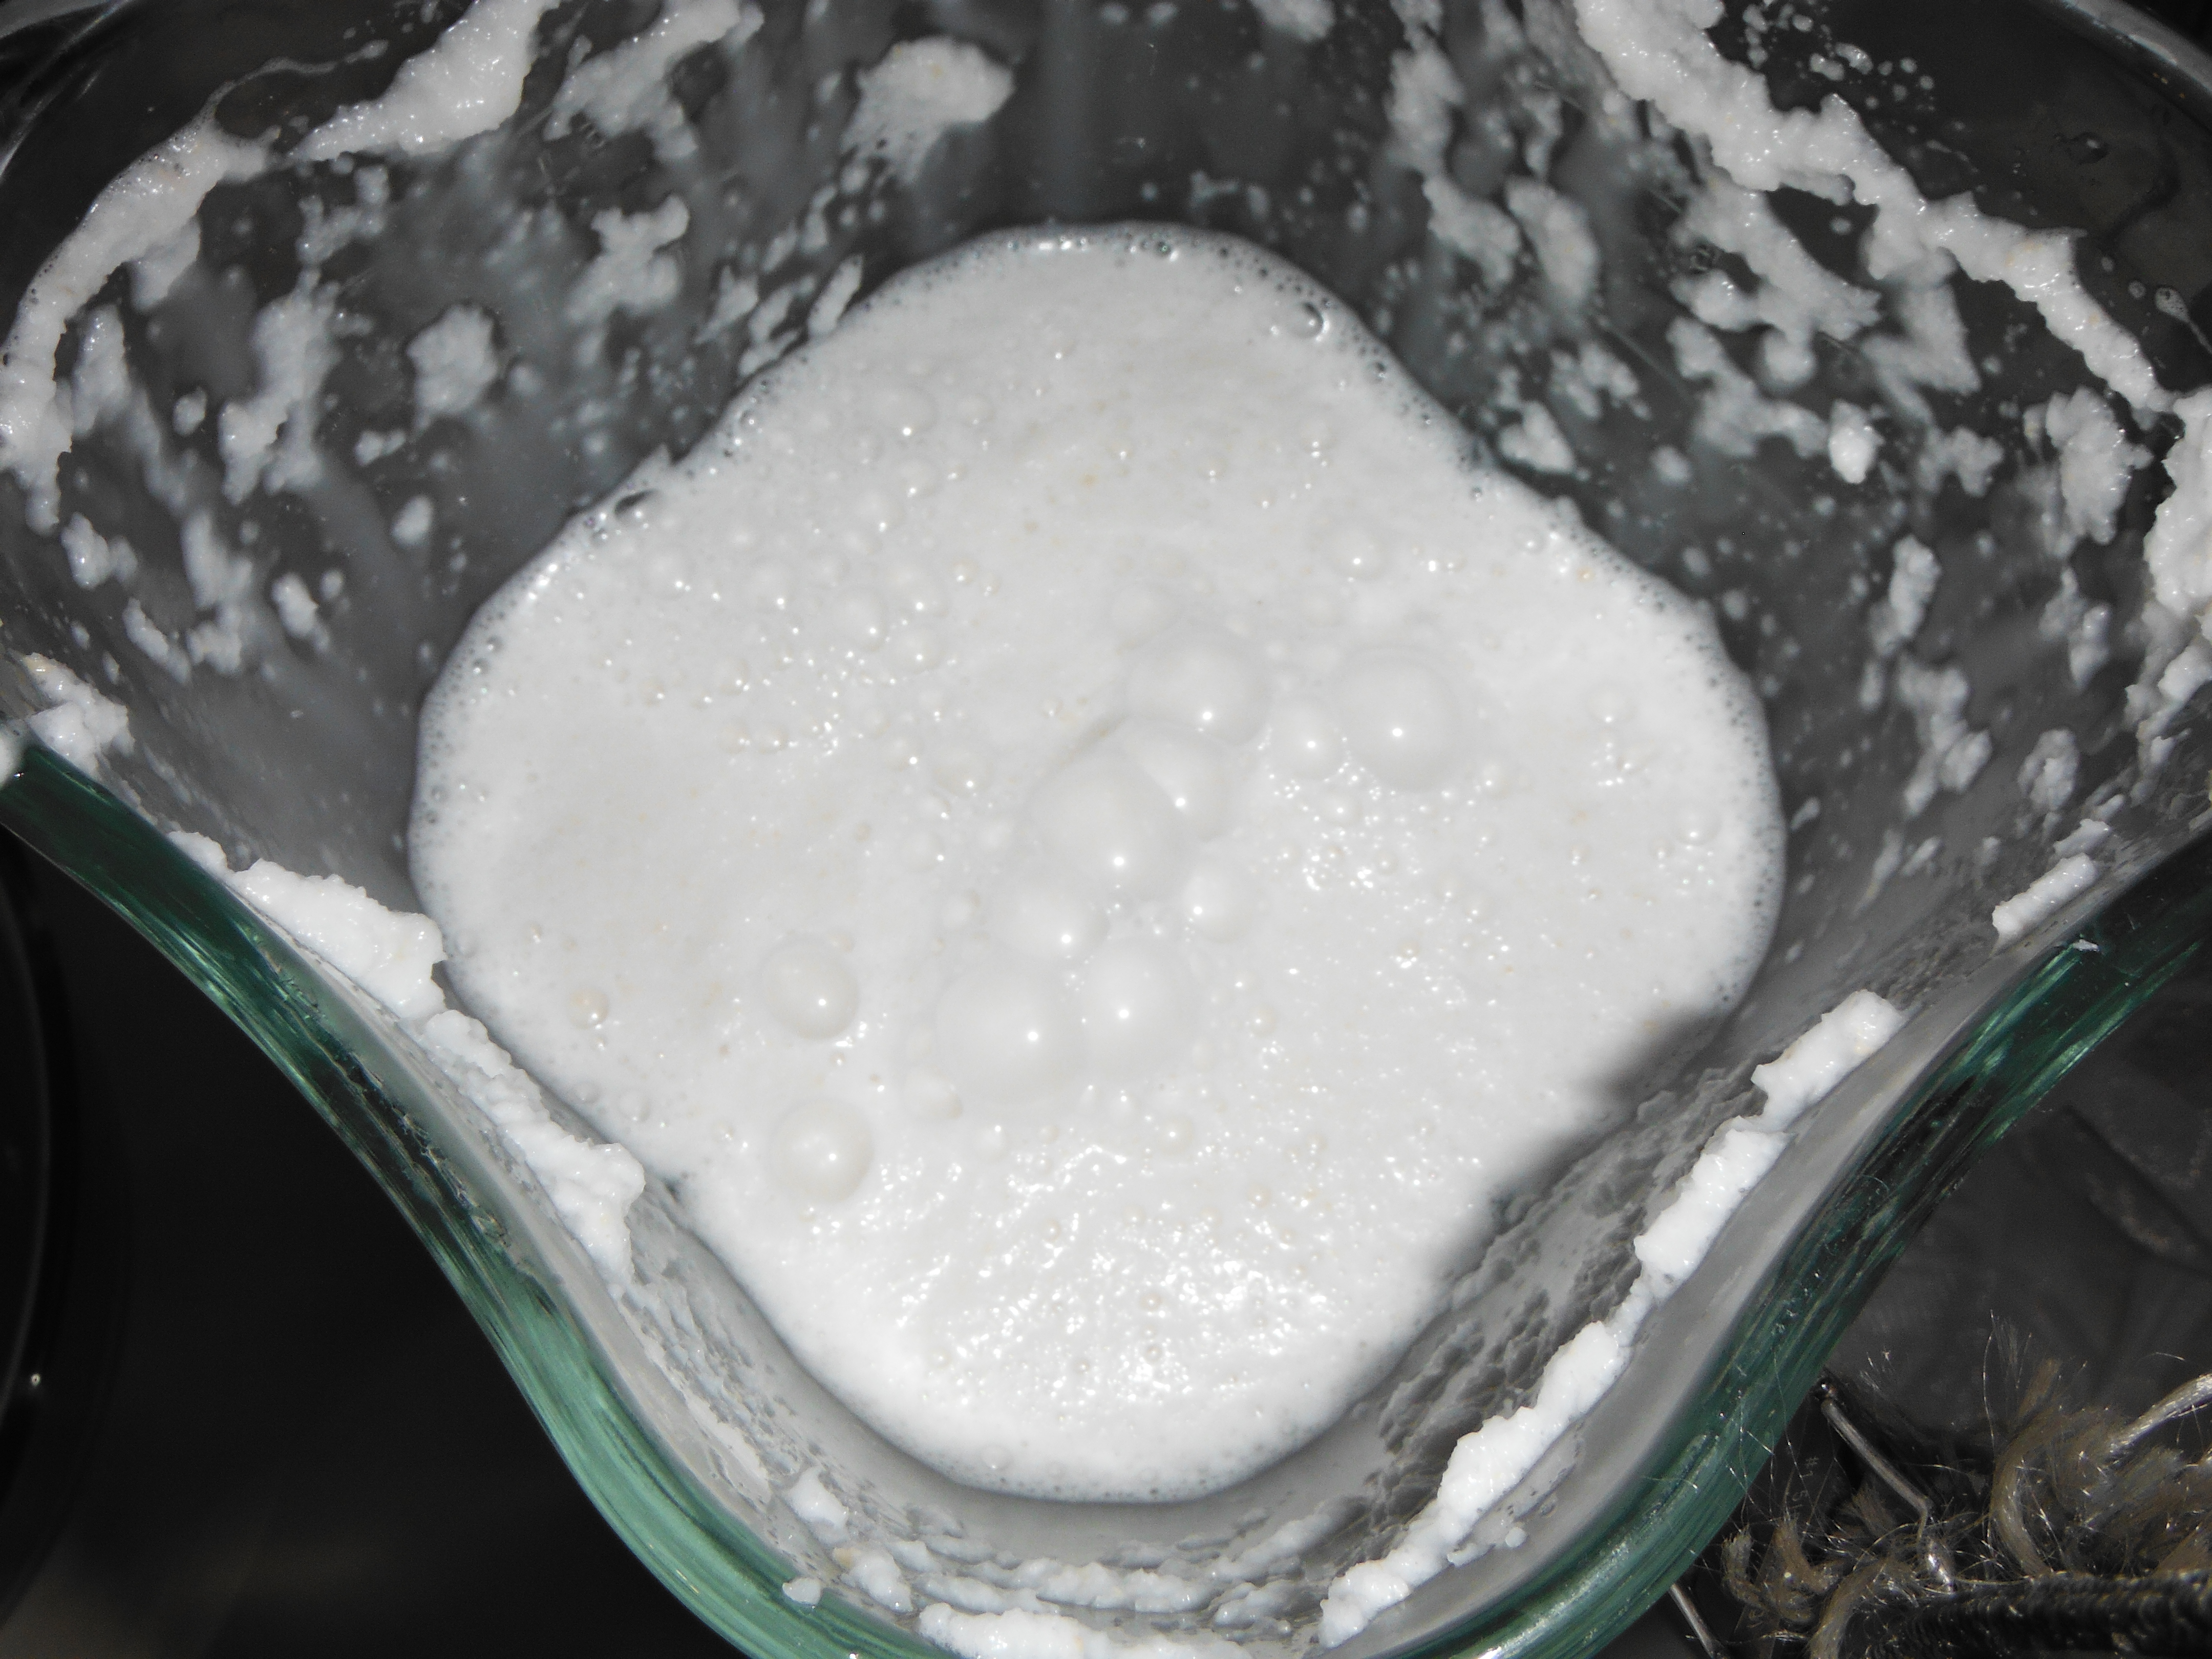
Now add in the remaining hot water, and blend some more.
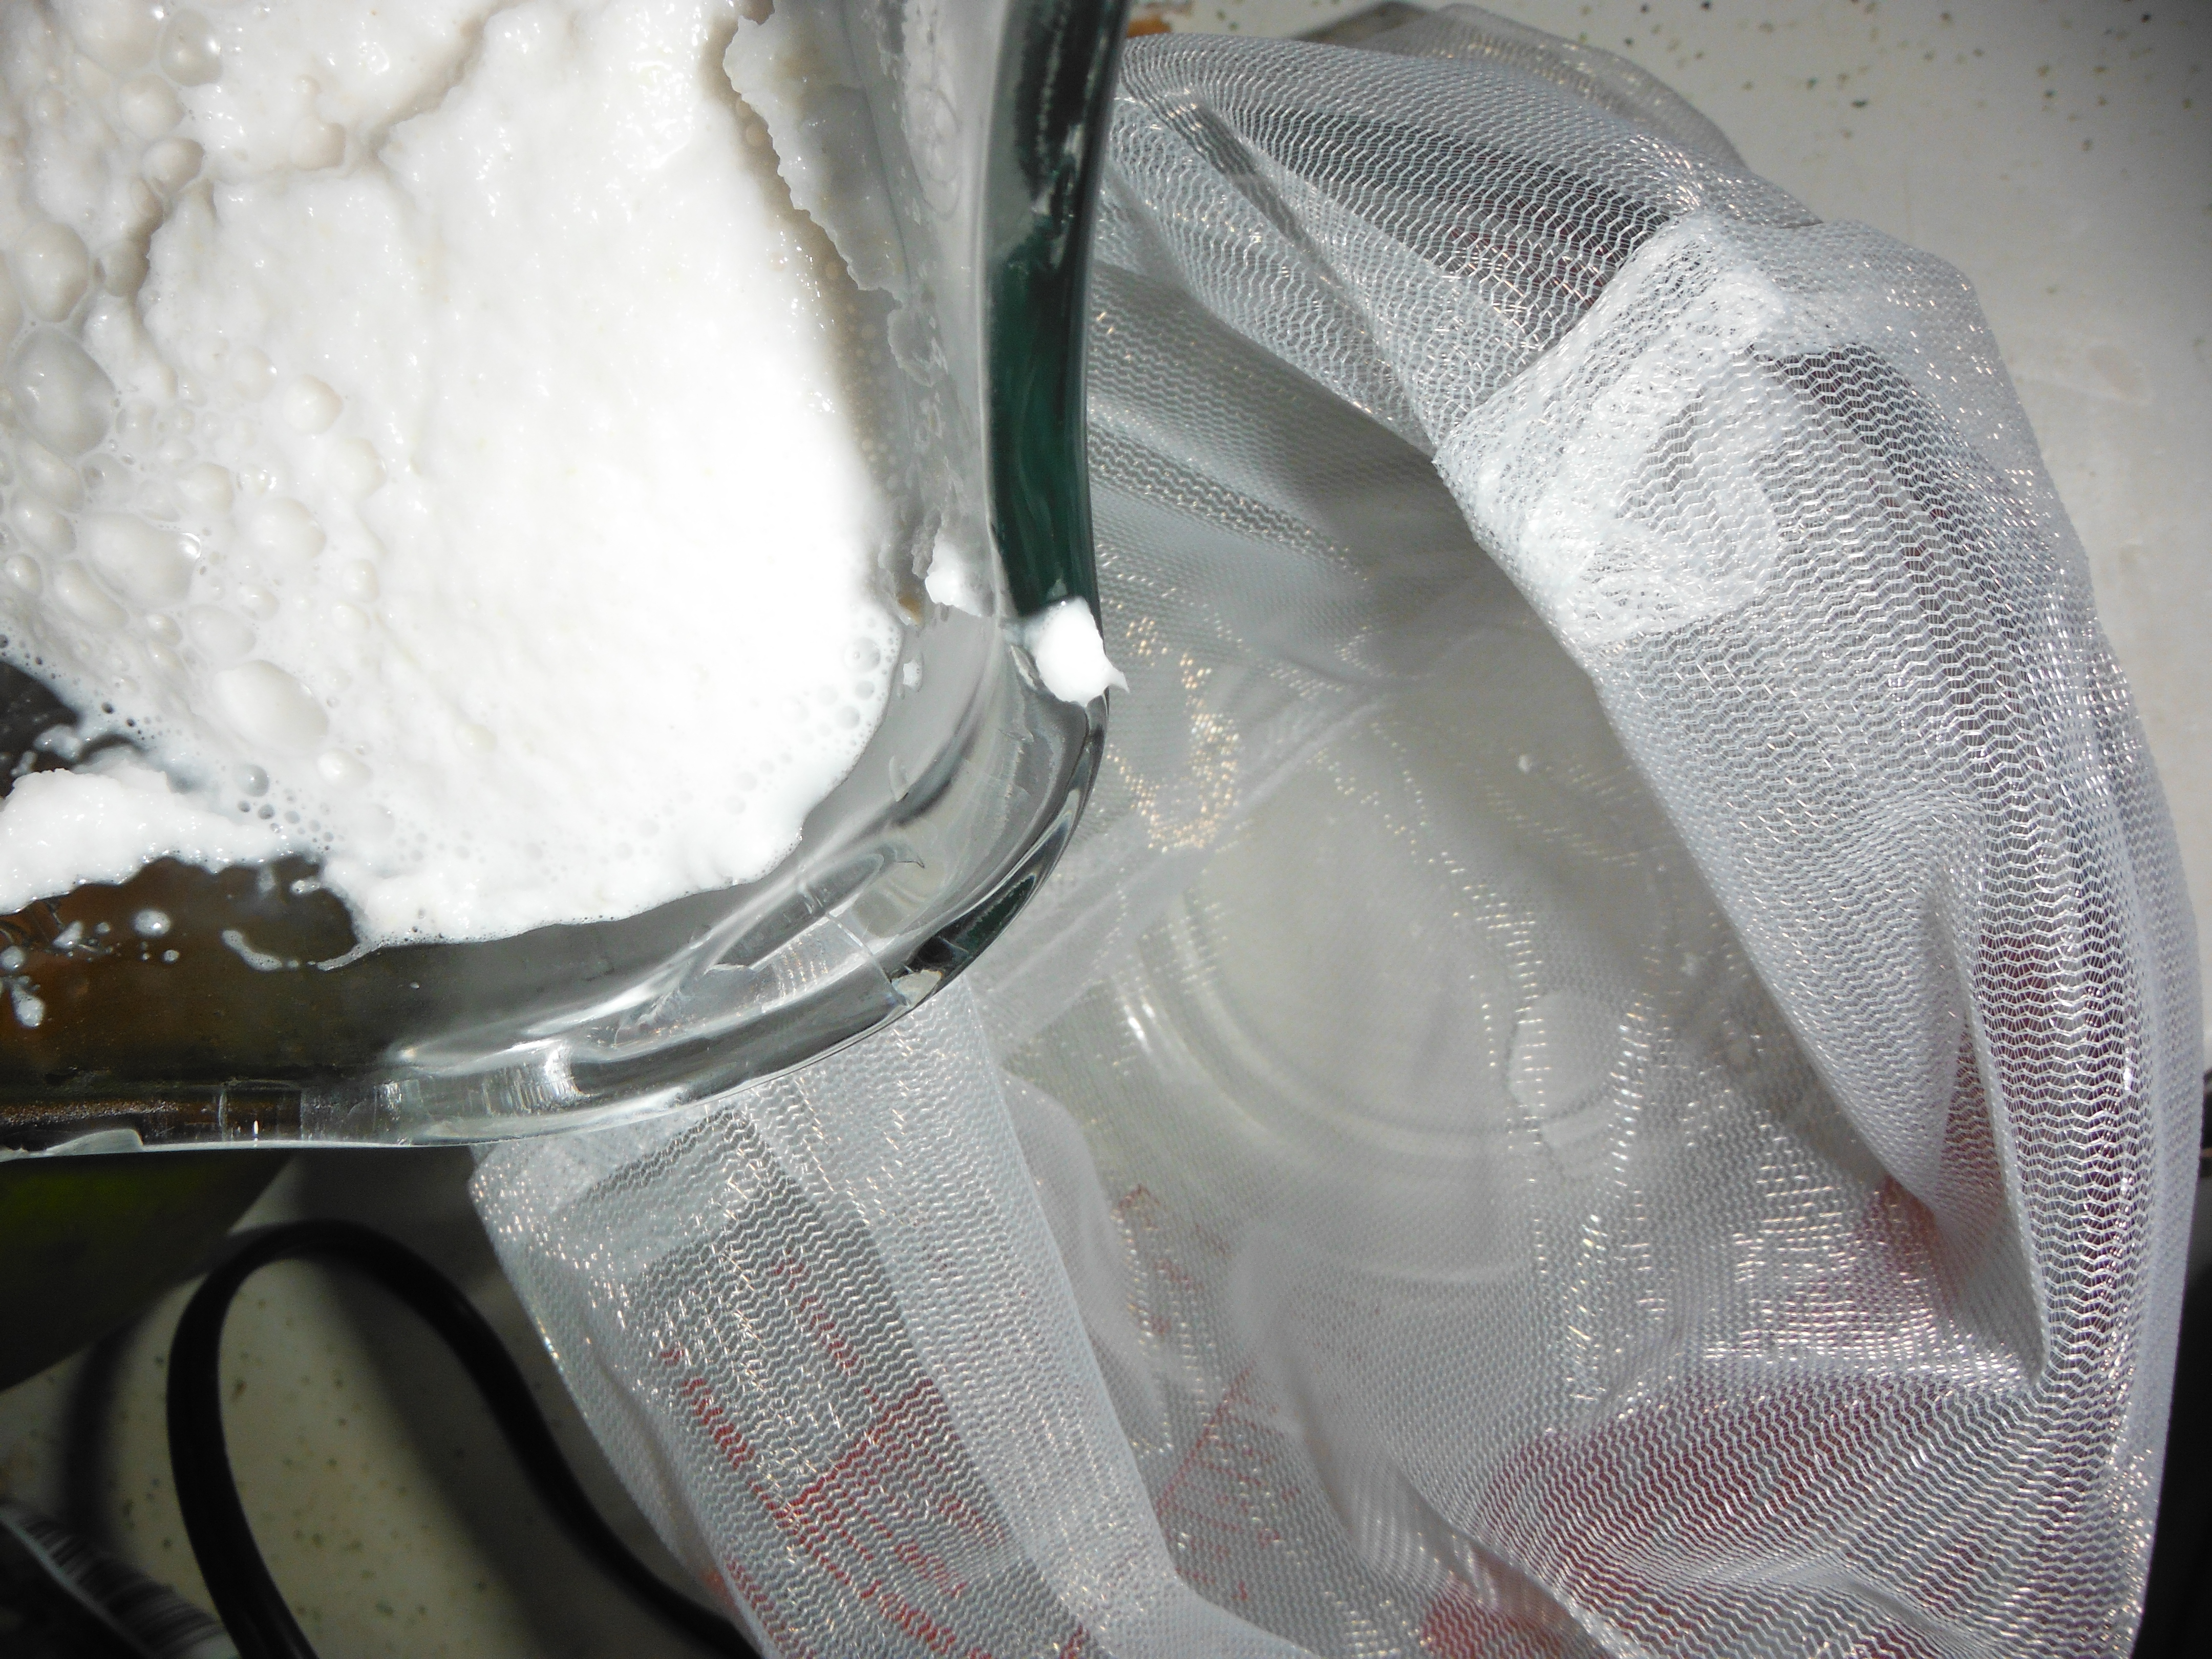
A nut milk bag is simply a fine mesh bag (see mine in the picture below) used to strain out the solids from a slurry, in our case the ground up coconut and water. You can also use a pillow case, or a tee shirt, but I wanted the CocoDrill anyway, so it worked out for me.
Put the nut milk bag into a container to catch the liquid, folding the excess over the sides. Pour your slurry into the nut bag. Lift the bag up by its top out of the container, being sure to hold over, not to waste a drop of the coconut milk.
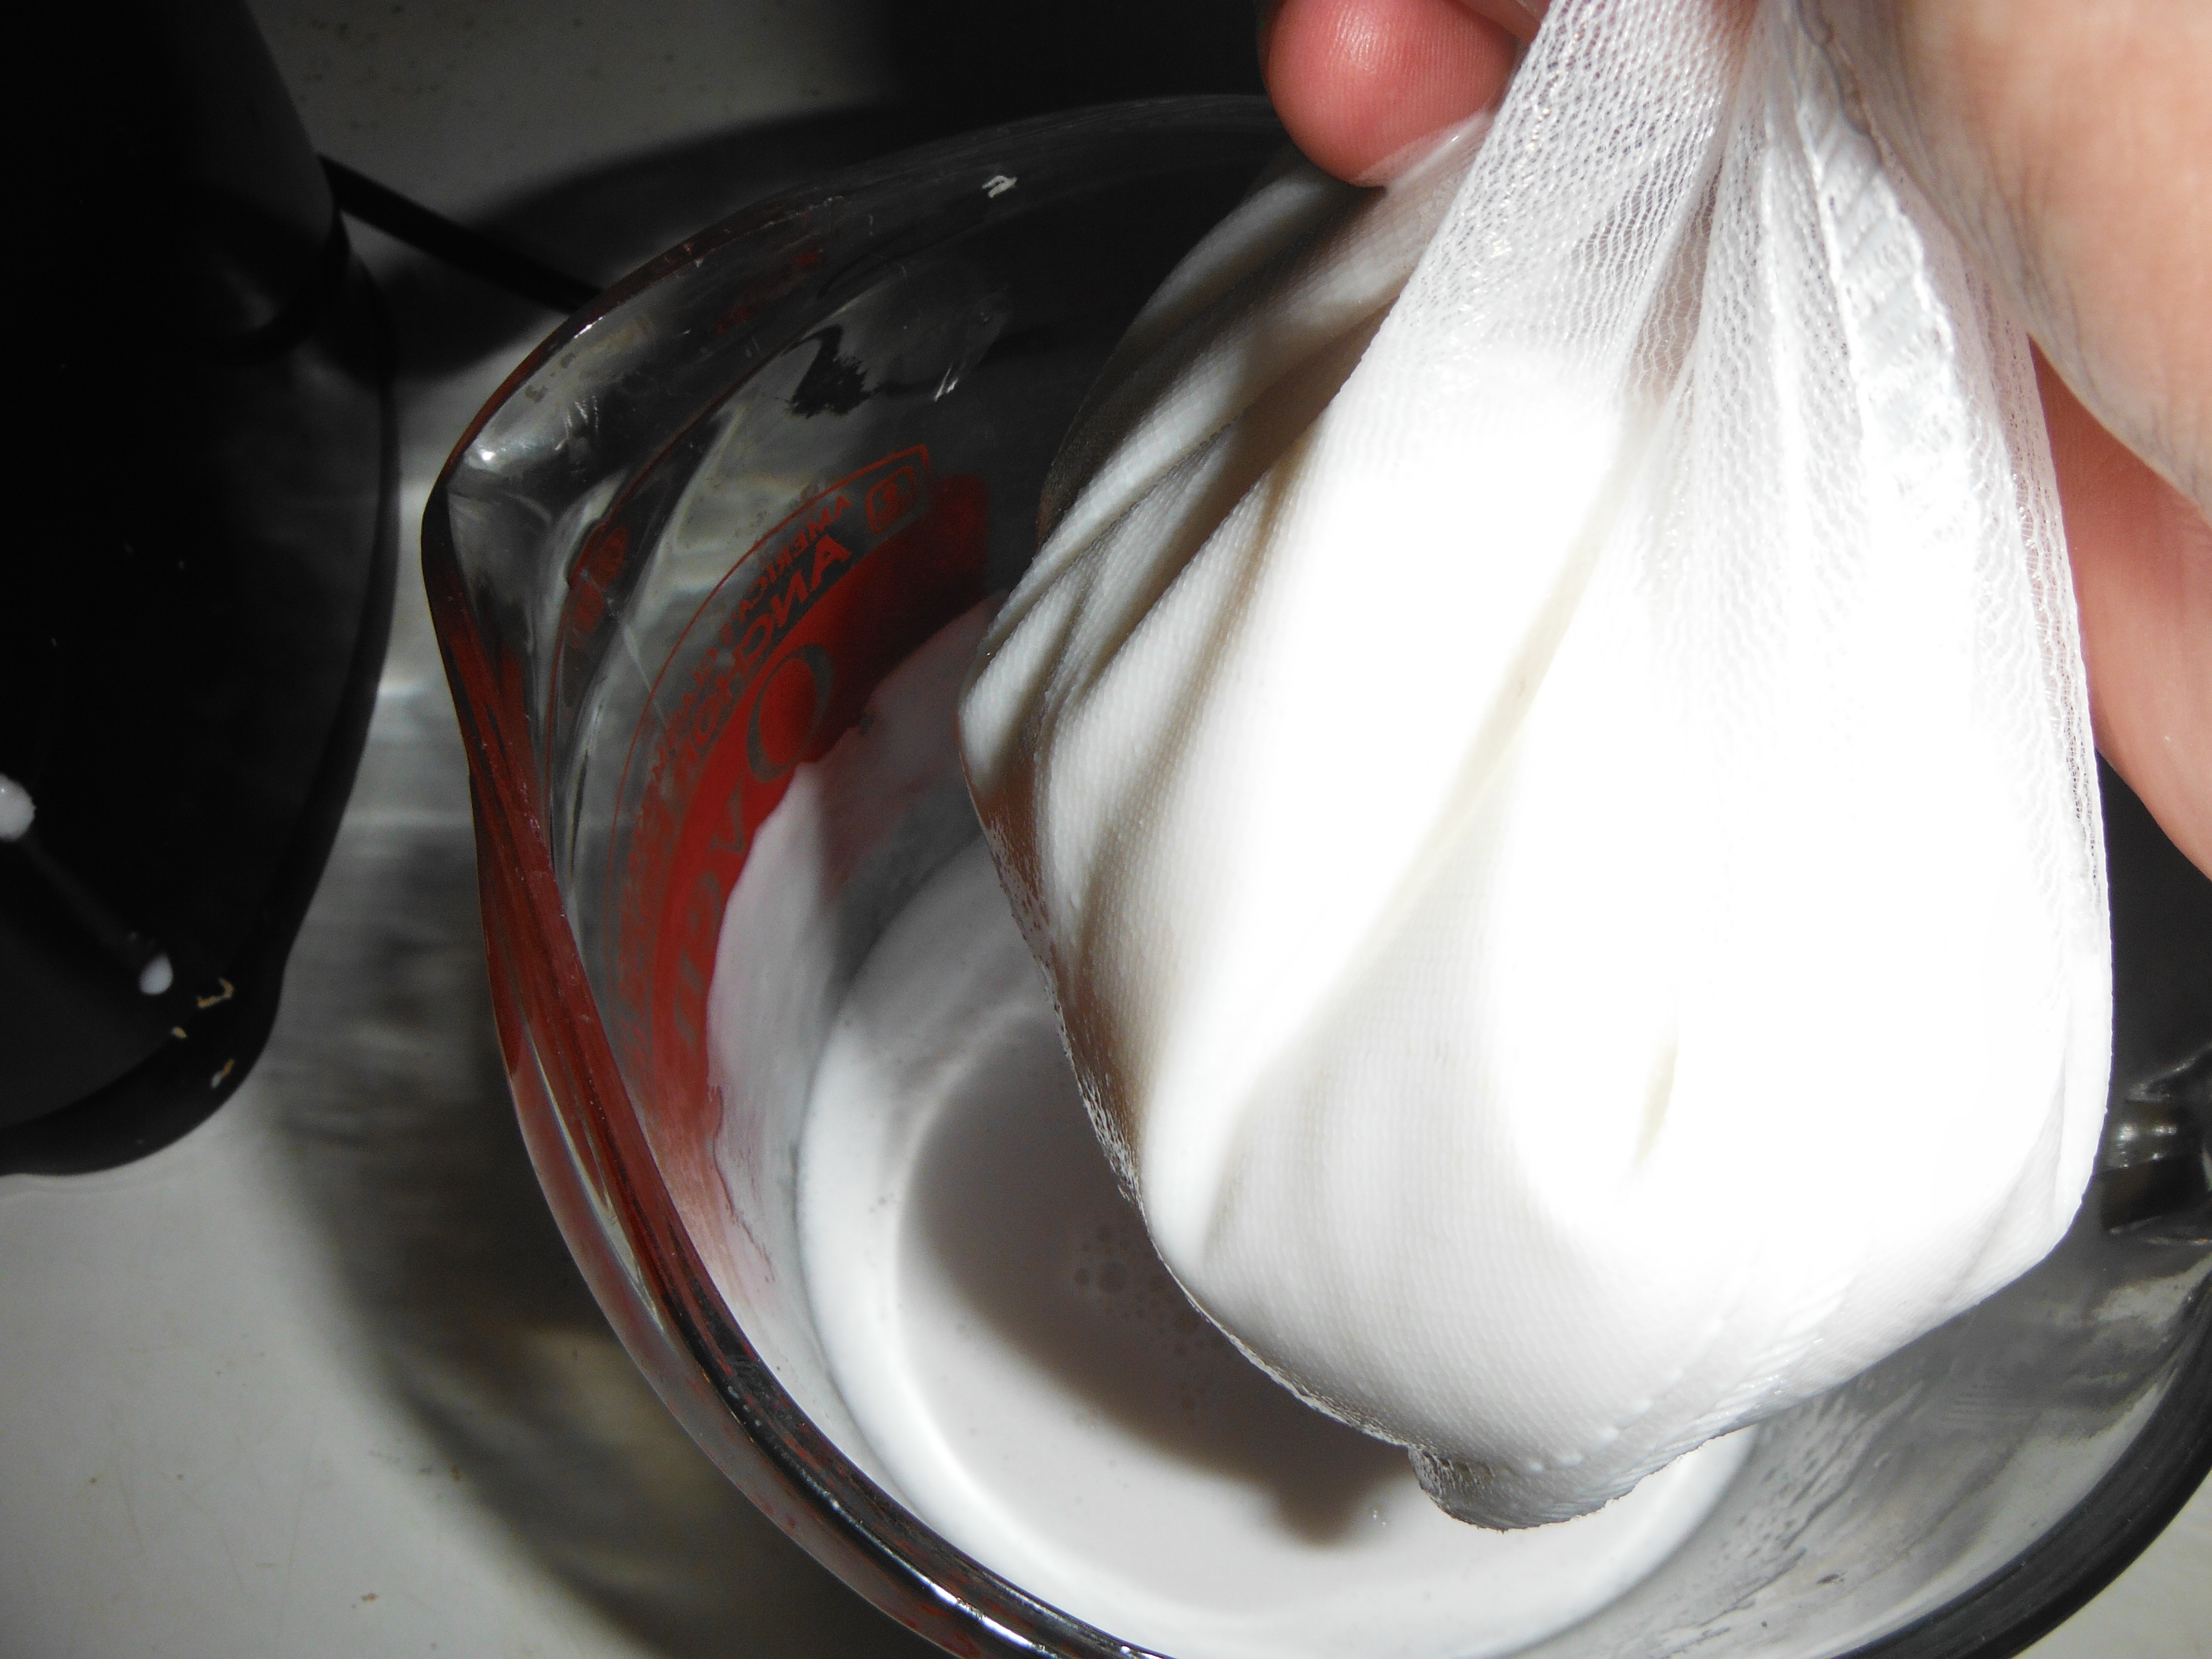
It will be hot, but do what you can to deal with it, and press and squeeze as much of the liquid out as possible. After you’ve pressed all of the liquid out, press it some more. And again. Obsess over it, this is Mother Nature’s goodness we are making here, DON’T WASTE IT!
It also makes drying the solids easier. I use the solids as a flour, wasting nothing but the husk of the coconut (anyone have a decent use for these things?)
(To make the coconut flour, simply spread the solids out in a thin layer and place in the fridge for a few days. The low humidity in the fridge will dry out the solids, allowing you to use them like coconut flour.)
Yield is about a pint of coconut milk. Cap it and store it in the fridge, or use it immediately.

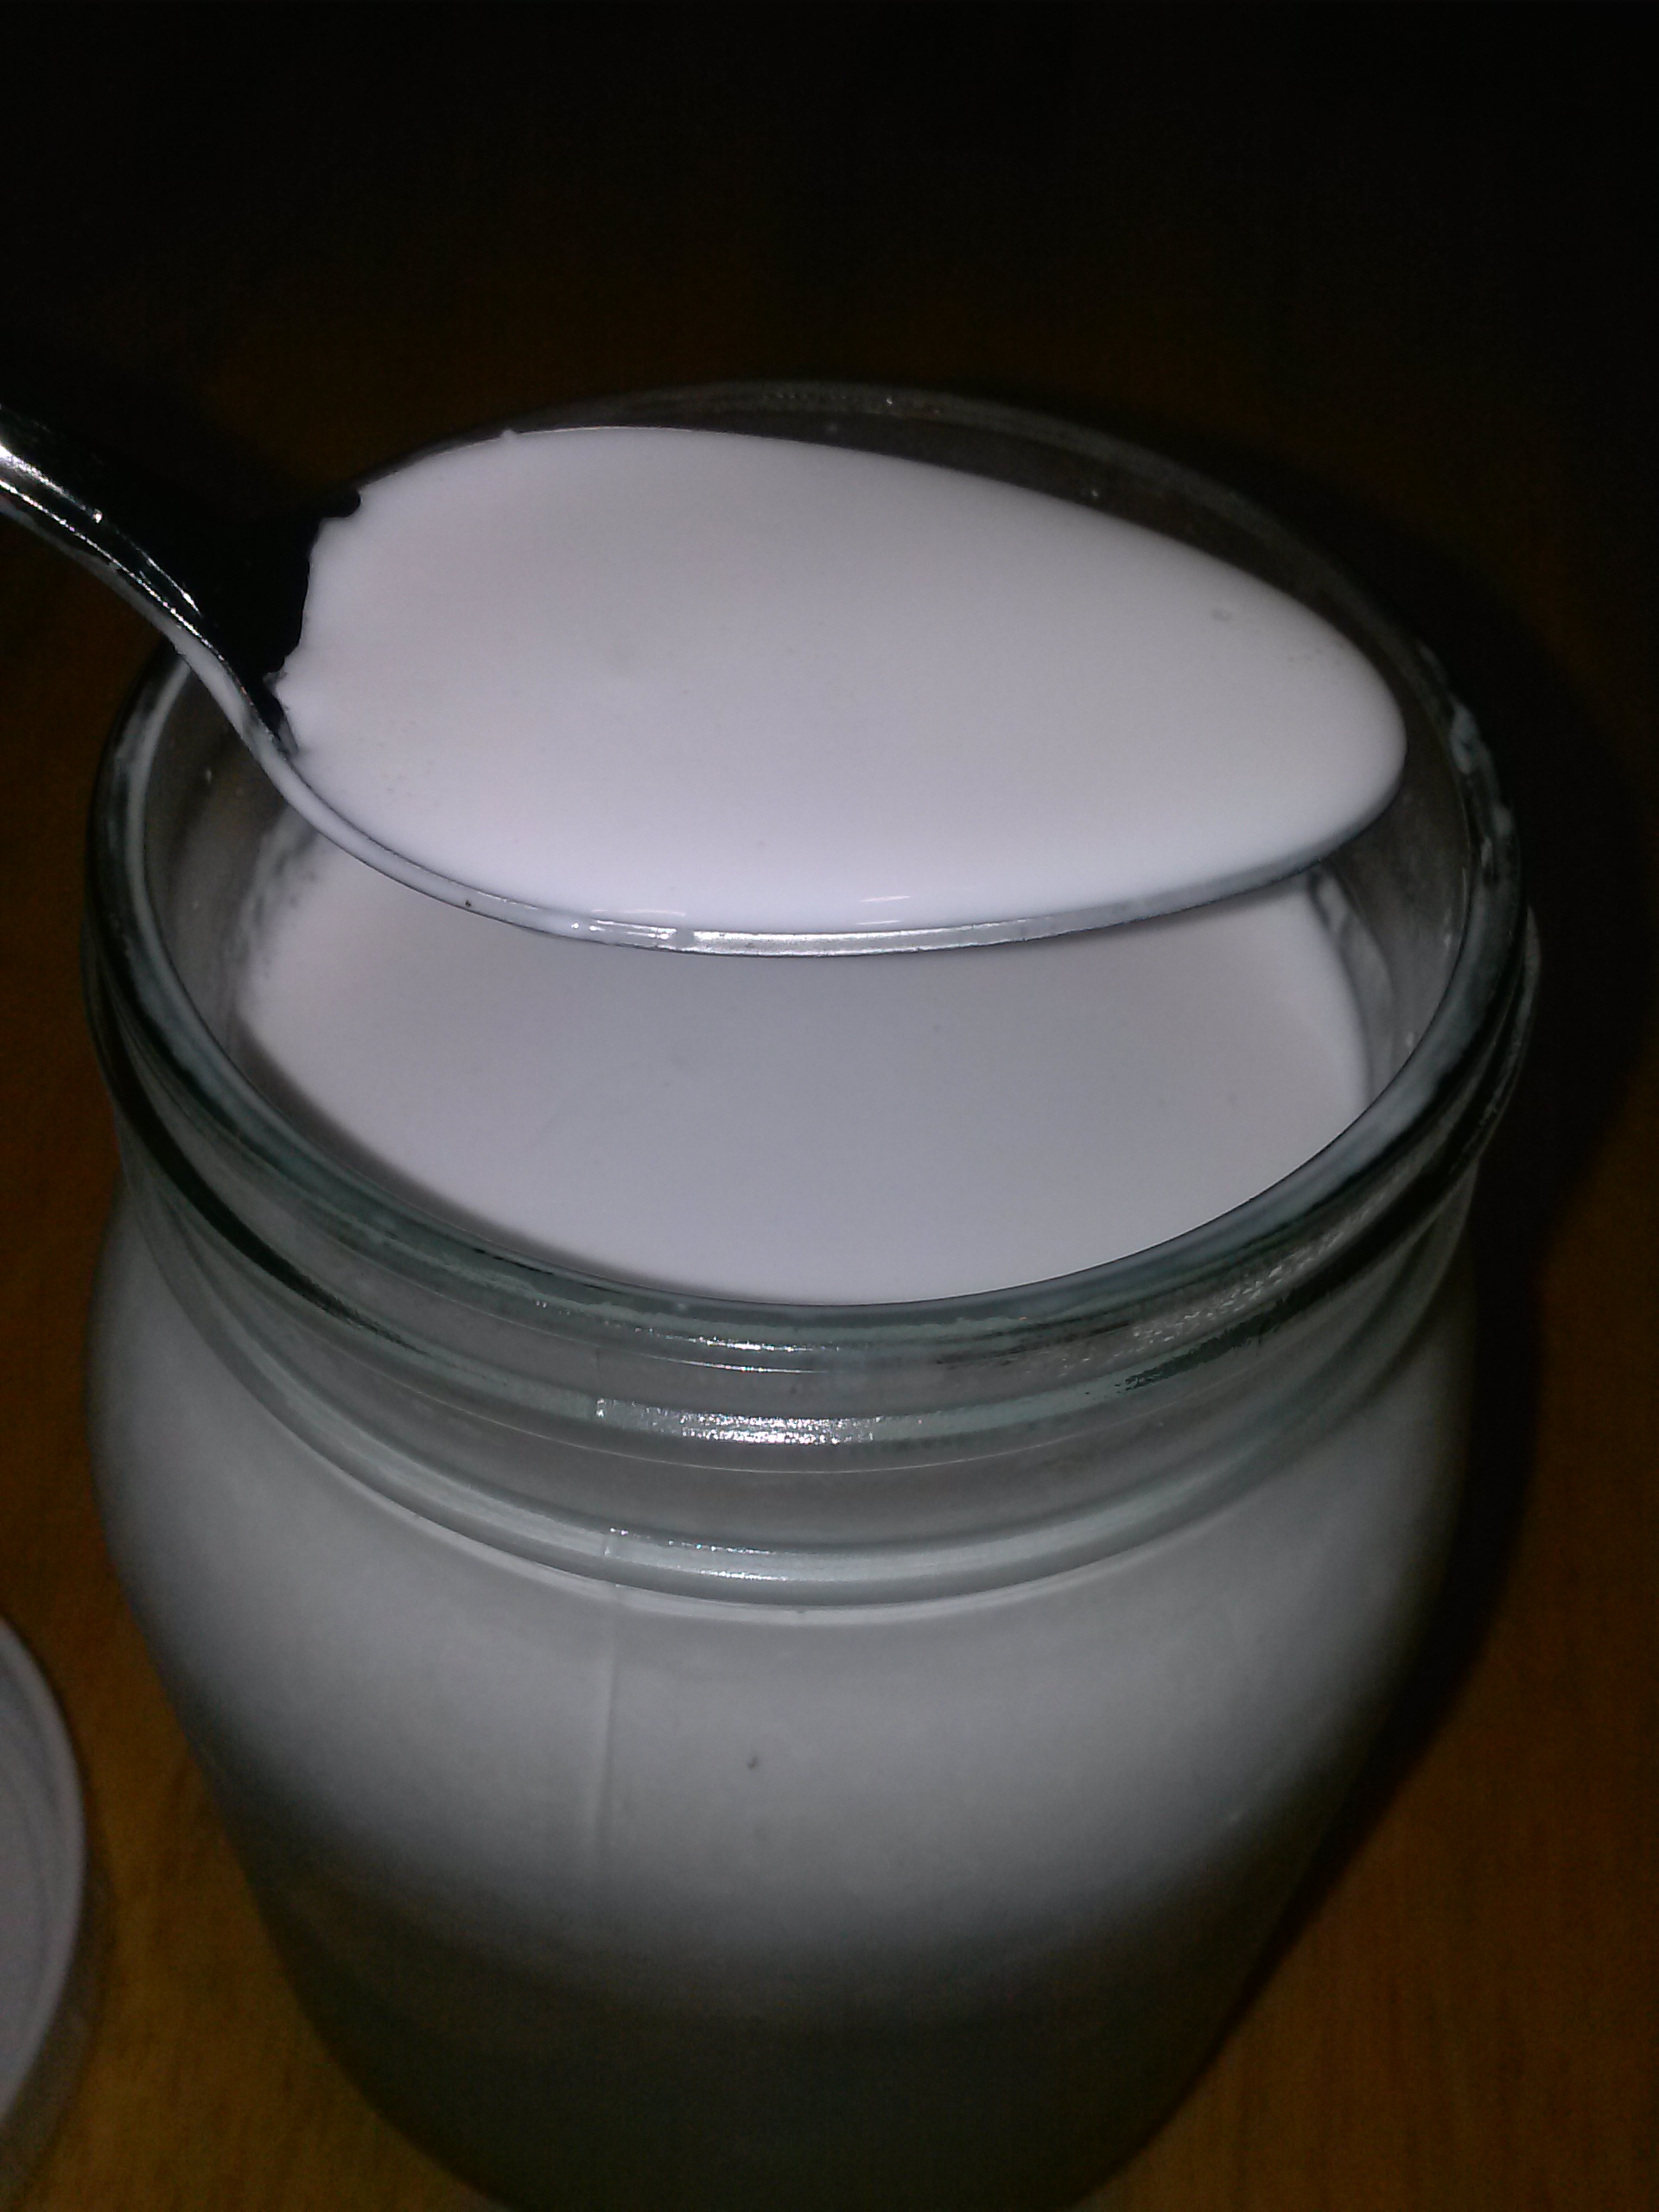
And here it is after sitting in the fridge overnight. The top layer is pure coconut cream, unsweetened, of course.
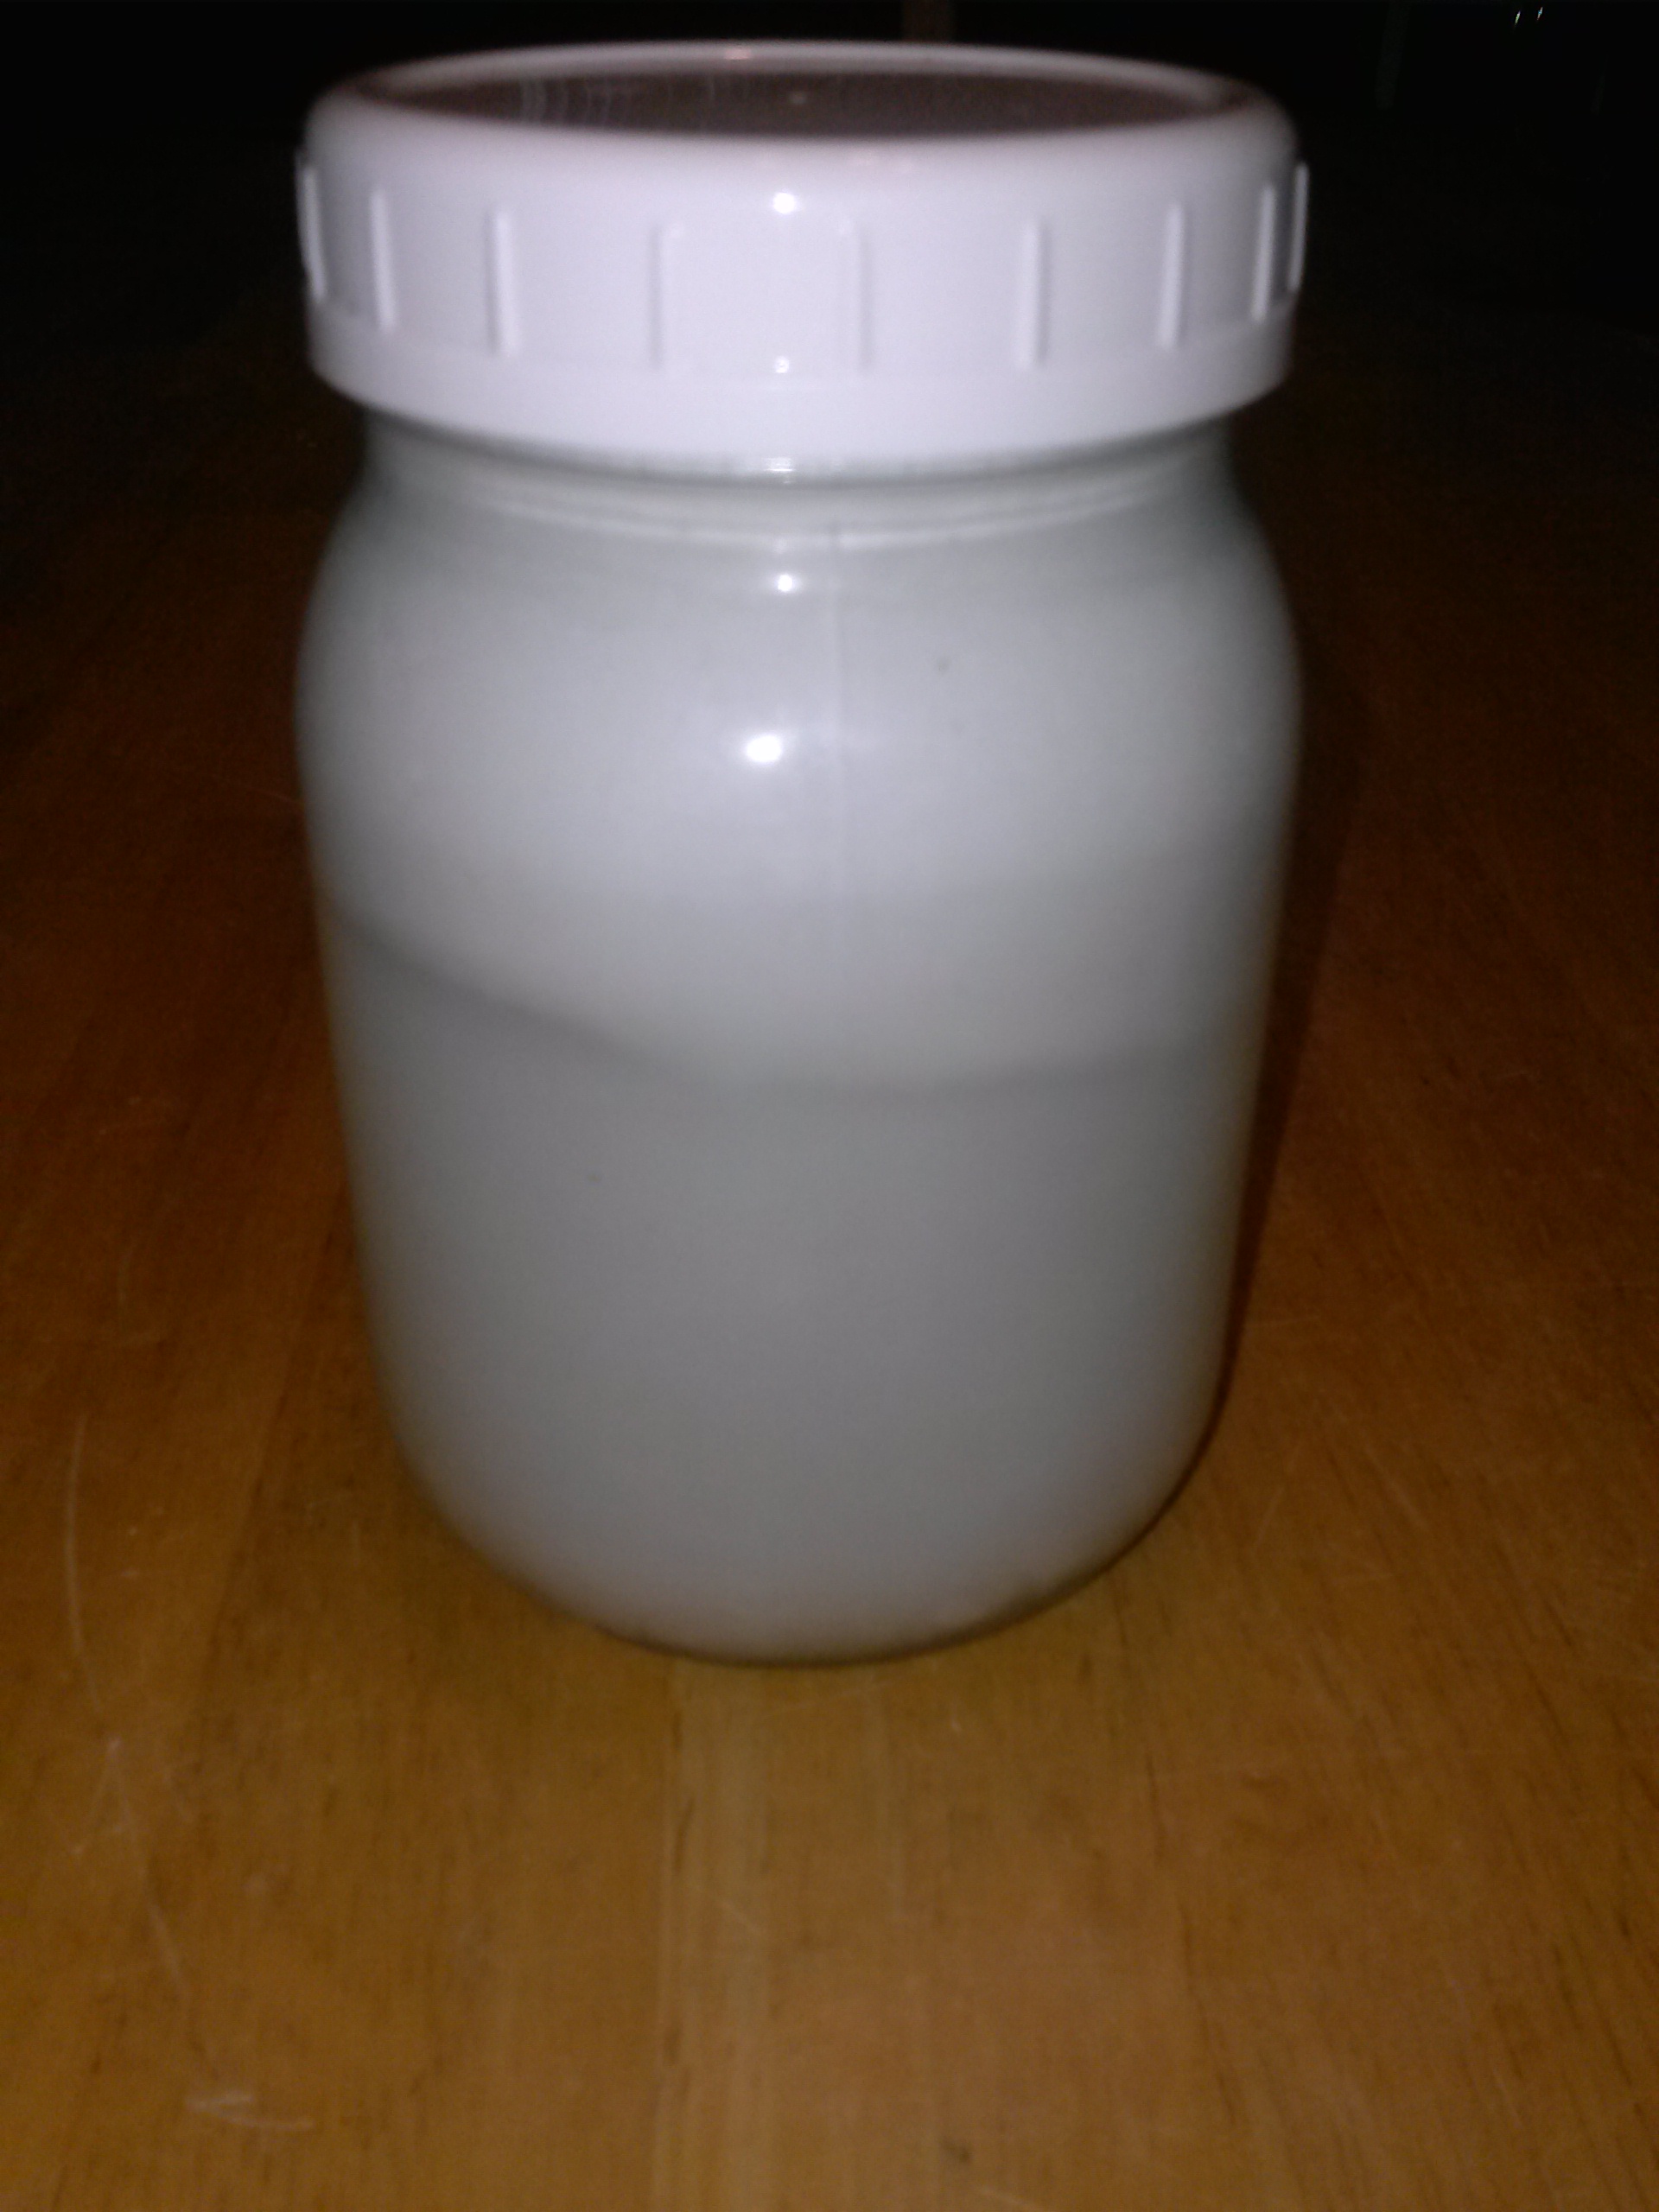
And the cream from the top:
This was a very simple project, and is now a part of our regular skill set. We probably won’t be buying much canned coconut milk anymore, rather buying unsweetened dehydrated coconut flakes instead. This will store longer, and still be useable for making coconut milk.
It is nice to have a reasonable solution to a problem.
Tomorrow, the CocoDrill review.
Peace,
db
As always, please “like” FloridaHillbilly on Facebook, subscribe to my feed, follow me on Twitter, add it to Google+, Pinterest, Linkdn, Digg, and/or tell your friends! The more folks that start behaving like ants, the fewer grasshoppers there will be left needing help.
Need something from Amazon (and who doesn’t)? I earn a small commission from purchases made when you begin your Amazon shopping experience here. You still get great Amazon service and your price is the same, no matter what.
The husk material can be dried into coir, which is better than peat for retaining mositure in your raised garden beds. You need a way to chop it up, though.
Any idea on how to chop it up??
Industrial grinder? 😉
I have never made it myself, but got a brick of it with my worm box (which subsequently died when I moved to Florida, too far north for coconuts). Figured it wouldn’t be too hard since most comes from “undeveloped” countries, but reading how it is made on the Google bot, looks like you have to soak in a clacium bath to make it not harmful for the soil.
I withdraw my idea as it doesn’t look feasible on a home scale. You could try composting it and see what happens?
I have used the husks for mulch. They hold a lot moisture as they age.
I wonder if they would make good mushroom growing media…
D: you said ‘nut milk bag’
I knew that YOU would notice…
Here’s a good use for husks….
http://m.youtube.com/watch?v=JHFXG3r_0B8
Don’t you have a teenager? Once they pass driver’s ed you could give ’em a couple to get around…
Not sure she would approve of that “model”
but it sure would be funny 🙂