I had the day free, so I went surf fishing. Subconsciously, I’m positive it was just an excuse to go catch some mullet, since I never bring a castnet to the surf…yet today I had one. Good thing, I was catching nothing in the surf. Things happen for a reason!
So I wandered north on Hutchinson Island away from Jensen Beach to drive along the accessible side of the river. This would keep me close enough for parts of the drive to see mullet swimming, should any be near shore.
Nothing 🙁
So I stopped at Vitolo Family park, a place I had planned on ending up when I finally went to catch some mullet for this project. I spent about 30 minutes scouting out the best area, settling on a mosquito ditch outflow, since it offered shelter and a deep pocket for the mullet to feel safe.
I waded into the river barefoot, as I failed to bring wading shoes of any kind. Taking it easy as I walked due to bare feet worked in my favor – I spooked fewer fish! After about 45 minutes of throwing the net, I had plenty of mullet, and at one point, had two stuffed into my pocket so I could try to nab more without having to wade back to my bucket.

Home to clean the fish!


I used a pair of garden shears to remove the fins and the tail from each fish, then scaled, de-headed, and gutted each one. My chickens joined me, and happily ate the fish scraps that I threw to them, no waste here!
I then headed to the kitchen to start filling jars with my clean mullet, only to find I was short on appropriately sized jars. Joy. Another trip out to buy supplies!


Buy the jars…….little ones so it’s like eating a can of sardines, not a bucket full!
A Big Bowl O’ Mullet!

Cut the mullet into appropriate size chunks so that they fit into the wee-bitty jars.

Add 1/2 teaspoon of salt

Add some Crystal sauce.

Following the manufacturer’s directions, add the lids and rings, then put them into the pressure canner. Again, following the manufacturer’s directions, process according to Ball’s recommended time. For my elevation, I use 10lbs of pressure for 100 minutes.
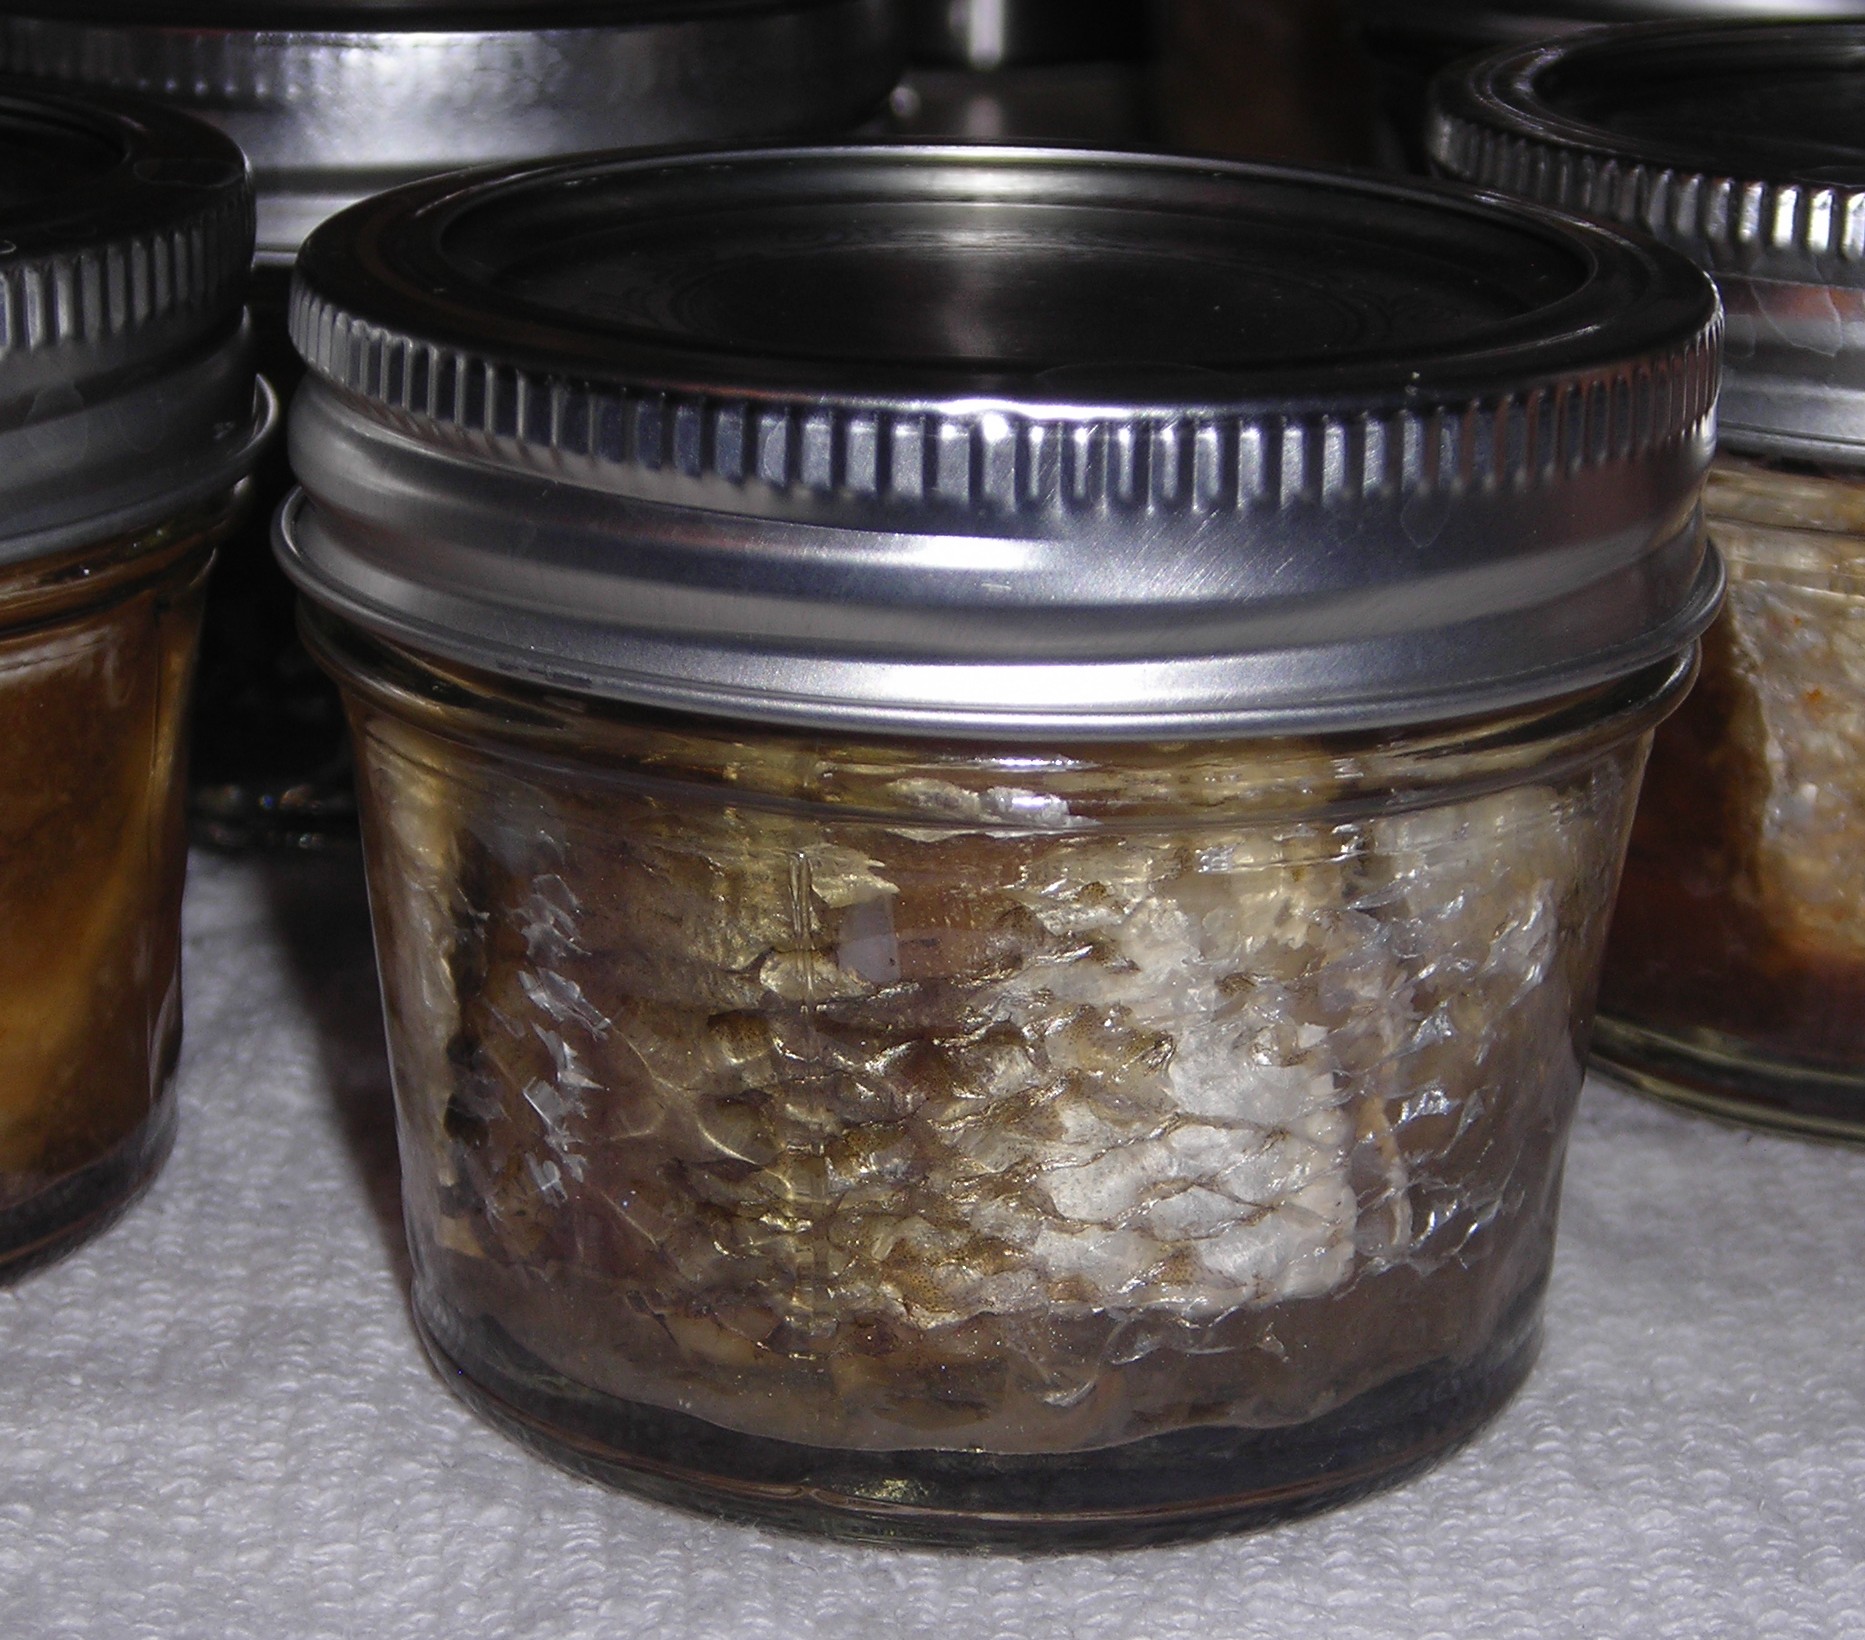
The end result – I have canned mullet!


Twelve jars of tasty goodness (I hope)
I need some mustard and a beer!
Notes:
- Plan better for canning by making sure you have the jars and lids you need BEFORE you start.
- Clean the fish somewhere other than the back yard.
- Start earlier. One round of processing takes about three hours from turning on the heat to pulling out the jars!
- A second set of hands would have made this SO much more fun and simpler. So plan on bringing a friend!
That is the whole thing in a nutshell! I enjoyed it, start to finish. I’m hoping it tastes at least passable, I hate the thought of wasting all the food and effort. Even if the taste of mullet is not good, I’ll be adding this process to my bag of tricks, only using other types of fish.
Stay tuned for “The Part 3 – The Verdict”
db
I’ve been following this very closely because I’ve been thinking there is probably a very good reason I have eaten a ton of smoked mullet dip and never even heard of “canned mullet chunks”. How long do you have to wait before you put it to the taste test?
Tomorrow I’ll be taste-testing with a friend. There will be a follow-up post 🙂
I am beginning to think that the mullet you jarred isn’t post worthy. Let’s hear the results already.
Its tomorrow morning’s post 😛
I was told to pace myself with content release.
And I saved you a jar 🙂
Excited to hear the verdict…..Like Barry said, there’s a reason we make smoked bluefish dip and haven’t even given canning the bluefish a second of thought. BUT, we might be missing out 🙂 With enough mustard and beer, though, it should be eatable!
Check back tomorrow…just set “Part 3, The Verdict” up for a morning publish time 🙂
db