Day three in my week long series about quail. I’ve written about my setup and my brooder live video feed, I’ve talked about my incubator, how I built it and the incubation process, and following along the quail timeline brings us to brooders.
Just as incubators are the replacement for a birds mother while the eggs are being hatched, brooders are the replacement for a bird’s mother while going form a newly hatched chick to a fully feathered bird able to handle the environmental temperatures on its own.
Brooders provide shelter, heat, and a place to provide food and water to the birds. For me, they also provide entertainment. I can watch for hours while the little birds exploring their new world and each other, eventually fall over exhausted from their efforts, and wake up later and do it all over again. And for even more entertainment, throw a small bug into the crowd and watch the shenanigans start.
The Enclosure
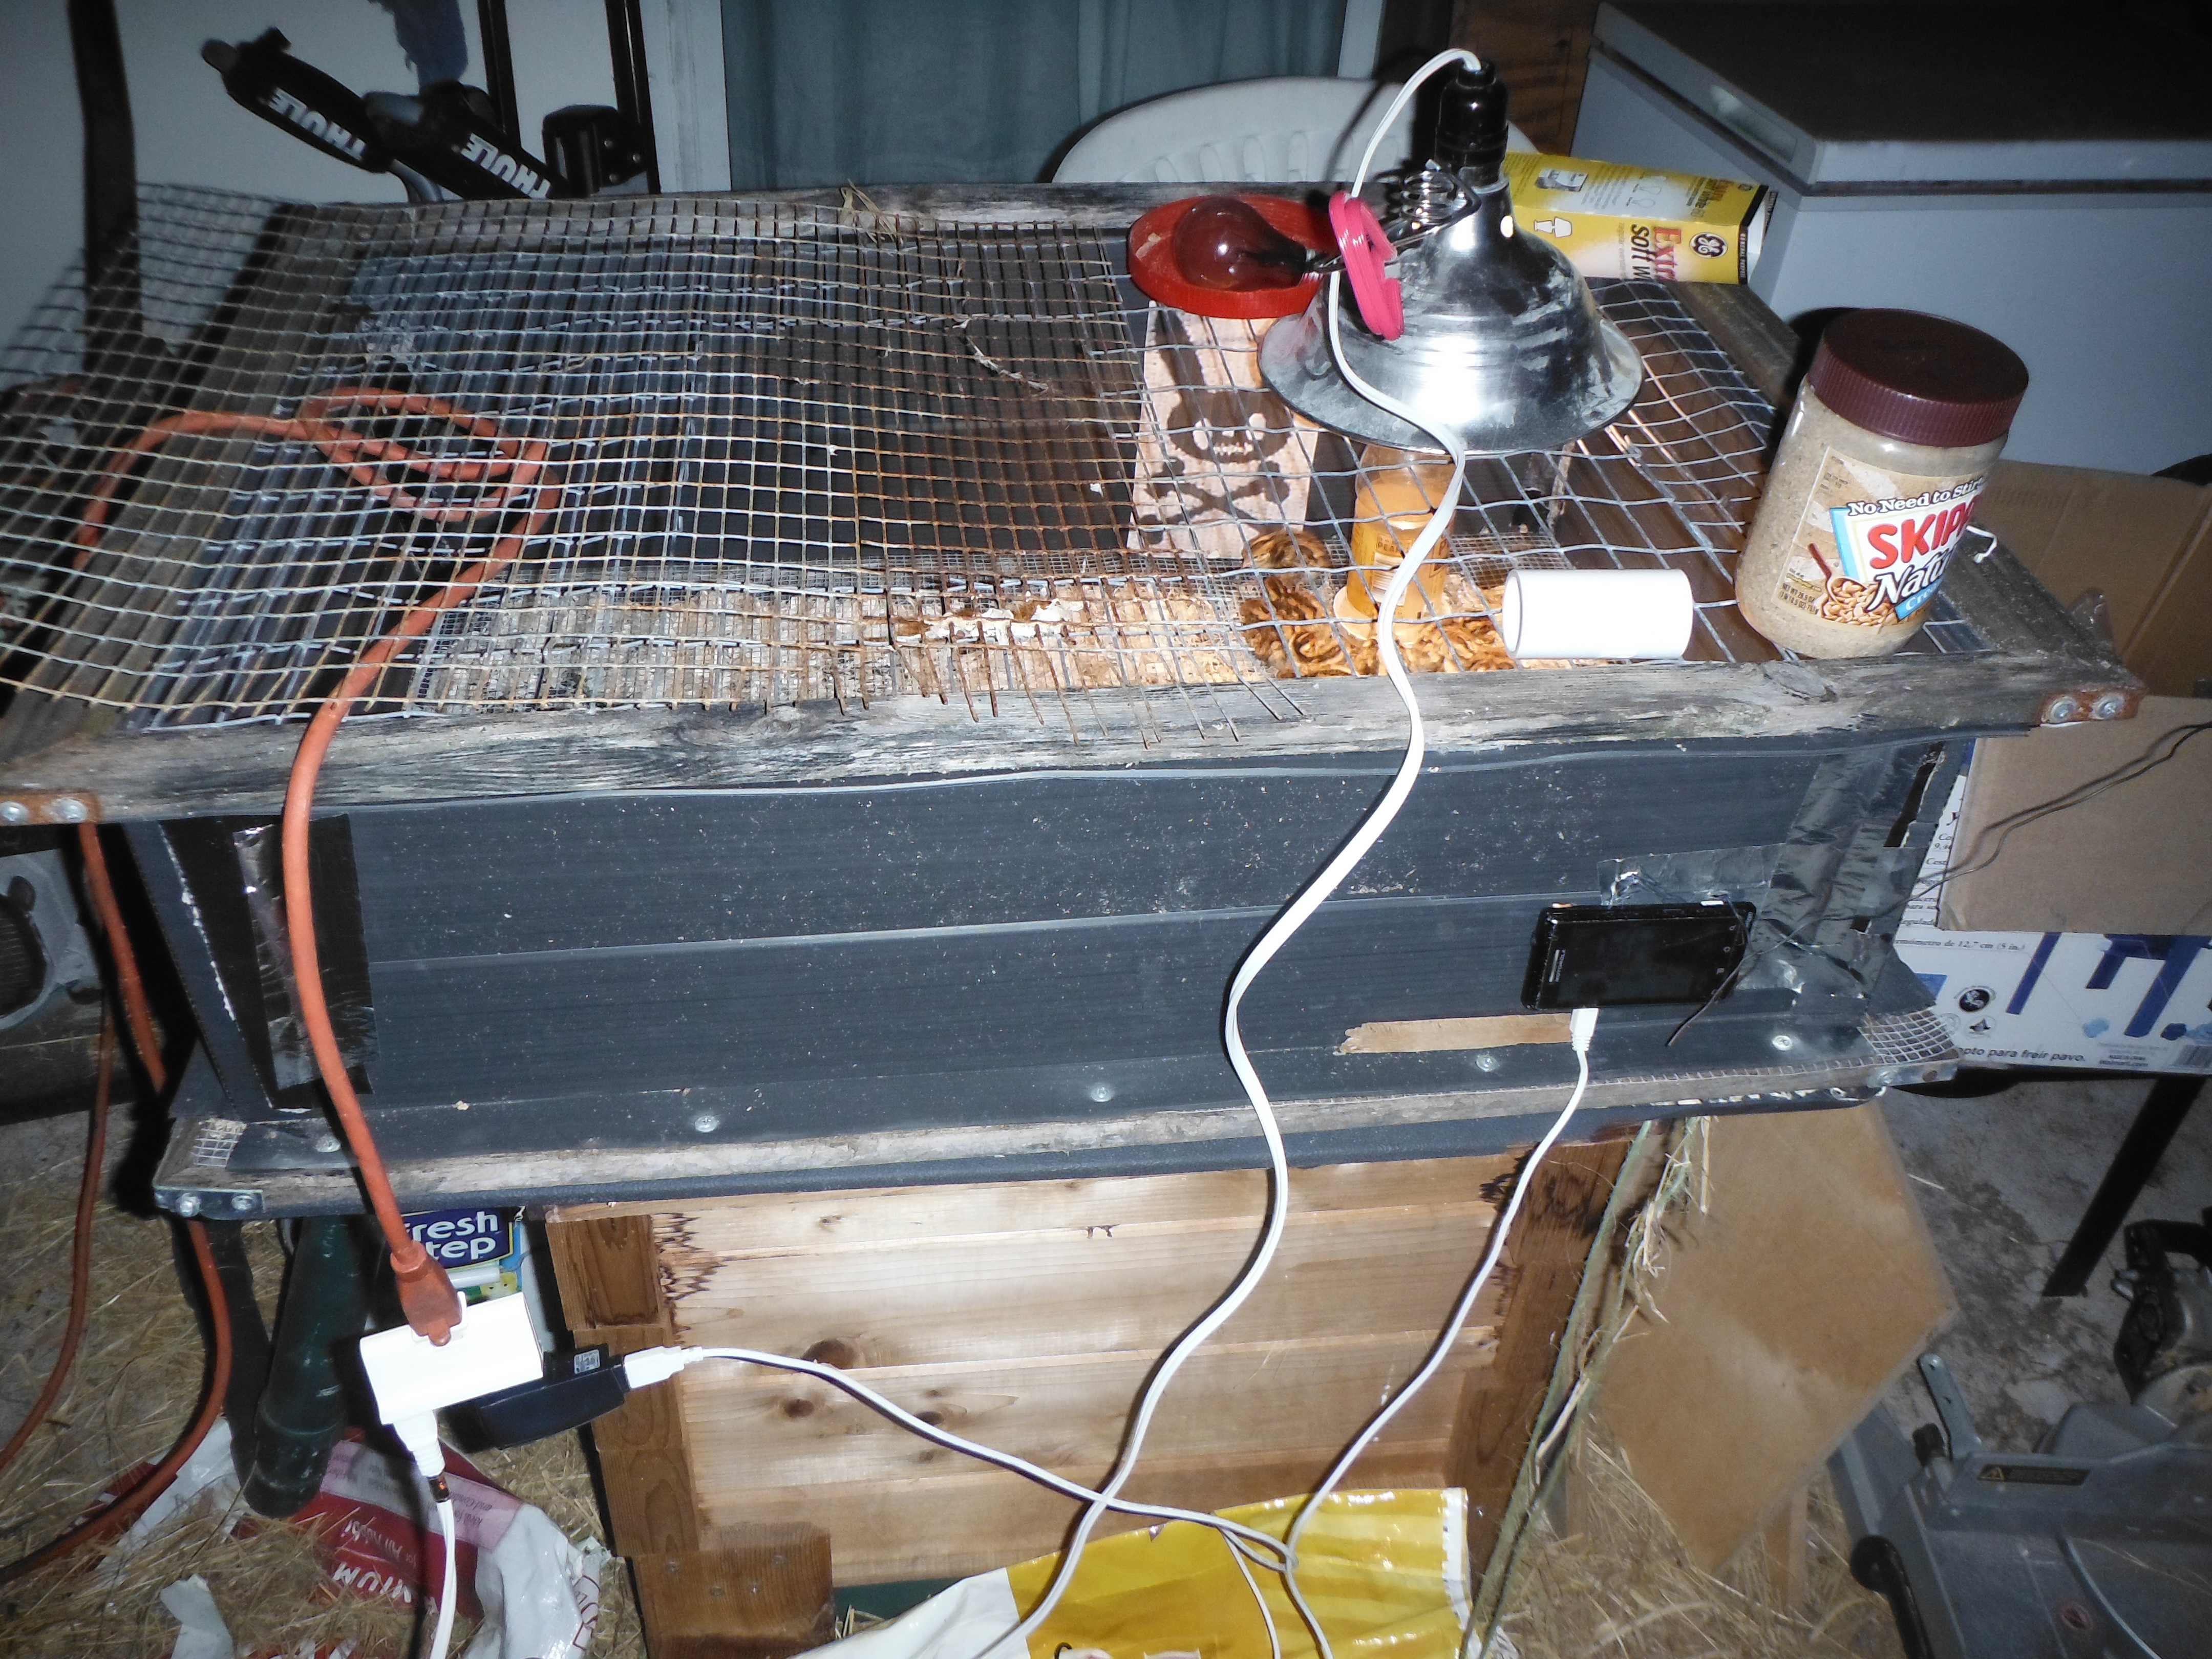 For my brooder, I followed the directions found here. Made from the same corrugated plastic that the push in signs you see along the roads are made from, it is very light and yet durable. I was able to source the coroplast at a local sign shop. I opted to go this way, since it was water resistant, thus easier to hose out and clean up. Mine had been sitting in the back yard in the brutal Florida sun for over a year, and I only had to replace two pieces of tape at one seam.
While I went through the trouble of making mine, it was not my first. The first brooder I used was simply a large cardboard box that was about 2 foot by 3 foot and about twenty inches tall. I placed a board across the top to suspend a light bulb, and called it good. And it worked fine, although I had to discard it after the first batch of birds. Even with aspen shavings in the bottom of the “brooder”, the waste soaked into the cardboard and ruined it from the next use.
I’ve also used Rubbermaid totes with decent results, but have settled with the coroplast brooder because it was fun to build, cost less than $20 in materials, and is easy to clean up between uses.
For the bottom of the brooder, you can use aspen shavings as an absorbent material, it works well. Avoid any pine-based shavings though, I’ve been told it messes with their lungs. The way I do it is to have 1/4 inch hardware cloth on the floor over top of a tray with shavings to catch and absorb all the waste. This allows me to change out the tray without disturbing the birds as much.
Heat
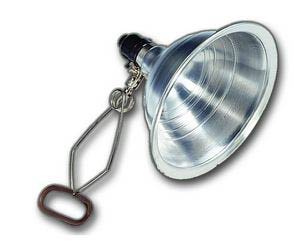 As a heat source, I use a regular 40 to 60 watt incandescent bulb, the kind that are starting to be hard to find. I mount it in a metal cone shop work light that looks like this ( pic on right). Since my brooder has a wire top, I simply place it on the top, face down. You can see this in the picture above.
The way to tell if you are providing the proper amount of heat is to watch the birds.
If they are huddled up directly beneath the heat source, it isn’t enough. Either put in a strong bulb, or move it closer, being sure to not have it so close that they can burn themselves.
If the birds are scattered to the edge of the enclosure, it is too hot, move the heat source away, or use a weaker bulb. When I first got started, I was using a heat lamp bulb that cost me $15, and found it was simply too hot for my use. This might not be the case if you are in a colder climate. Remember, the birds will let you know what they like.
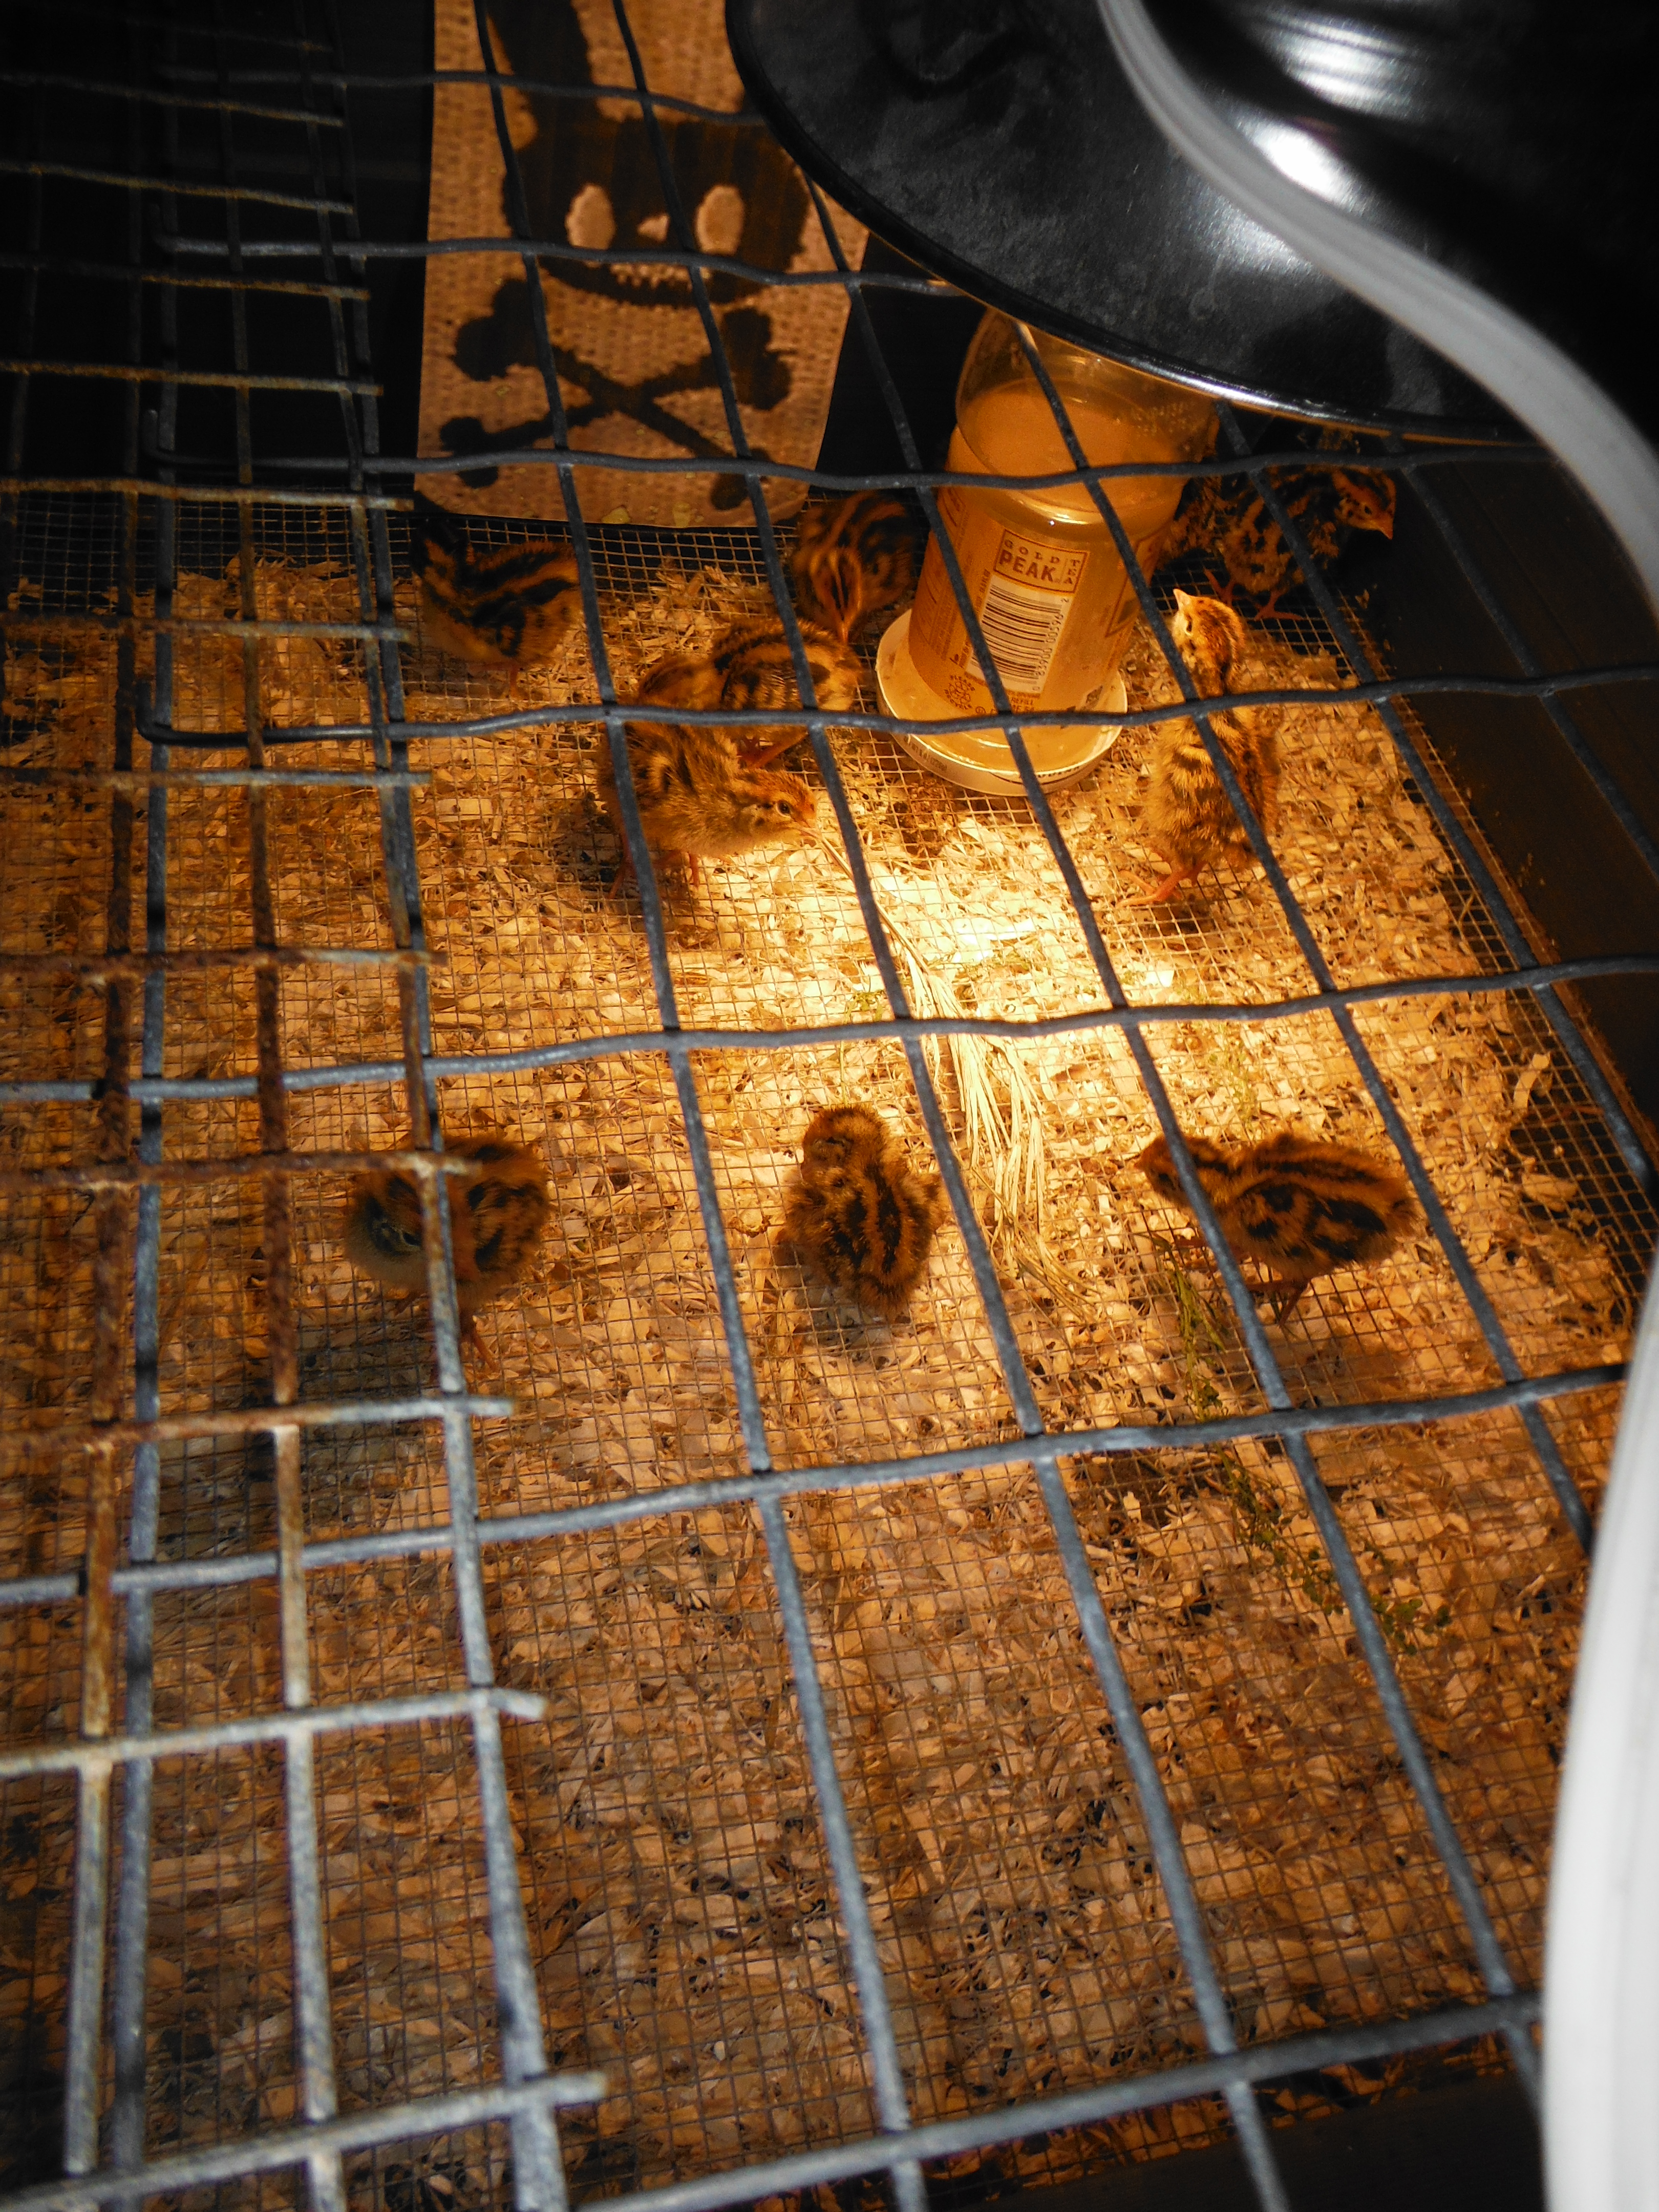
If the birds wander around the entire pen, and don’t seem to huddle up too much, you are about right on the heat. This picture is a good example of how they should behave in the proper temperature:
Remove the heat a little more each week, and they will adjust to their environment. I usually don’t use the light any more after the second week. Again, I’m in a sub tropical climate, this may not work for colder climates. The birds WILL let you know!
Water
Lack of water is probably the fastest killer of young birds. Be sure to provide plenty of fresh clean water ALL of the time.
My first waterer was a store bought screw on attachment that turned a Mason jar into a waterer. It worked very well, but I found that it had been stepped on and broekn, being made from cheap plastic.
No worries, the concept of a gravity feed waterer is simple enough, so I made my own.
Making a chick waterer
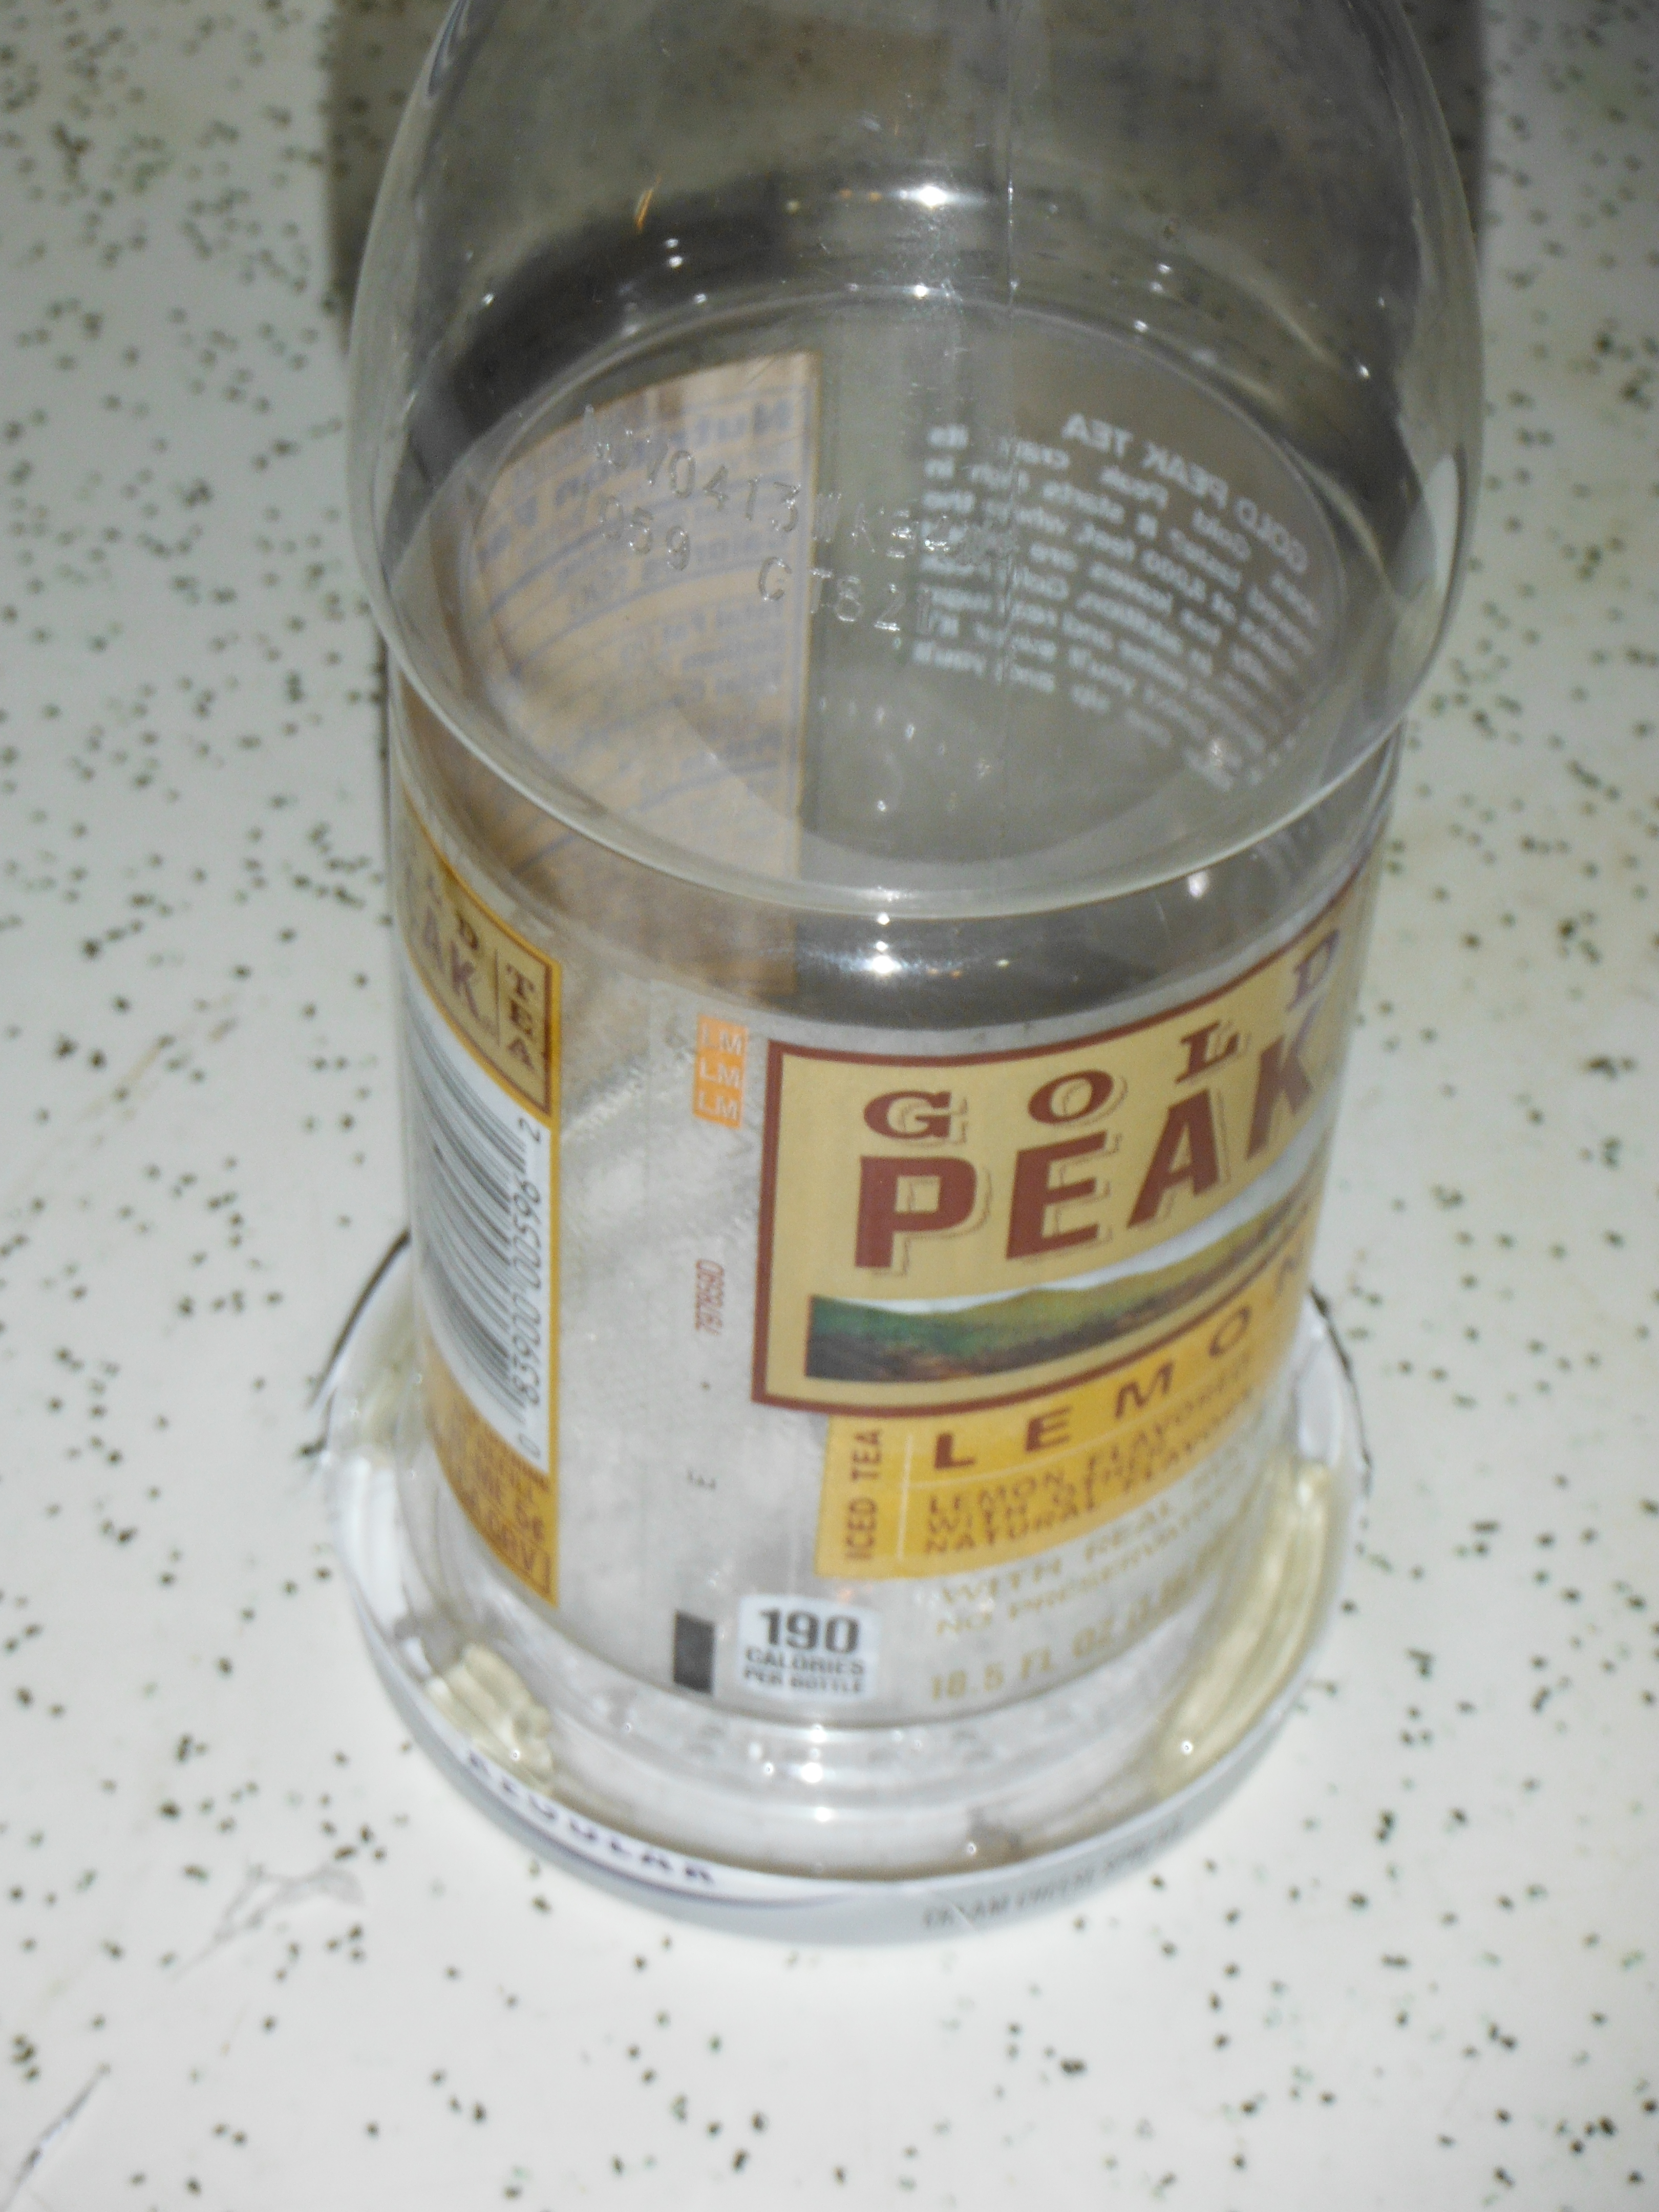
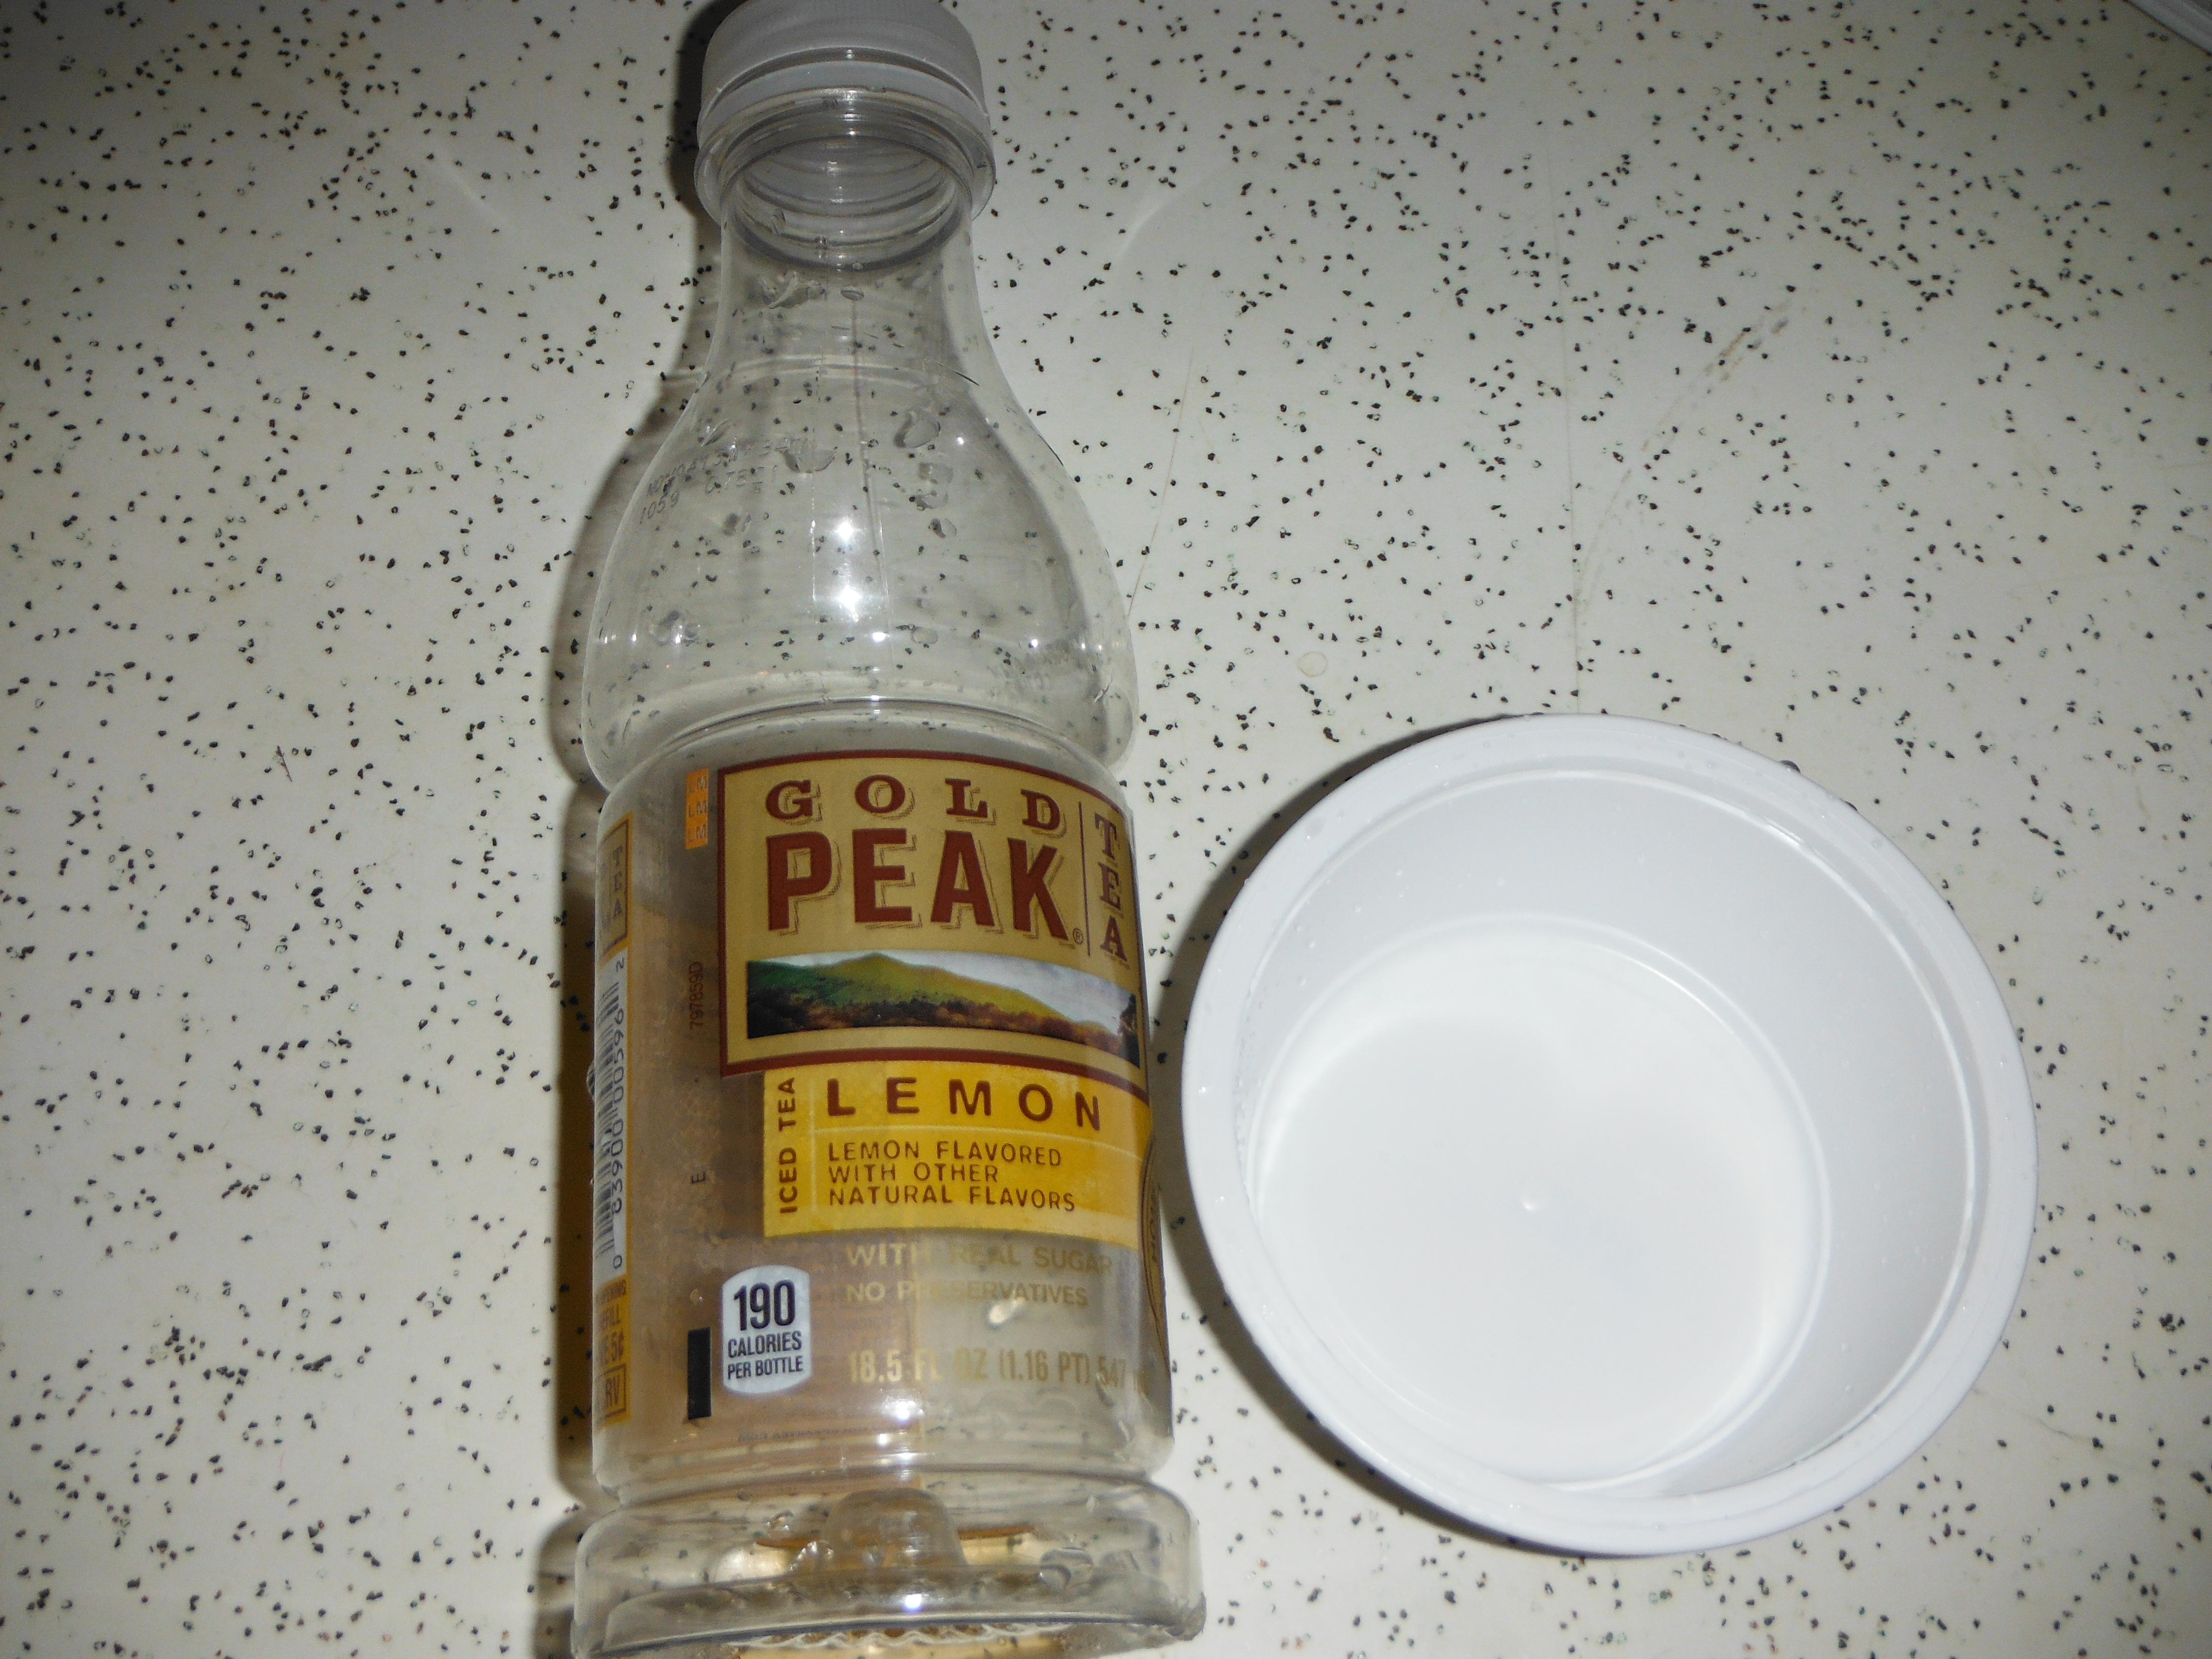 You will need a large mouthed plastic bottle, a small plastic bowl that the bottle fits into without much play, and a knife, scissors and possible a saw
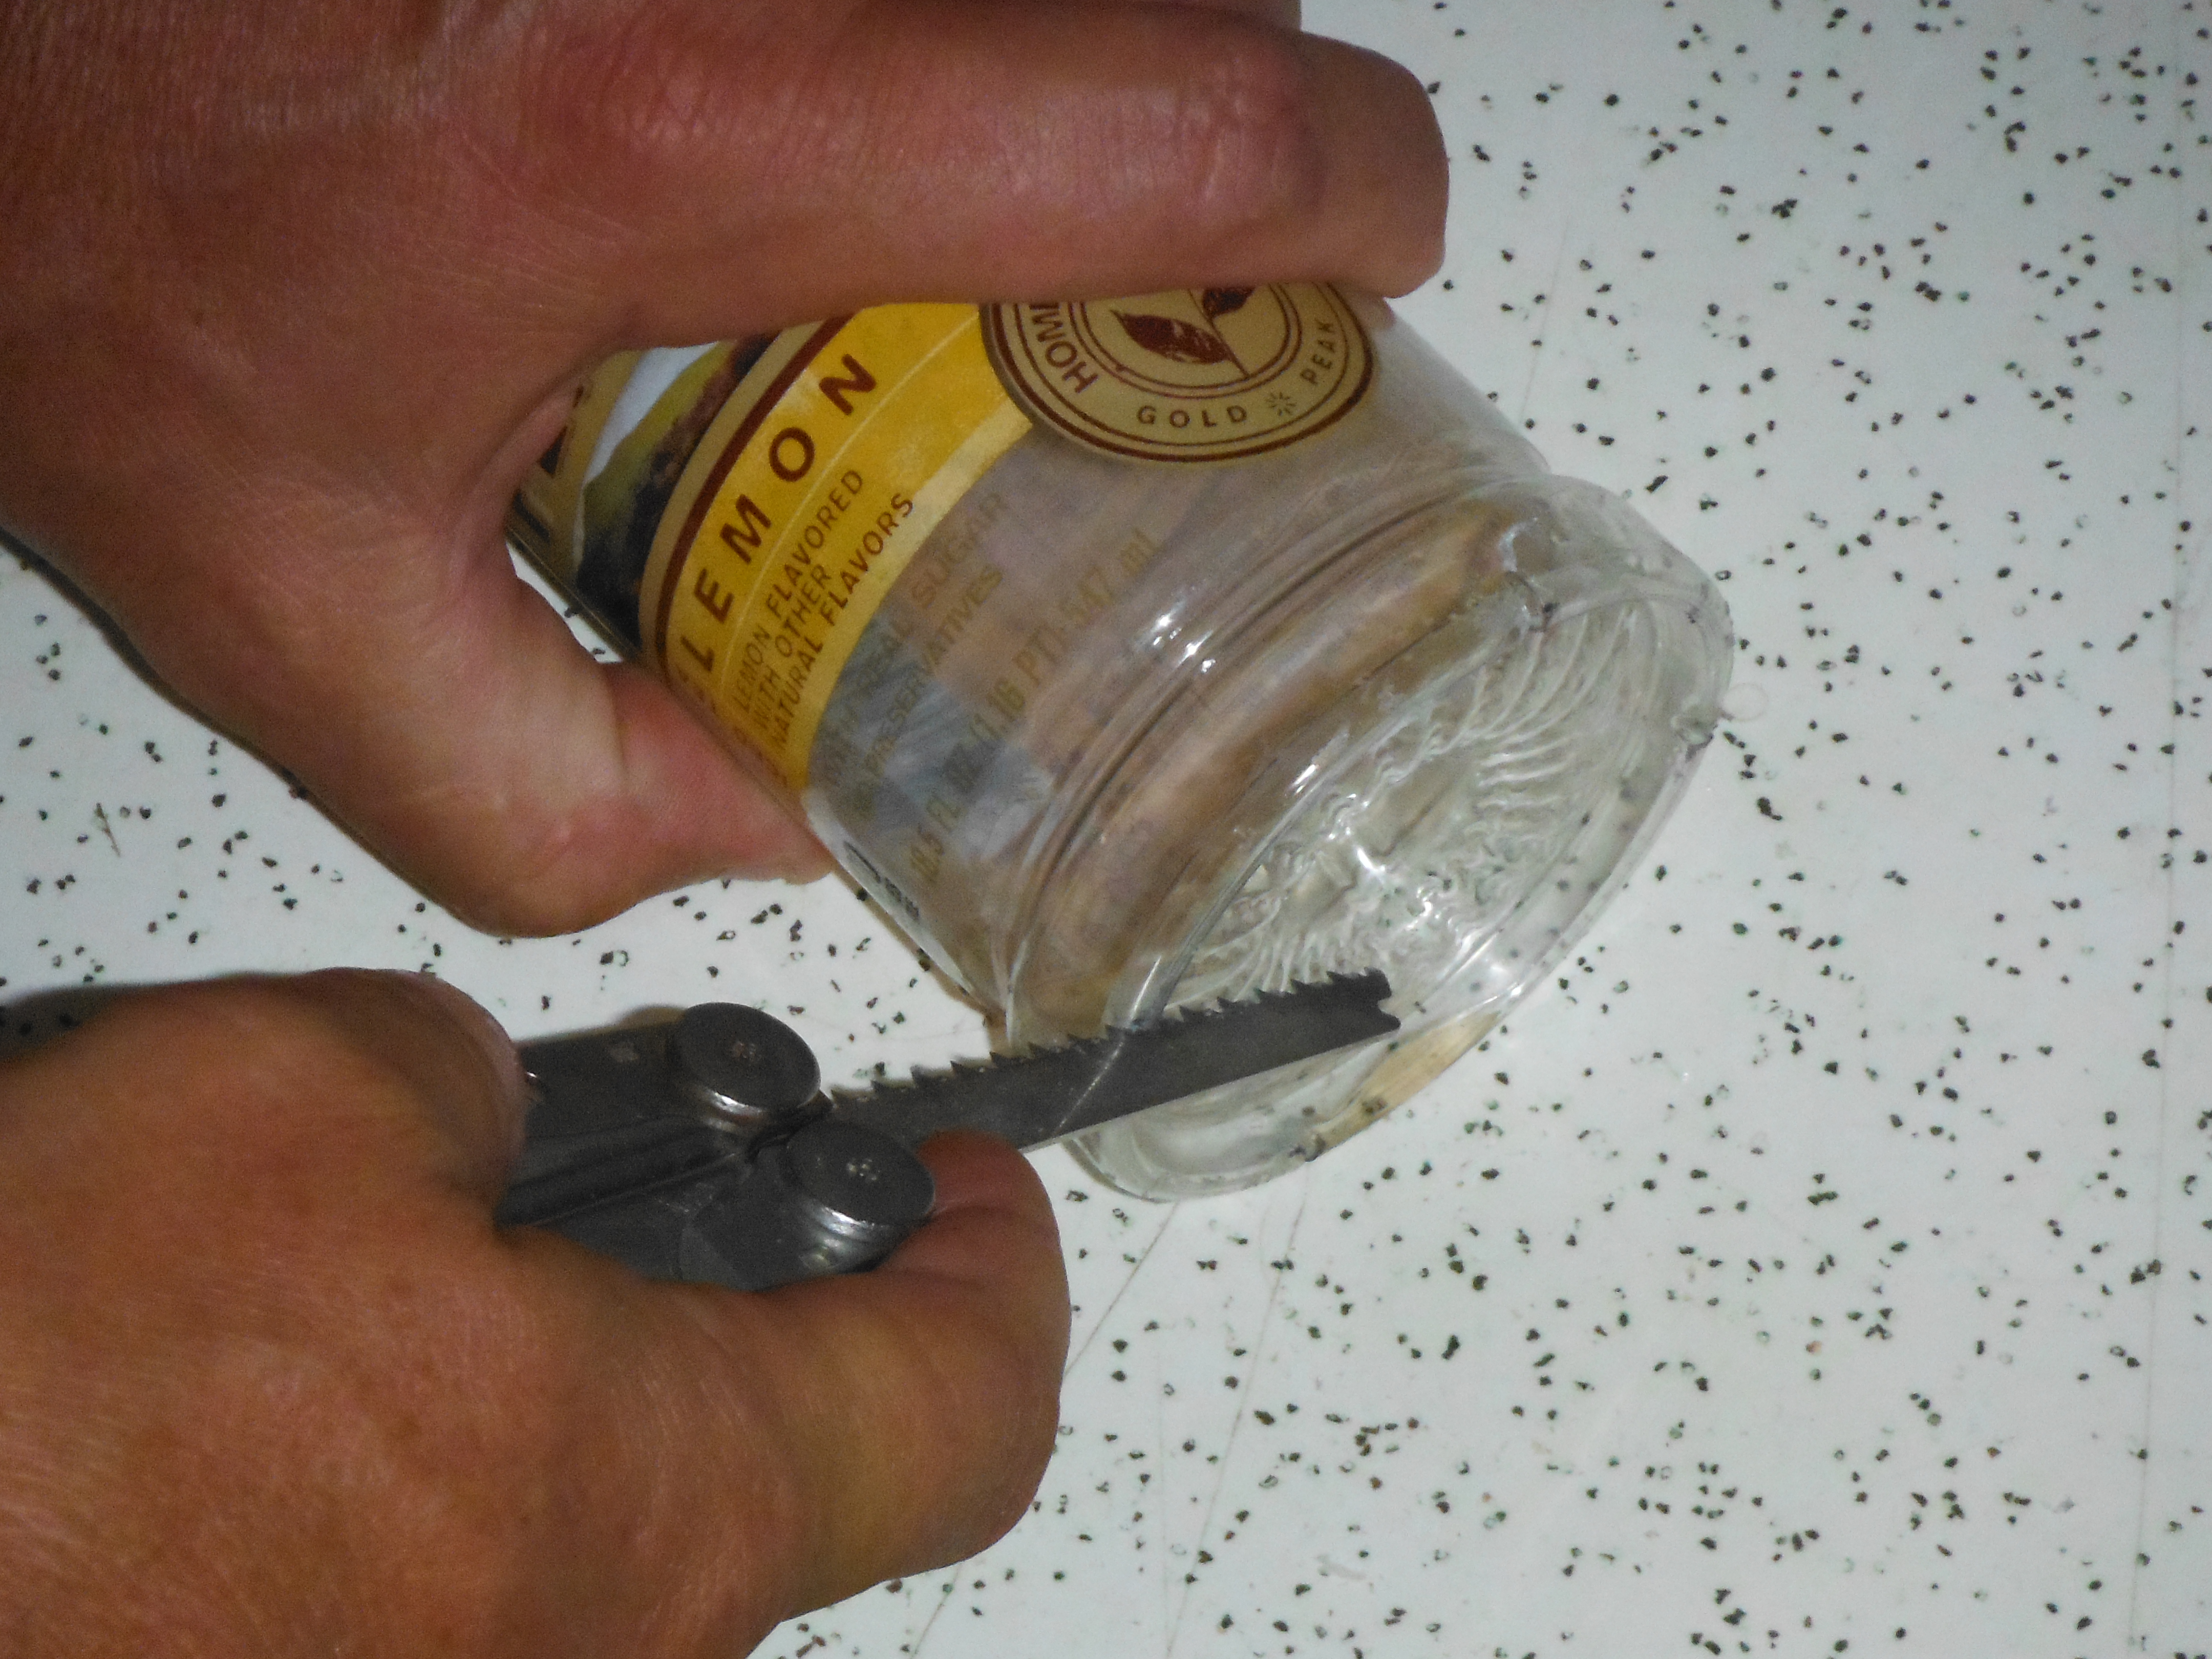 Take the bottle and cut notches on the bottom, enough for water to run out. I did this at 4 spots to allow plenty of flow.
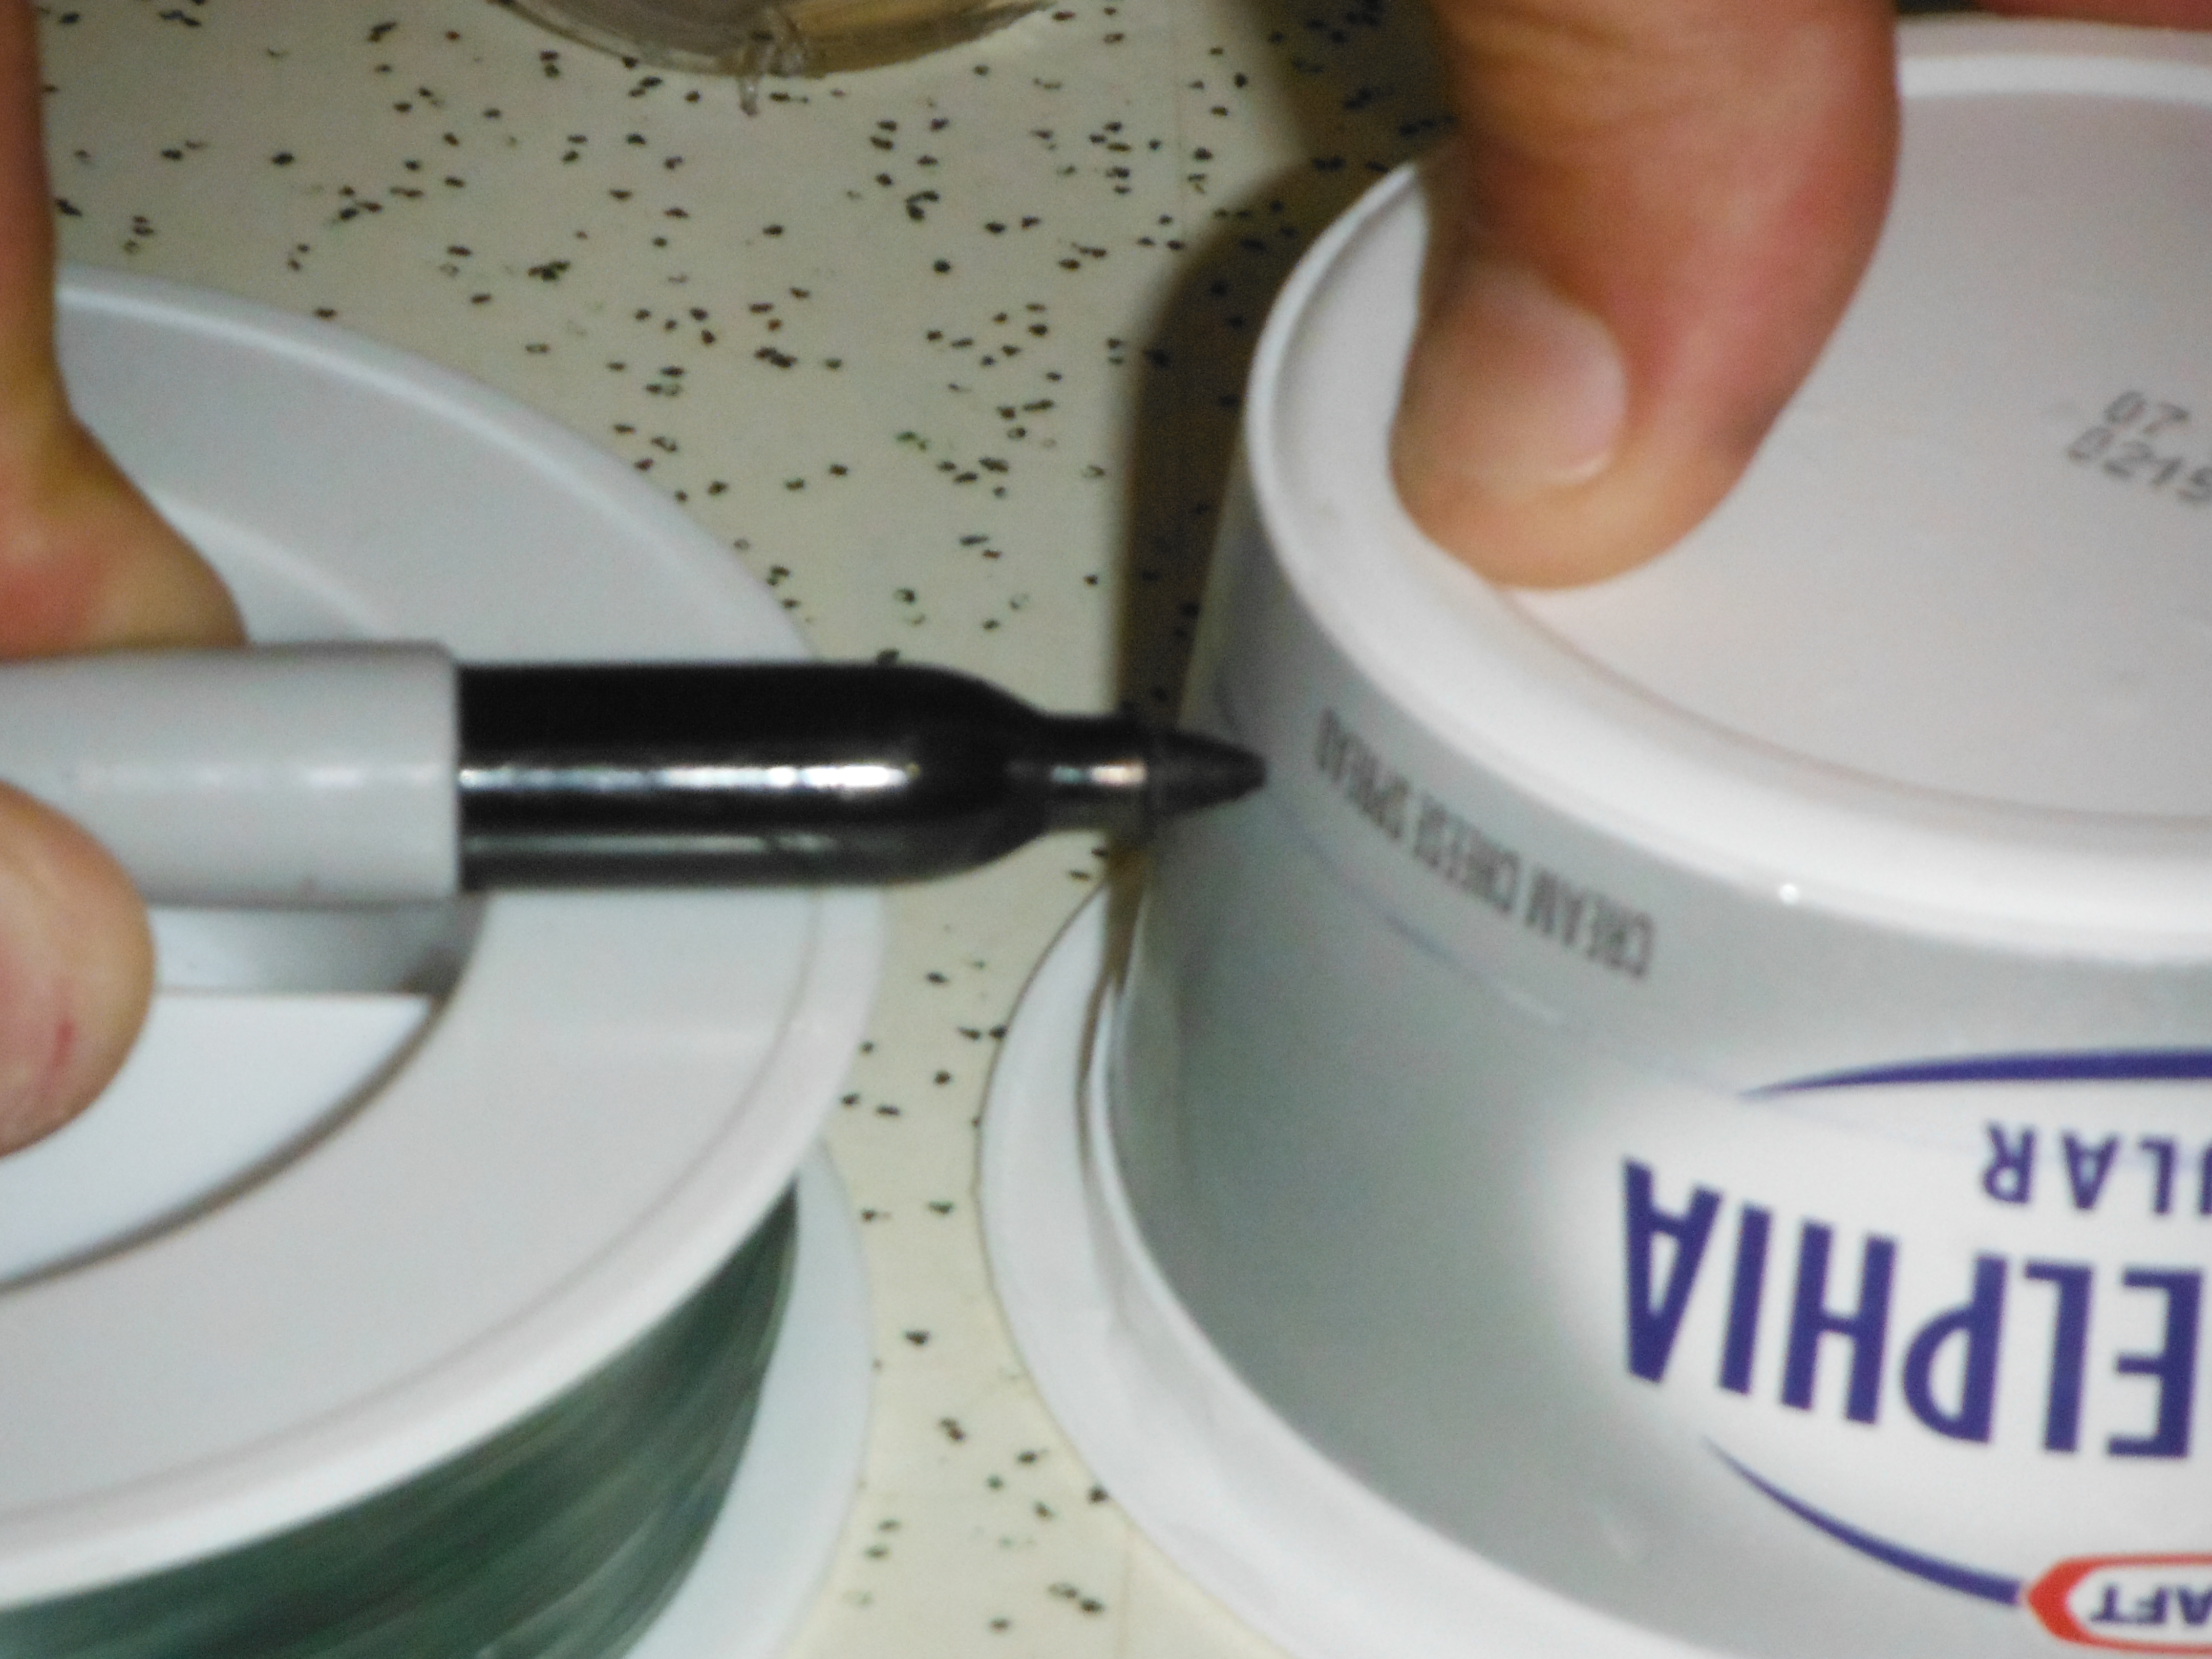 For the bowl part, mark it at a level that the birds can reach over, but not so low that the cuts you made in the bottom of the bottle sit above it when the bottle sits inside the bowl.
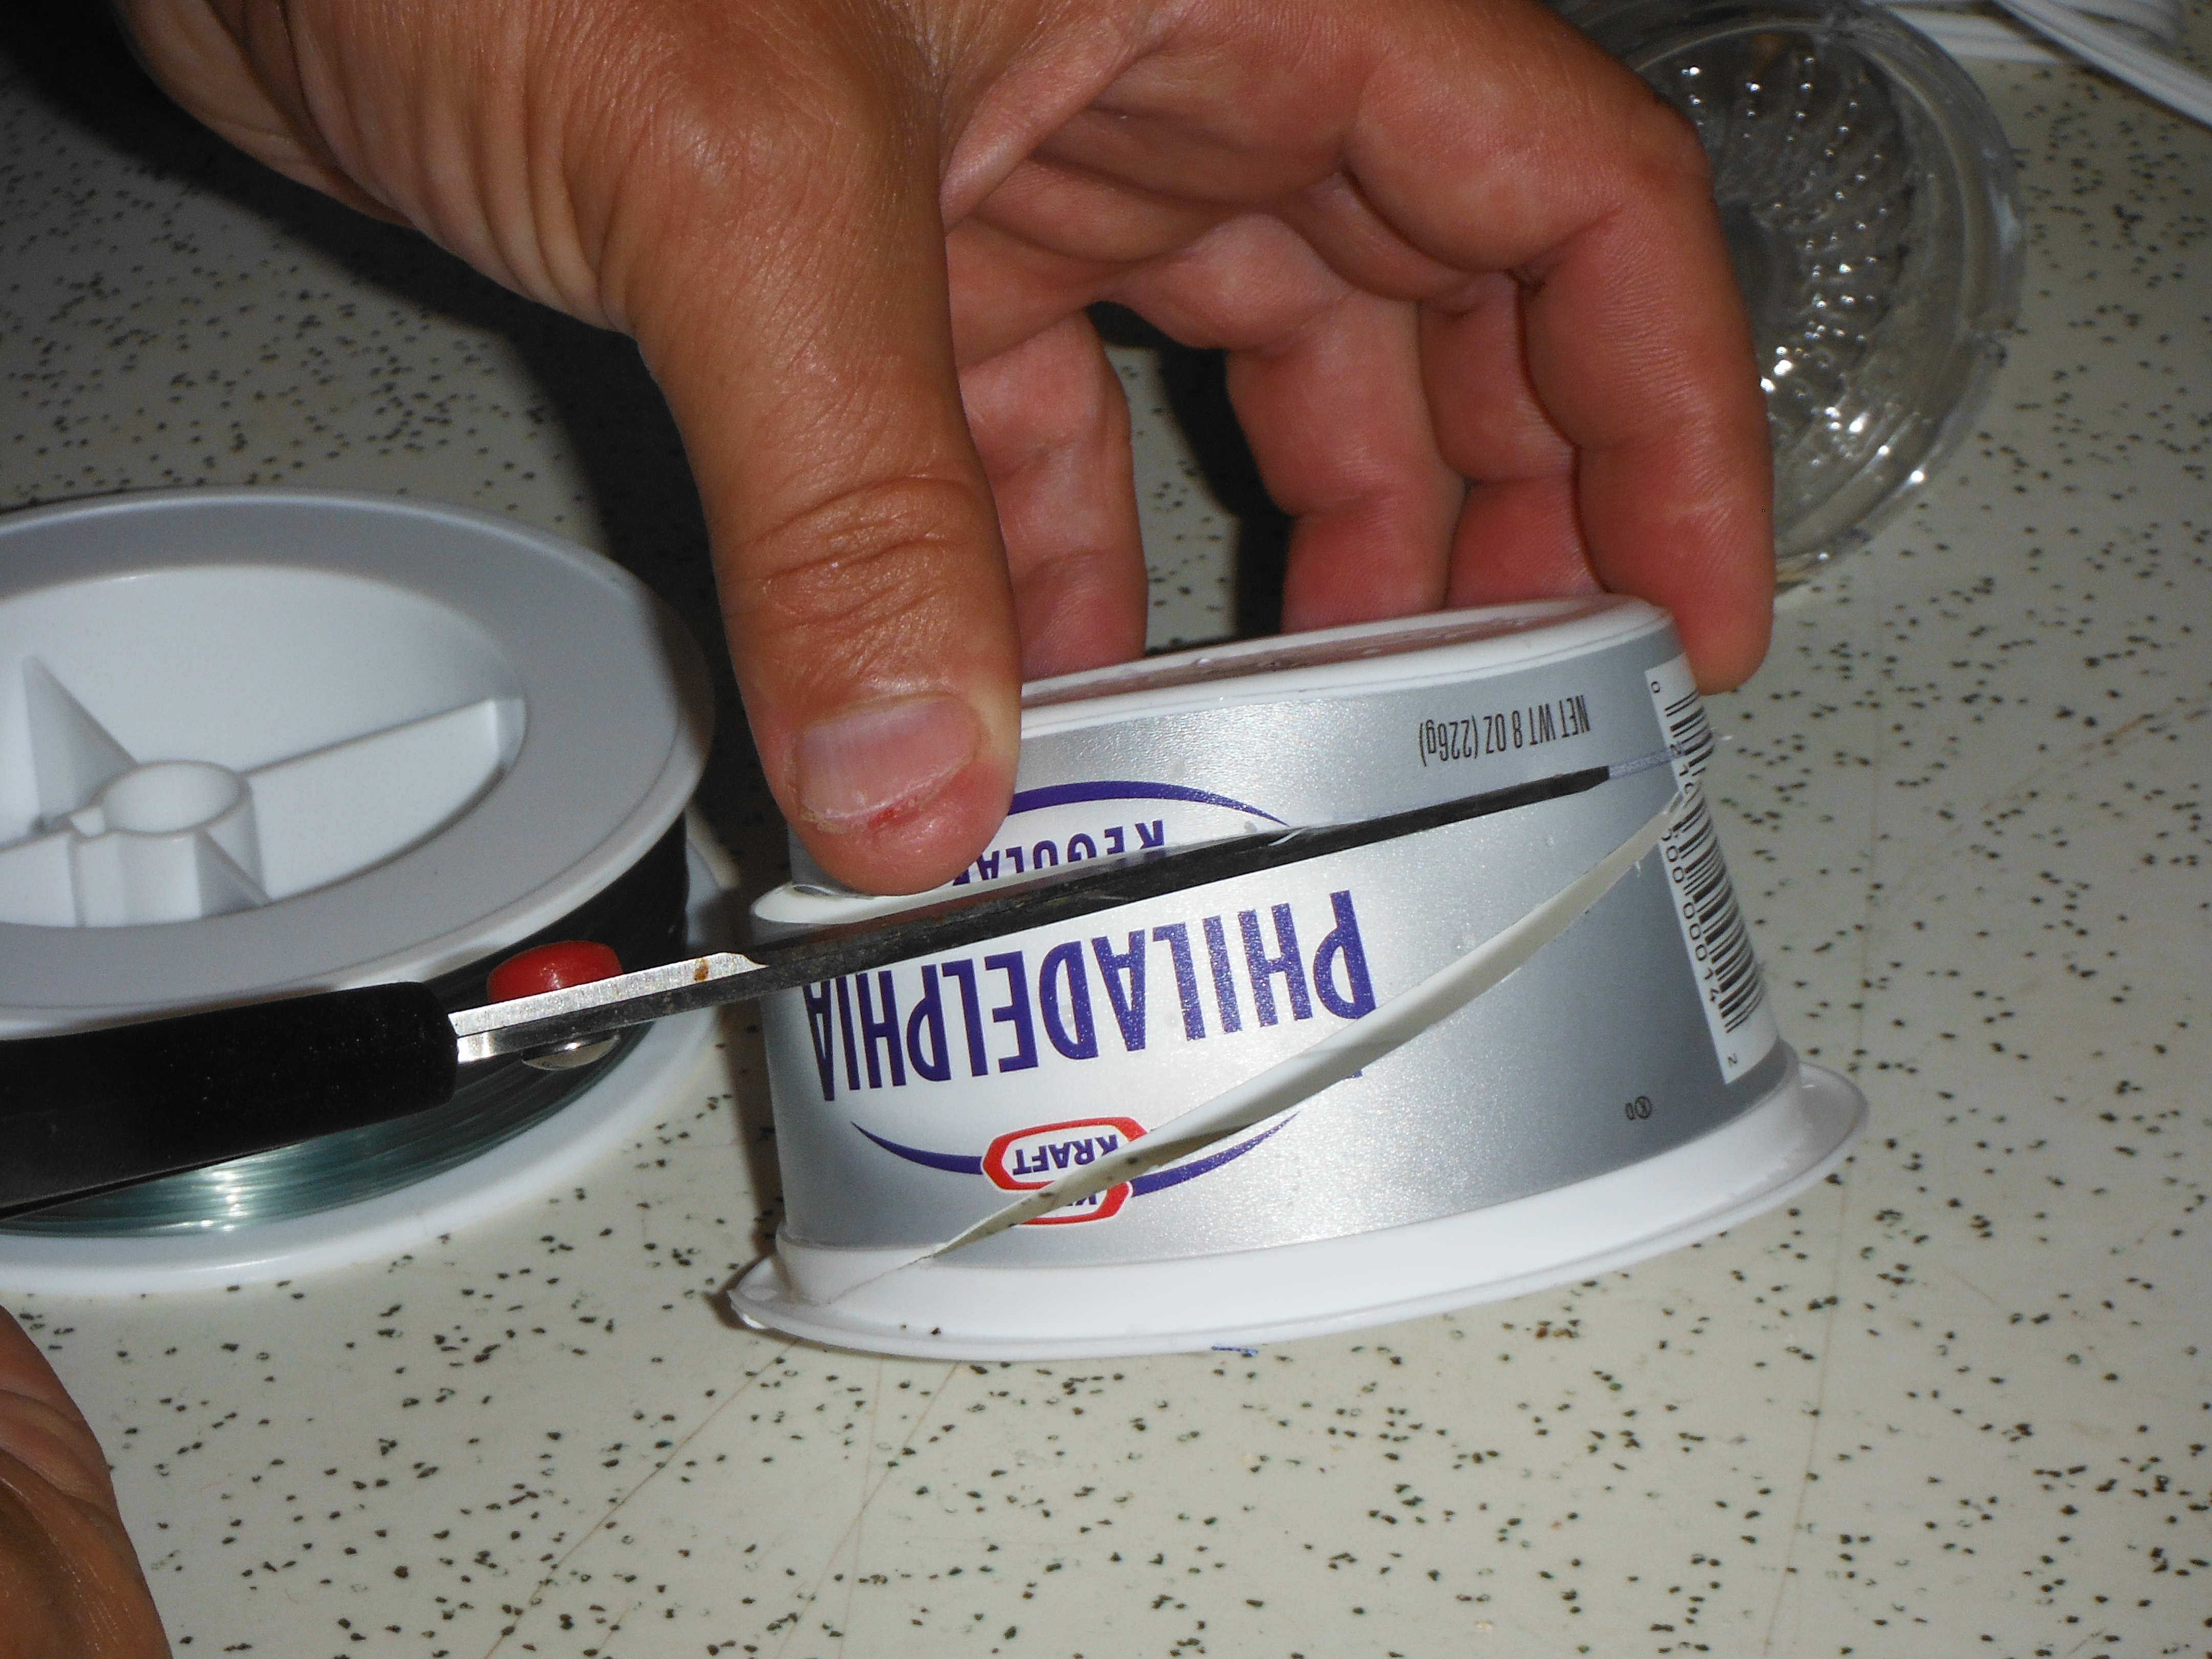 Cut the bowl along the line.
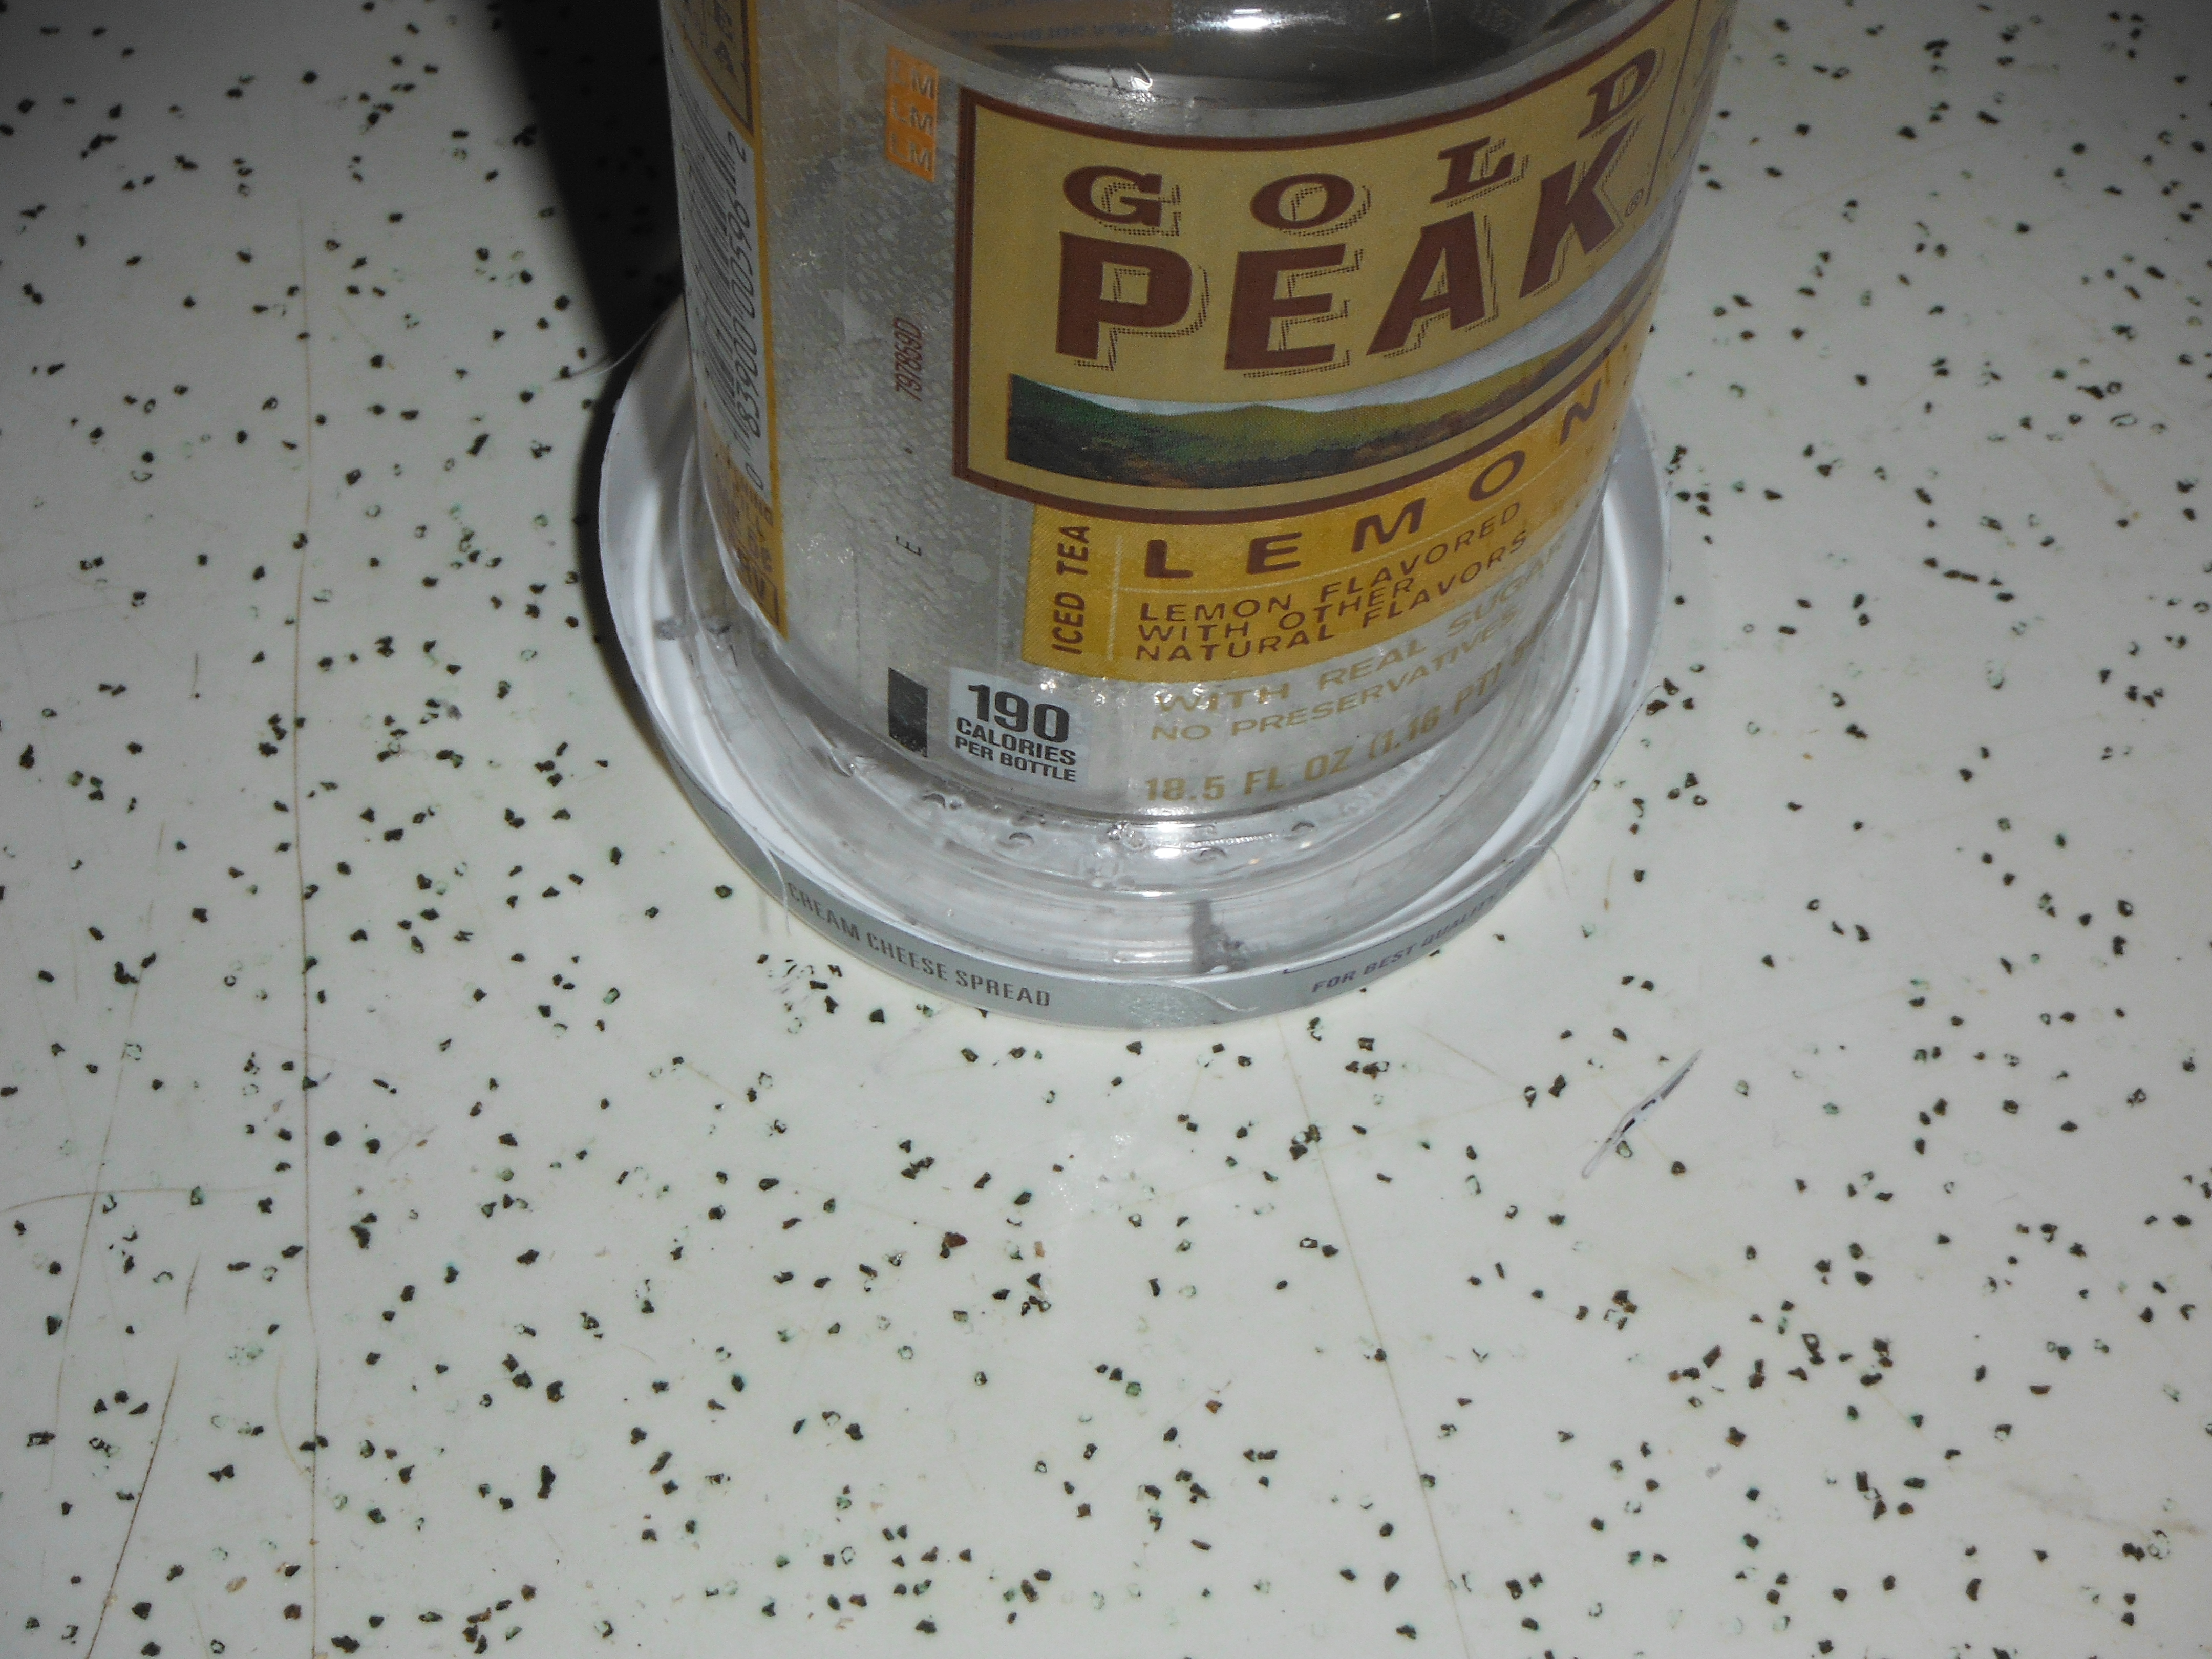
Place the bottle in the bowl. At this point you can test the functionality of your setup. Put the bowl in the sink, and fill the bottle, quickly placing the lid on tightly. Set the bottle into the bowl, holding it firmly down in place. If the water stops leaking out, you can continue. If not, your bowl is either too low, or your cuts in the the bottle were too deep.
 At this point, it is simply a matter of hot gluing the bottle into the bowl, being sure to not use too much glue that you plug the holes you cut in the bottle. Once the glue has cooled, test it again before putting it into service. Also, be sure to keep an eye on it for the first few days.
I liked this project because it took me very little time, cost almost nothing, and I can make as many of these as I need to, whenever I need them.
Feeders
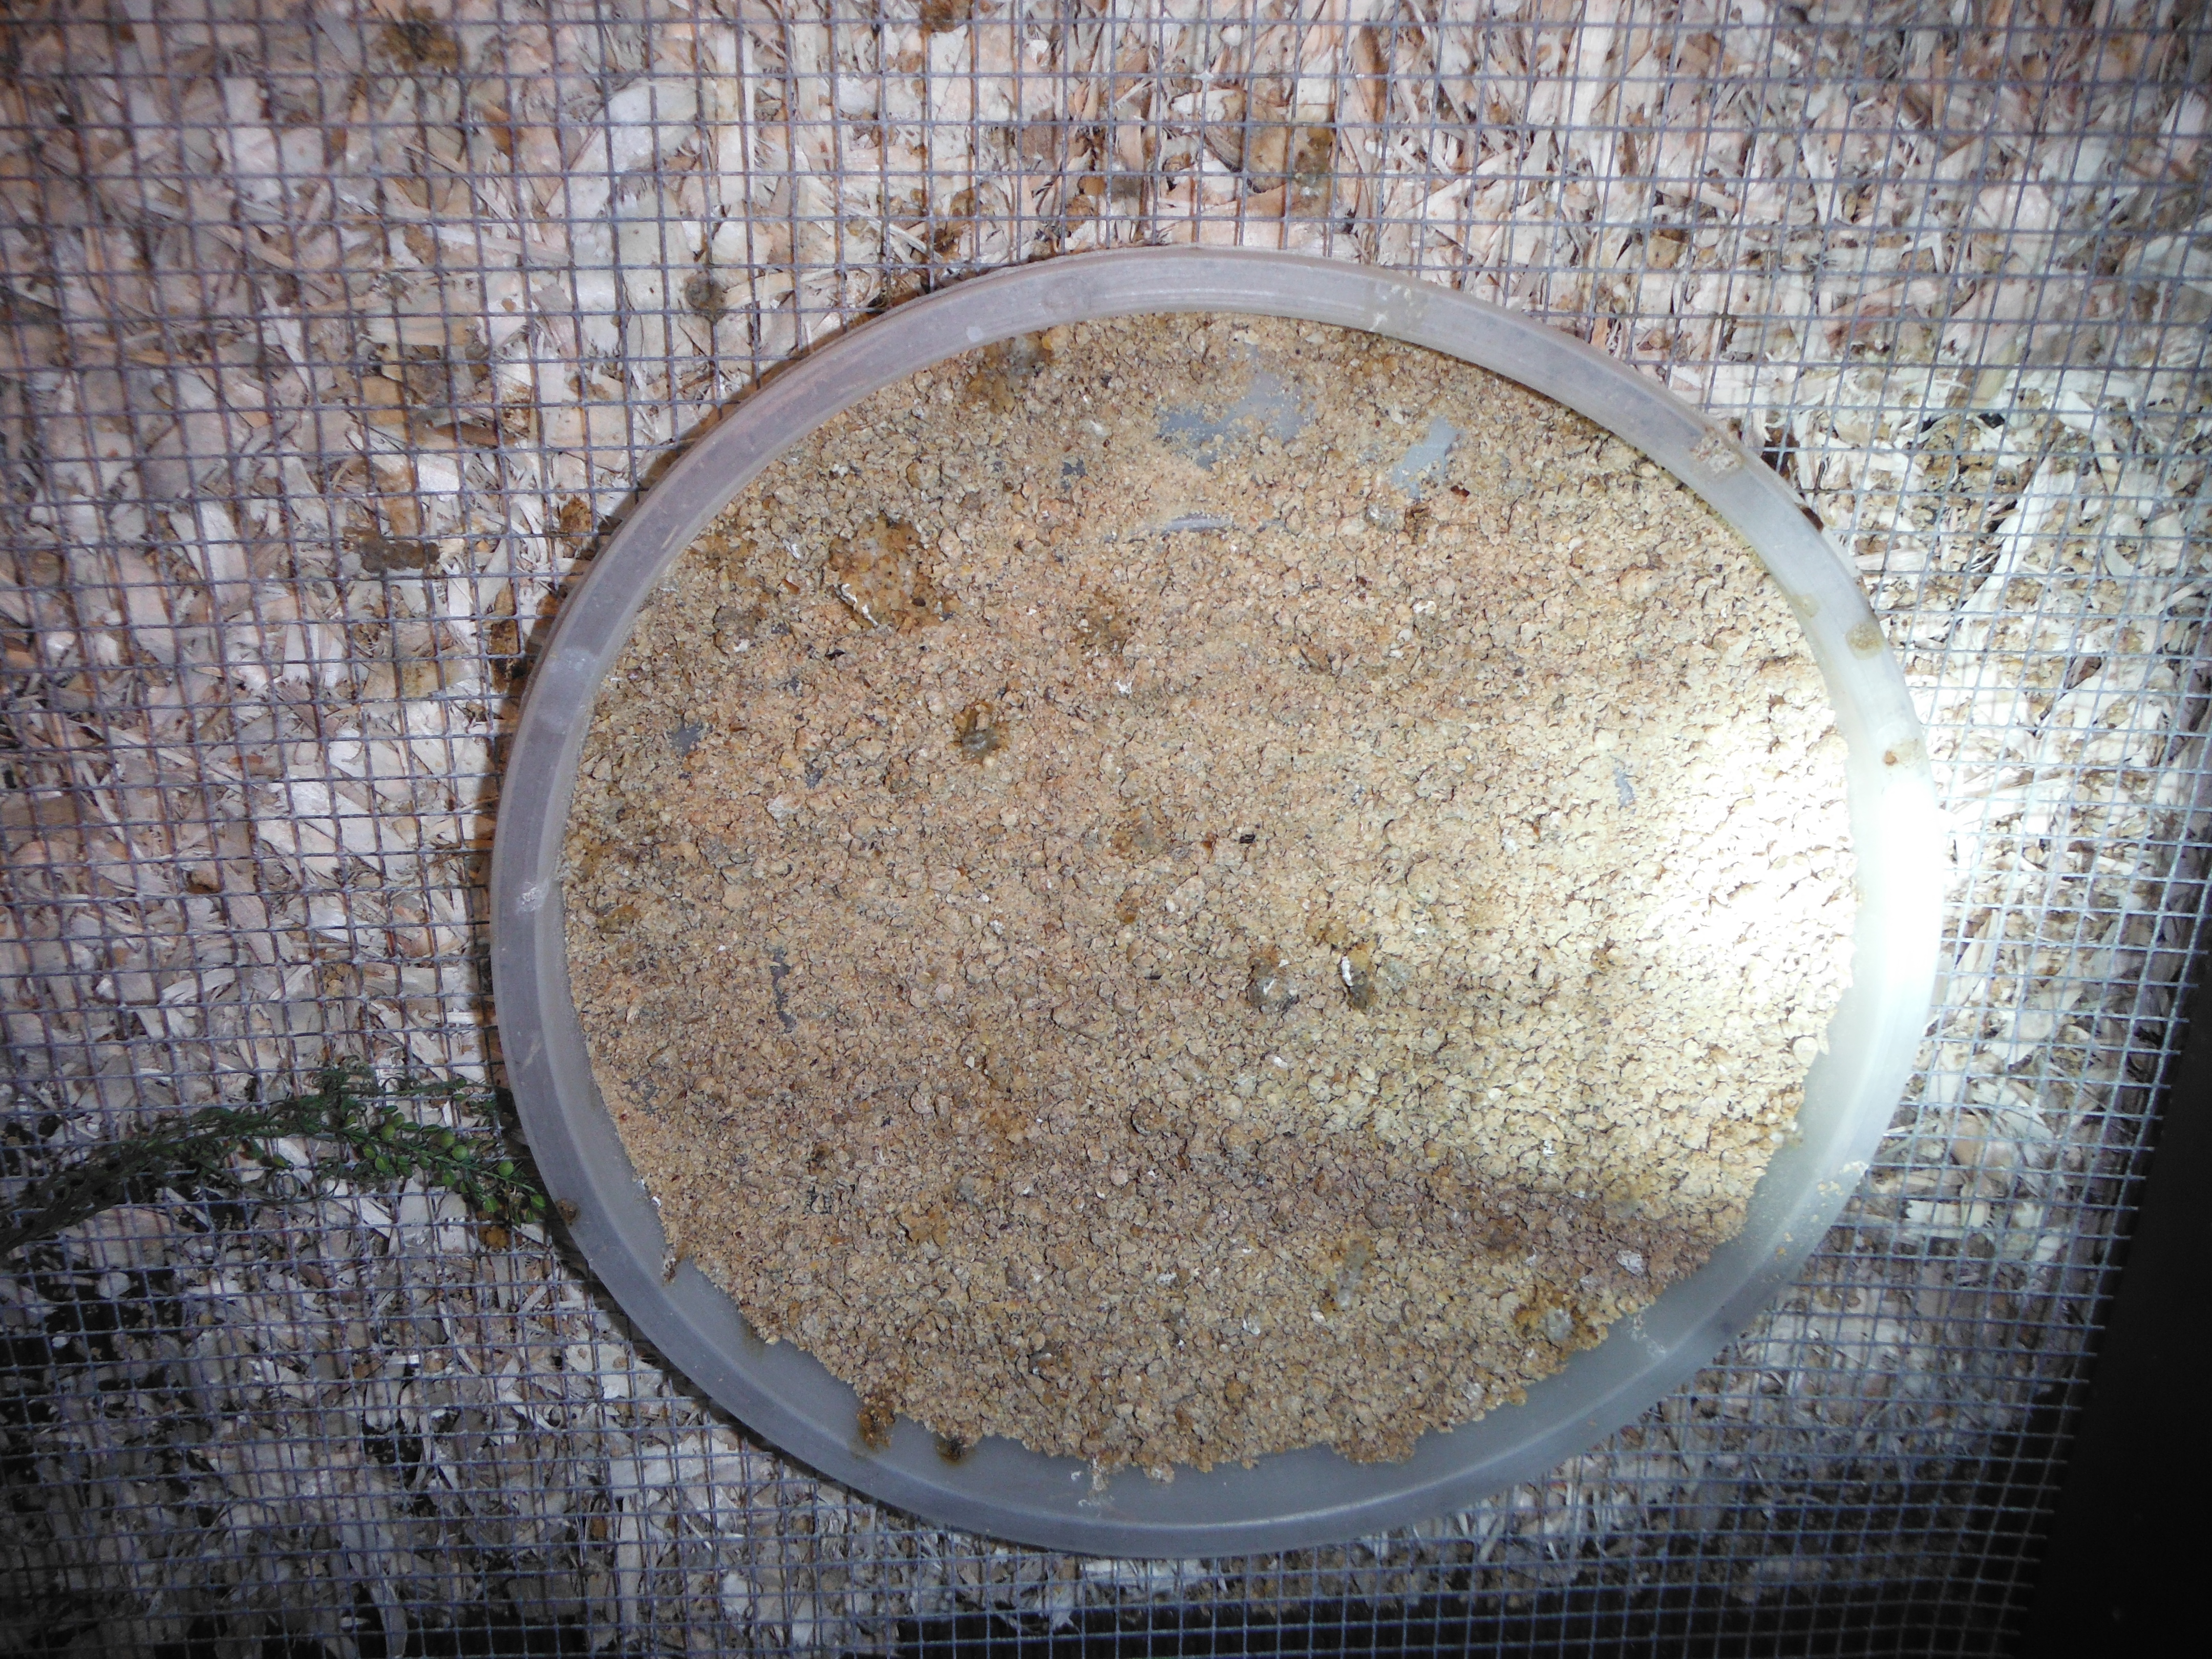 As you can see from this picture, all I’m using currently is a plastic plate. I use this for the first week or so since it makes eating easier for the little guys. I also want to say that for the first week, I use and old coffee grinder to make the feed even smaller than it comes from the store. The little lumps you see are where the birds poop in it. This should be removed several times a day. This is also a great reason to have an automatic feeder.
Automatic feeders work the same way as the waterer does, make sure the bowl sits higher than the openings of the feed storage. I’ve made feeders out of many different things, PVC seems to work very well and it mega-durable. You can also purchase a large variety of feeders.
The more important part of feeders is the feed itself. Quail grow FAR faster and produce much better when fed a high quality, high protein feed. I go with whatever has the highest protein in bird feed, normally it is 30% or higher. Chickens do well on a 16% feed, but quail would do poorly, grow slower, and produce smaller and fewer eggs on this feed. (Ask me how I know that! I’ve tried cutting that corner.) The feed is about $2-4 more for a 50 pound bag, and makes a WORLD of difference. Worth every penny.
The most annoying (to me at least) part of raising quail is their messy eating habits. If left unchecked, a quail will spill, splash, and simply waste all of the feed in a normal feeder. So I’ve come up with a feeder that eliminates this.
But that is part of the grow out pen, and that is the subject for tomorrow’s article.
Until then,
Peace,
db
As always, please “like” FloridaHillbilly on Facebook, subscribe to my feed, follow me on Twitter, add it to Google+, Pinterest, Linkdn, Digg, and/or tell your friends! The more folks that start learning self reliance, the few that will have to depend on you.
Need something from Amazon (and who doesn’t)? I earn a small commission from purchases made when you begin your Amazon shopping experience here. You still get great Amazon service and your price is the same, no matter what.
Thanks for this. I’m copying the chick waterer design. First time with chickens and I didn’t want to have to buy a feeder.
Glad to help….auto-waterers are a fantastic labor saving item. Same for feed hoppers…
Hi, iam curious to know for what is yhat phone attached to the brooder?
I turned the phone into an IP camera running on my wireless network, so that I could watch them whenever I wanted.
The how:
http://floridahillbilly.com/repurpose-an-old-android-phone/
For a while, I was actually broadcasting the feed live out for folks to watch.
The article with a pre-recorded feed….with the lights out 😛
http://floridahillbilly.com/overview-of-my-quail-setup/