I recently had a failure of my Excalibur dehydrator‘s heating element. Since it comes with a 10 year warranty, I had plenty of time left to get it fixed. An email to the company along with my make, model number, and serial number showed I was still under warranty and they started the process of troubleshooting the issue.
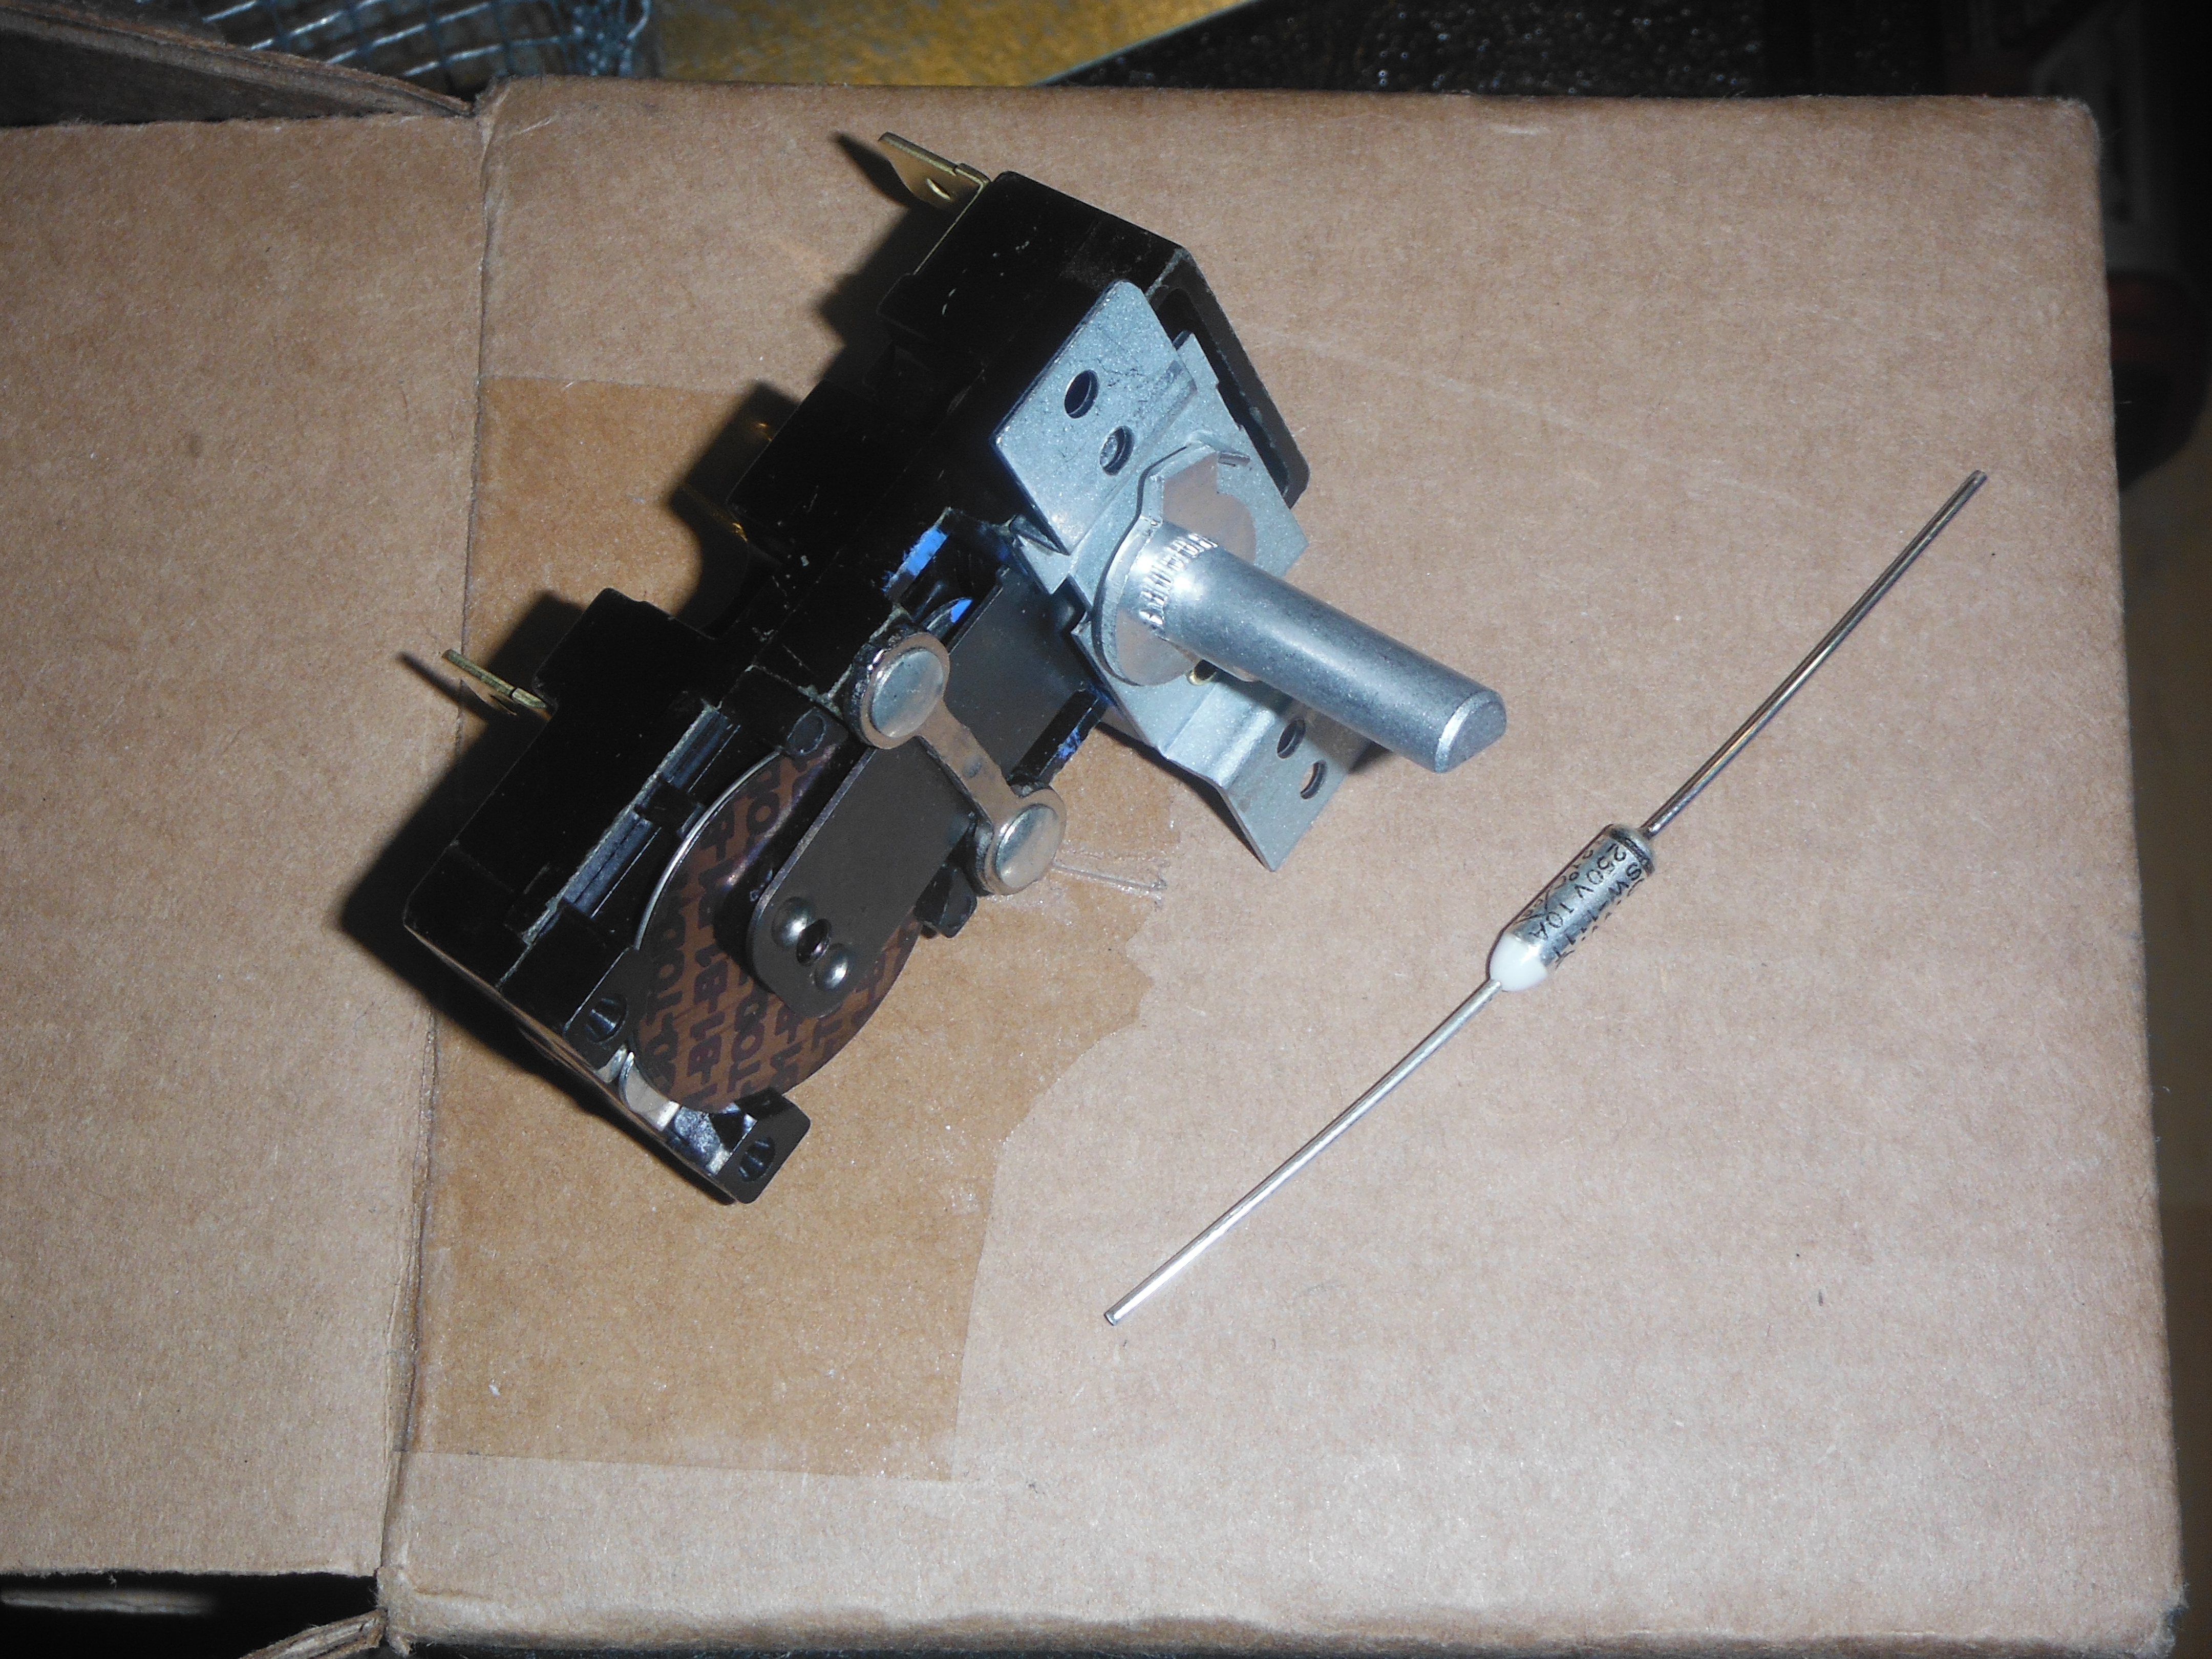
After a few tests, it was obvious I had a part failure. The tech stated that in order to be sure to resolve the problem, it was best to replace two parts, either could be the culprit. The parts in question were the thermostat, and the fuse, and since it required a bit of disassembly, it made good sense to go ahead and change both at the same time.
Since I was under warranty, I only had to pay shipping, a minor annoyance, but it was $10.50 for a First Class package. The replacement parts were listed at $30 for the thermostat, and $10 for the fuse. From the looks of things, I paid for the wholesale cost of the parts along with the shipping. A bit underhanded, I must say. See the pic below for the actual shipping costs, $2.92.
The parts arrived in about a week. And I let them sit. I had nothing to dehydrate, so I figured I would wait until I needed it. Nothing like waiting until the last minute. I thrive under pressure, or at least I must think that I do.
I stopped at a green market today to grab more cucumbers for making pickles, and saw that sweet peppers where on sale again. So I loaded up, buying 12 pounds for $8.
I guess I needed to repair the dehydrator!
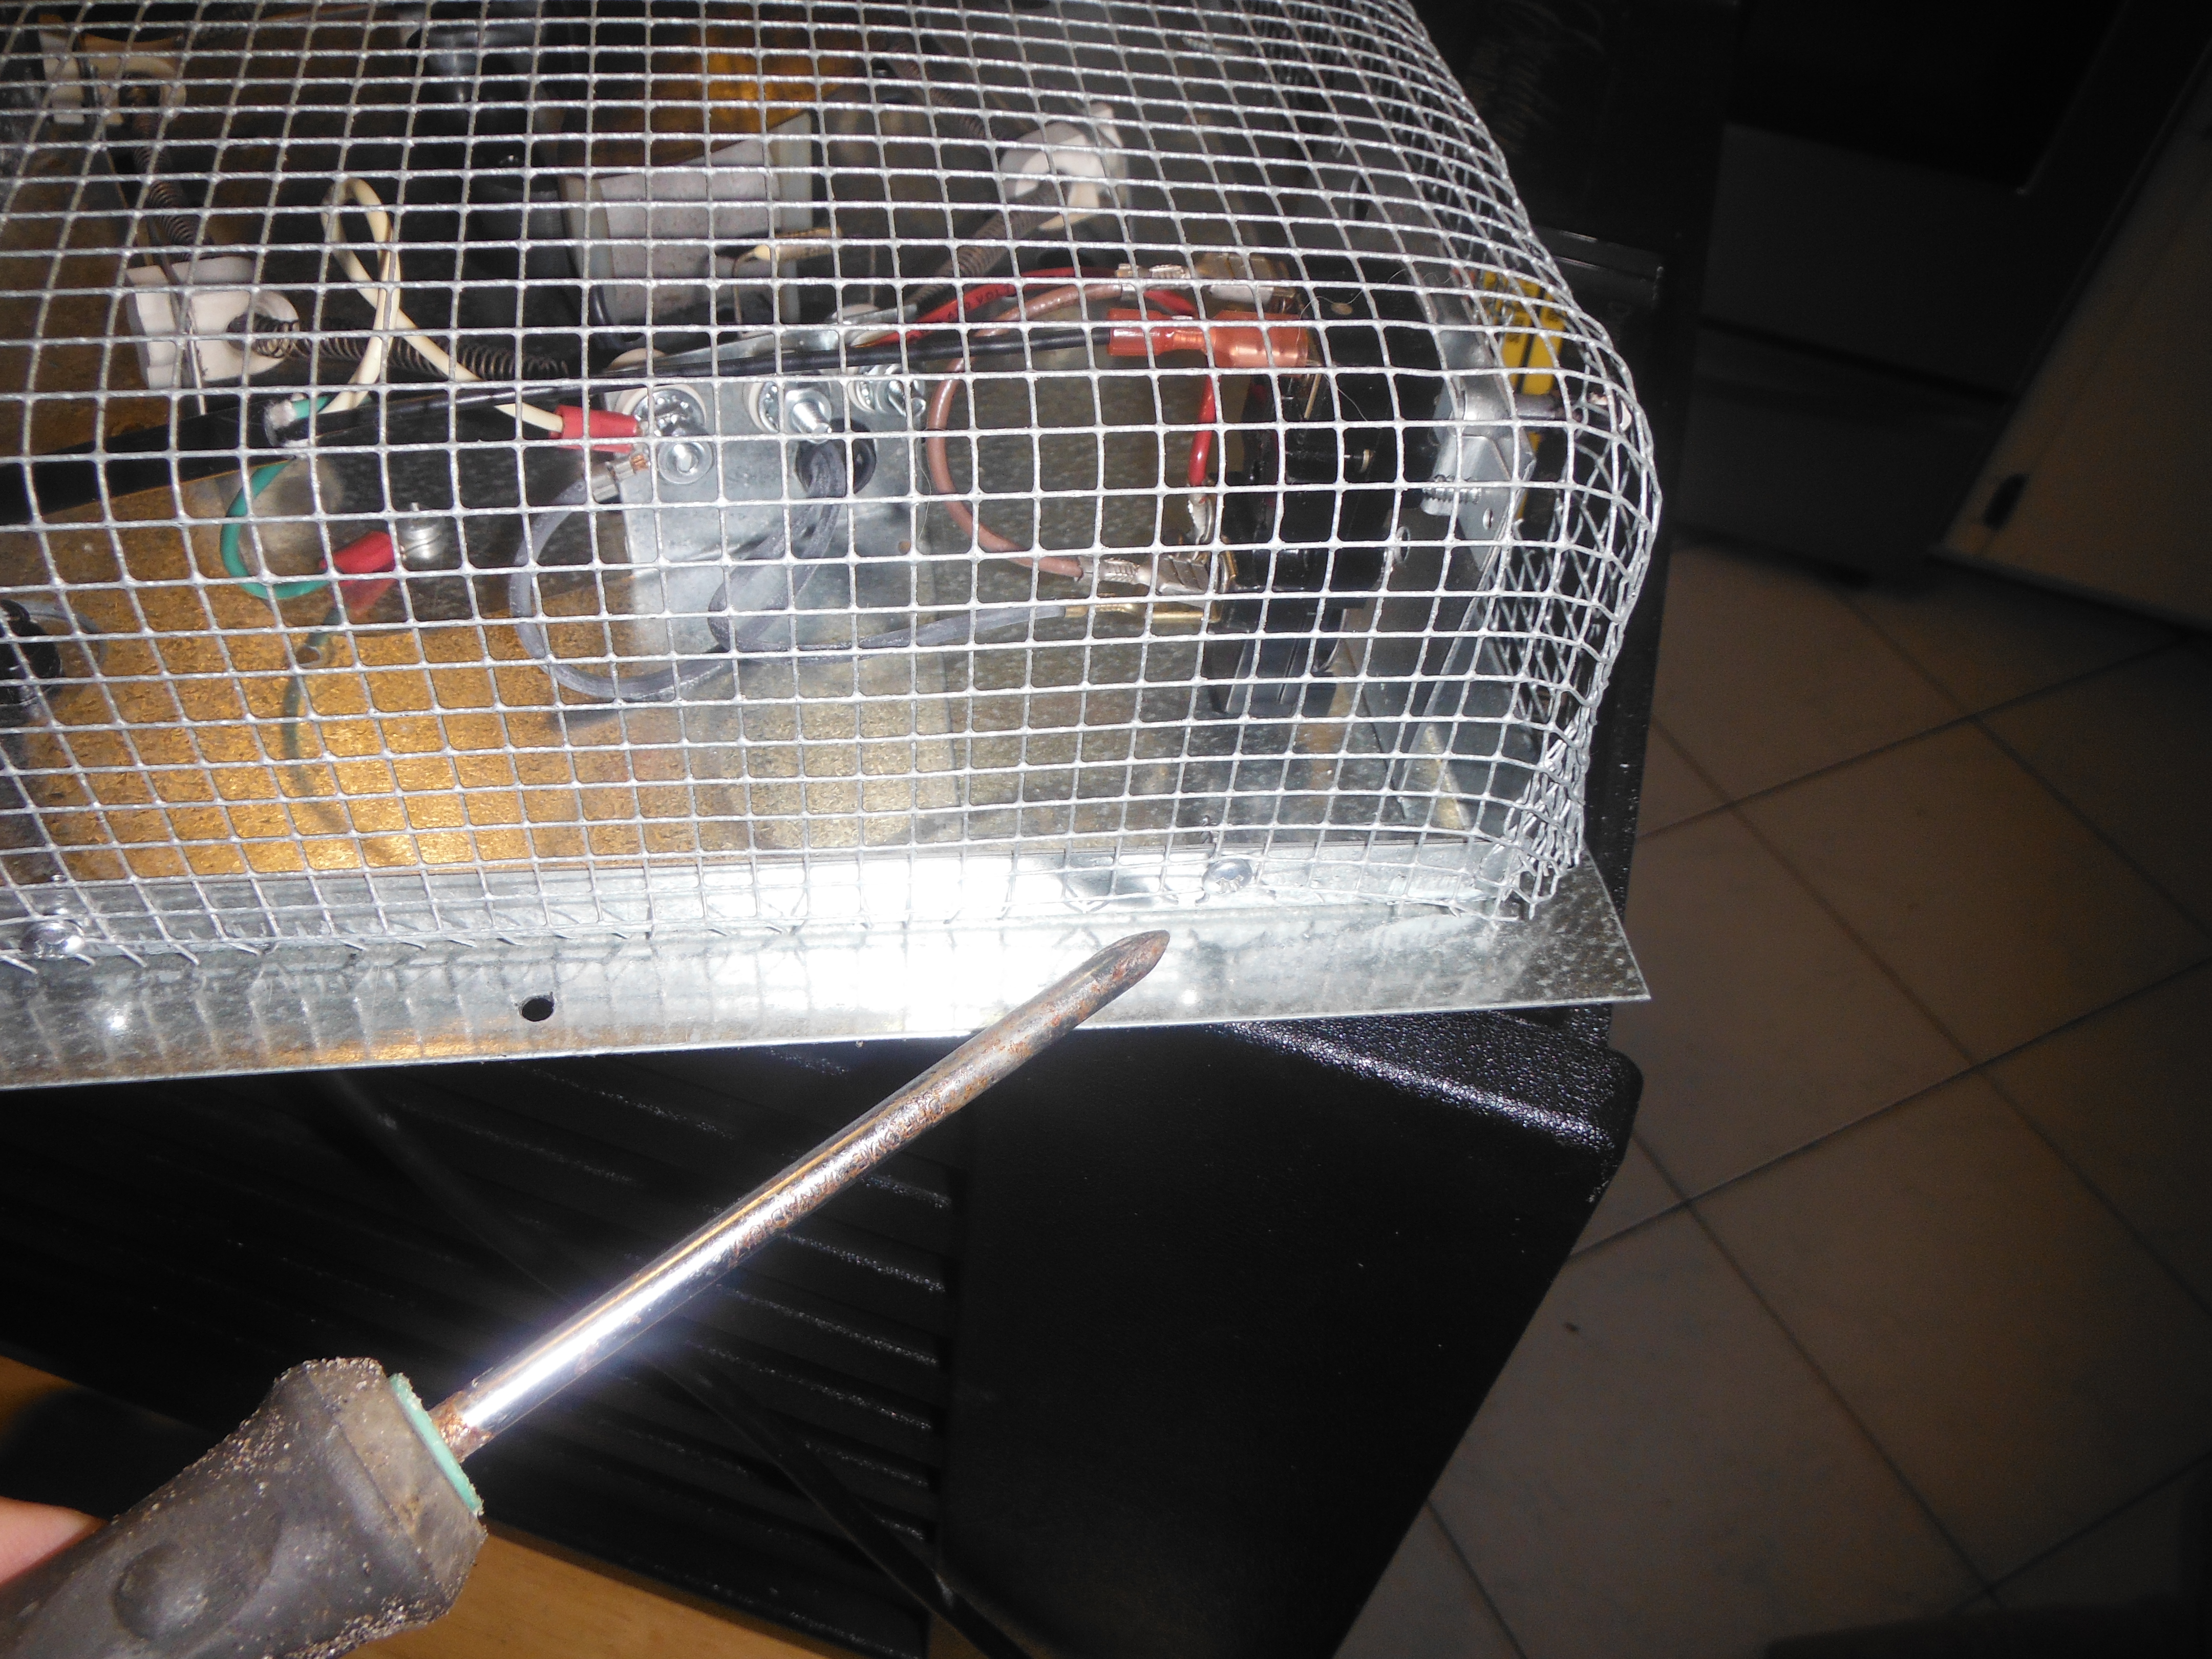
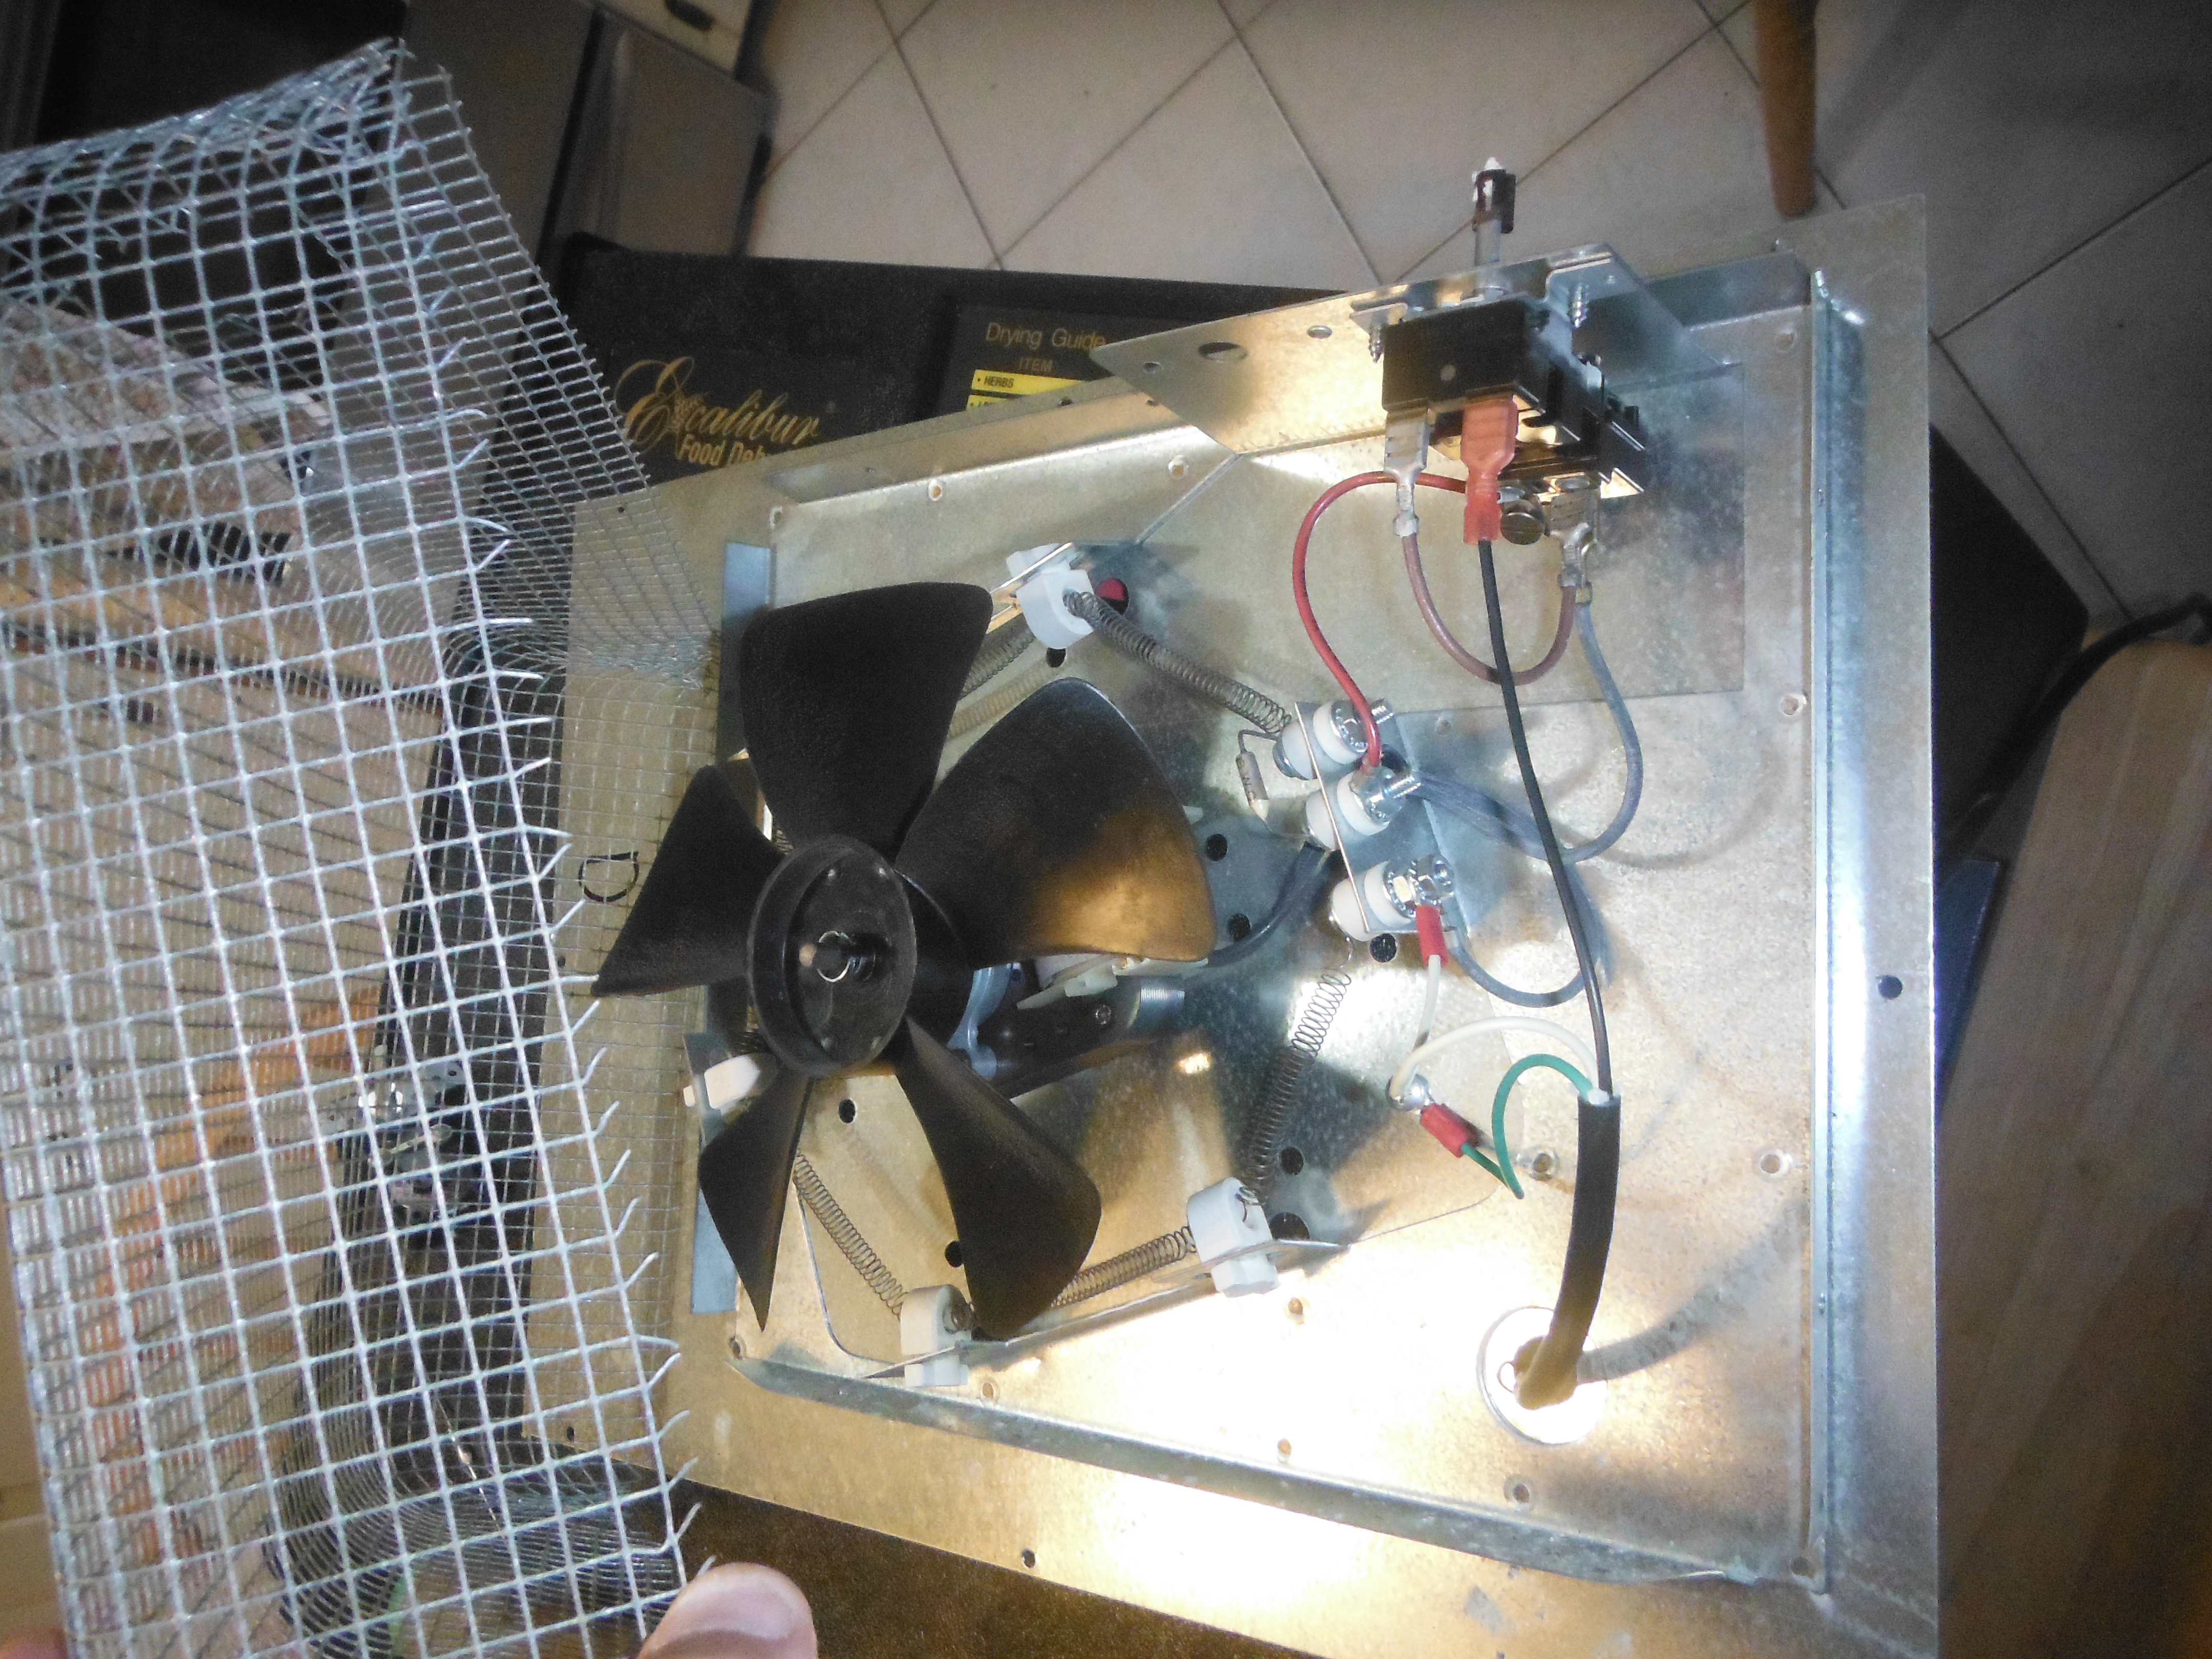
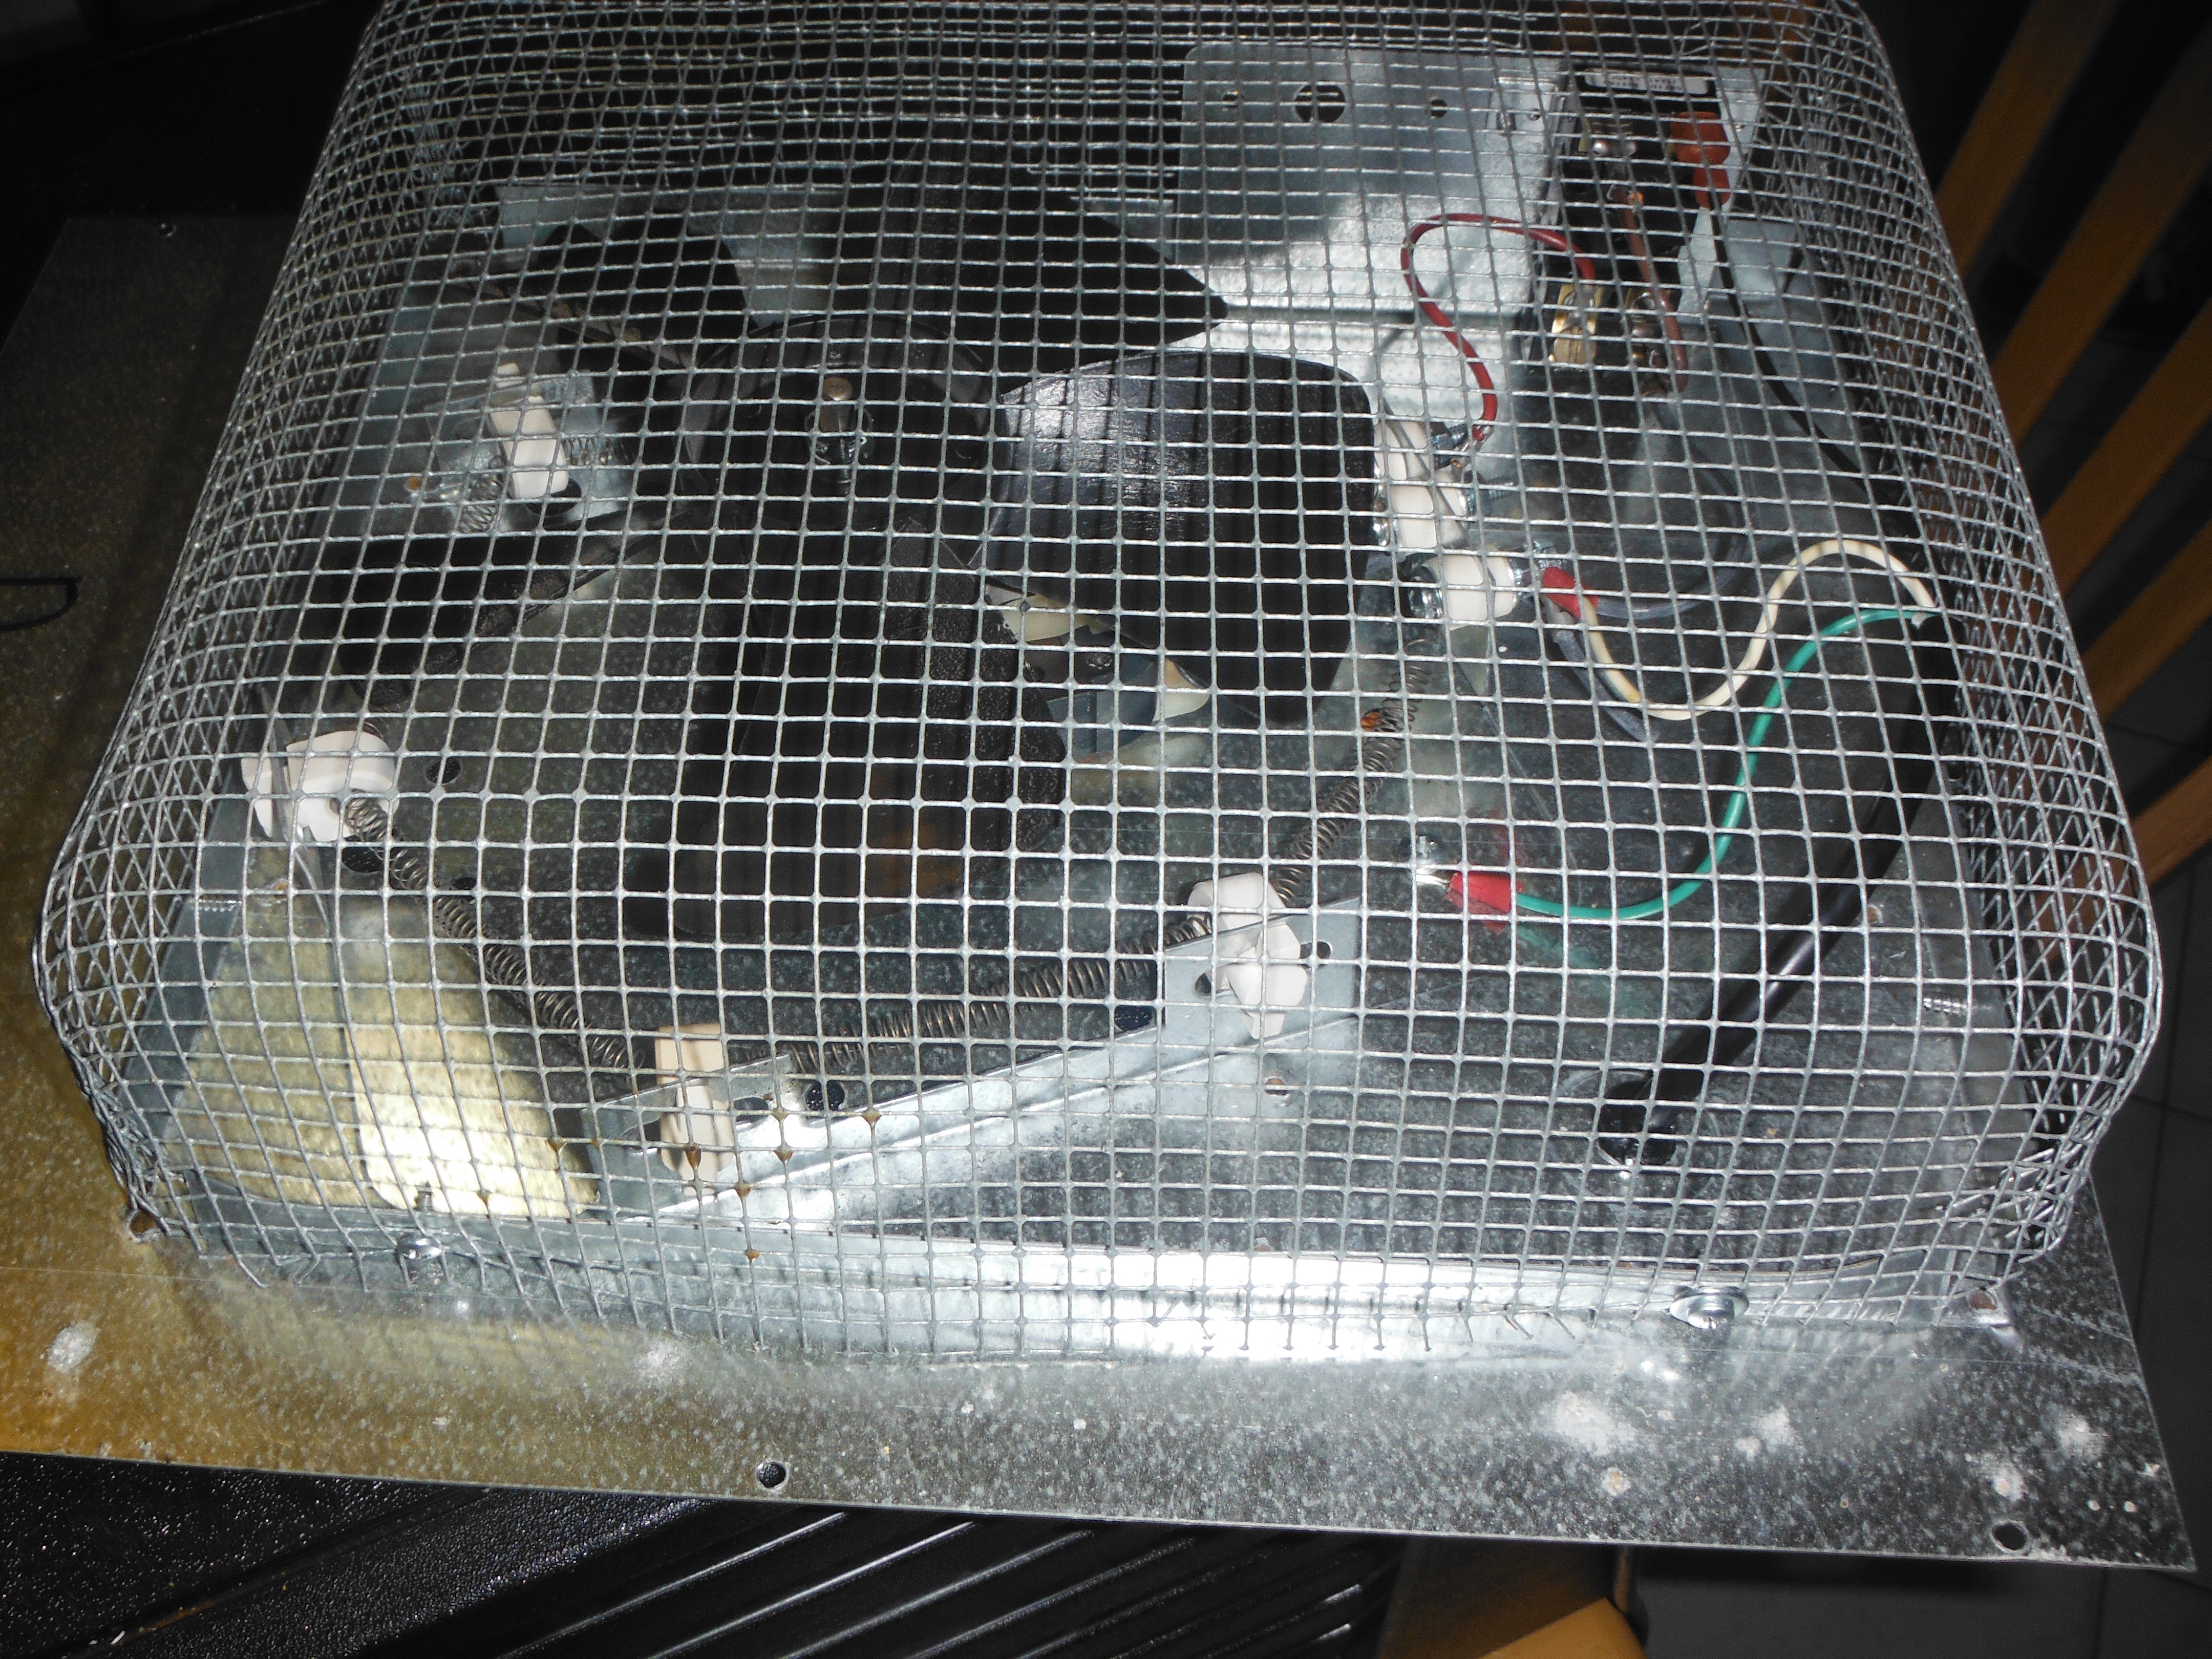
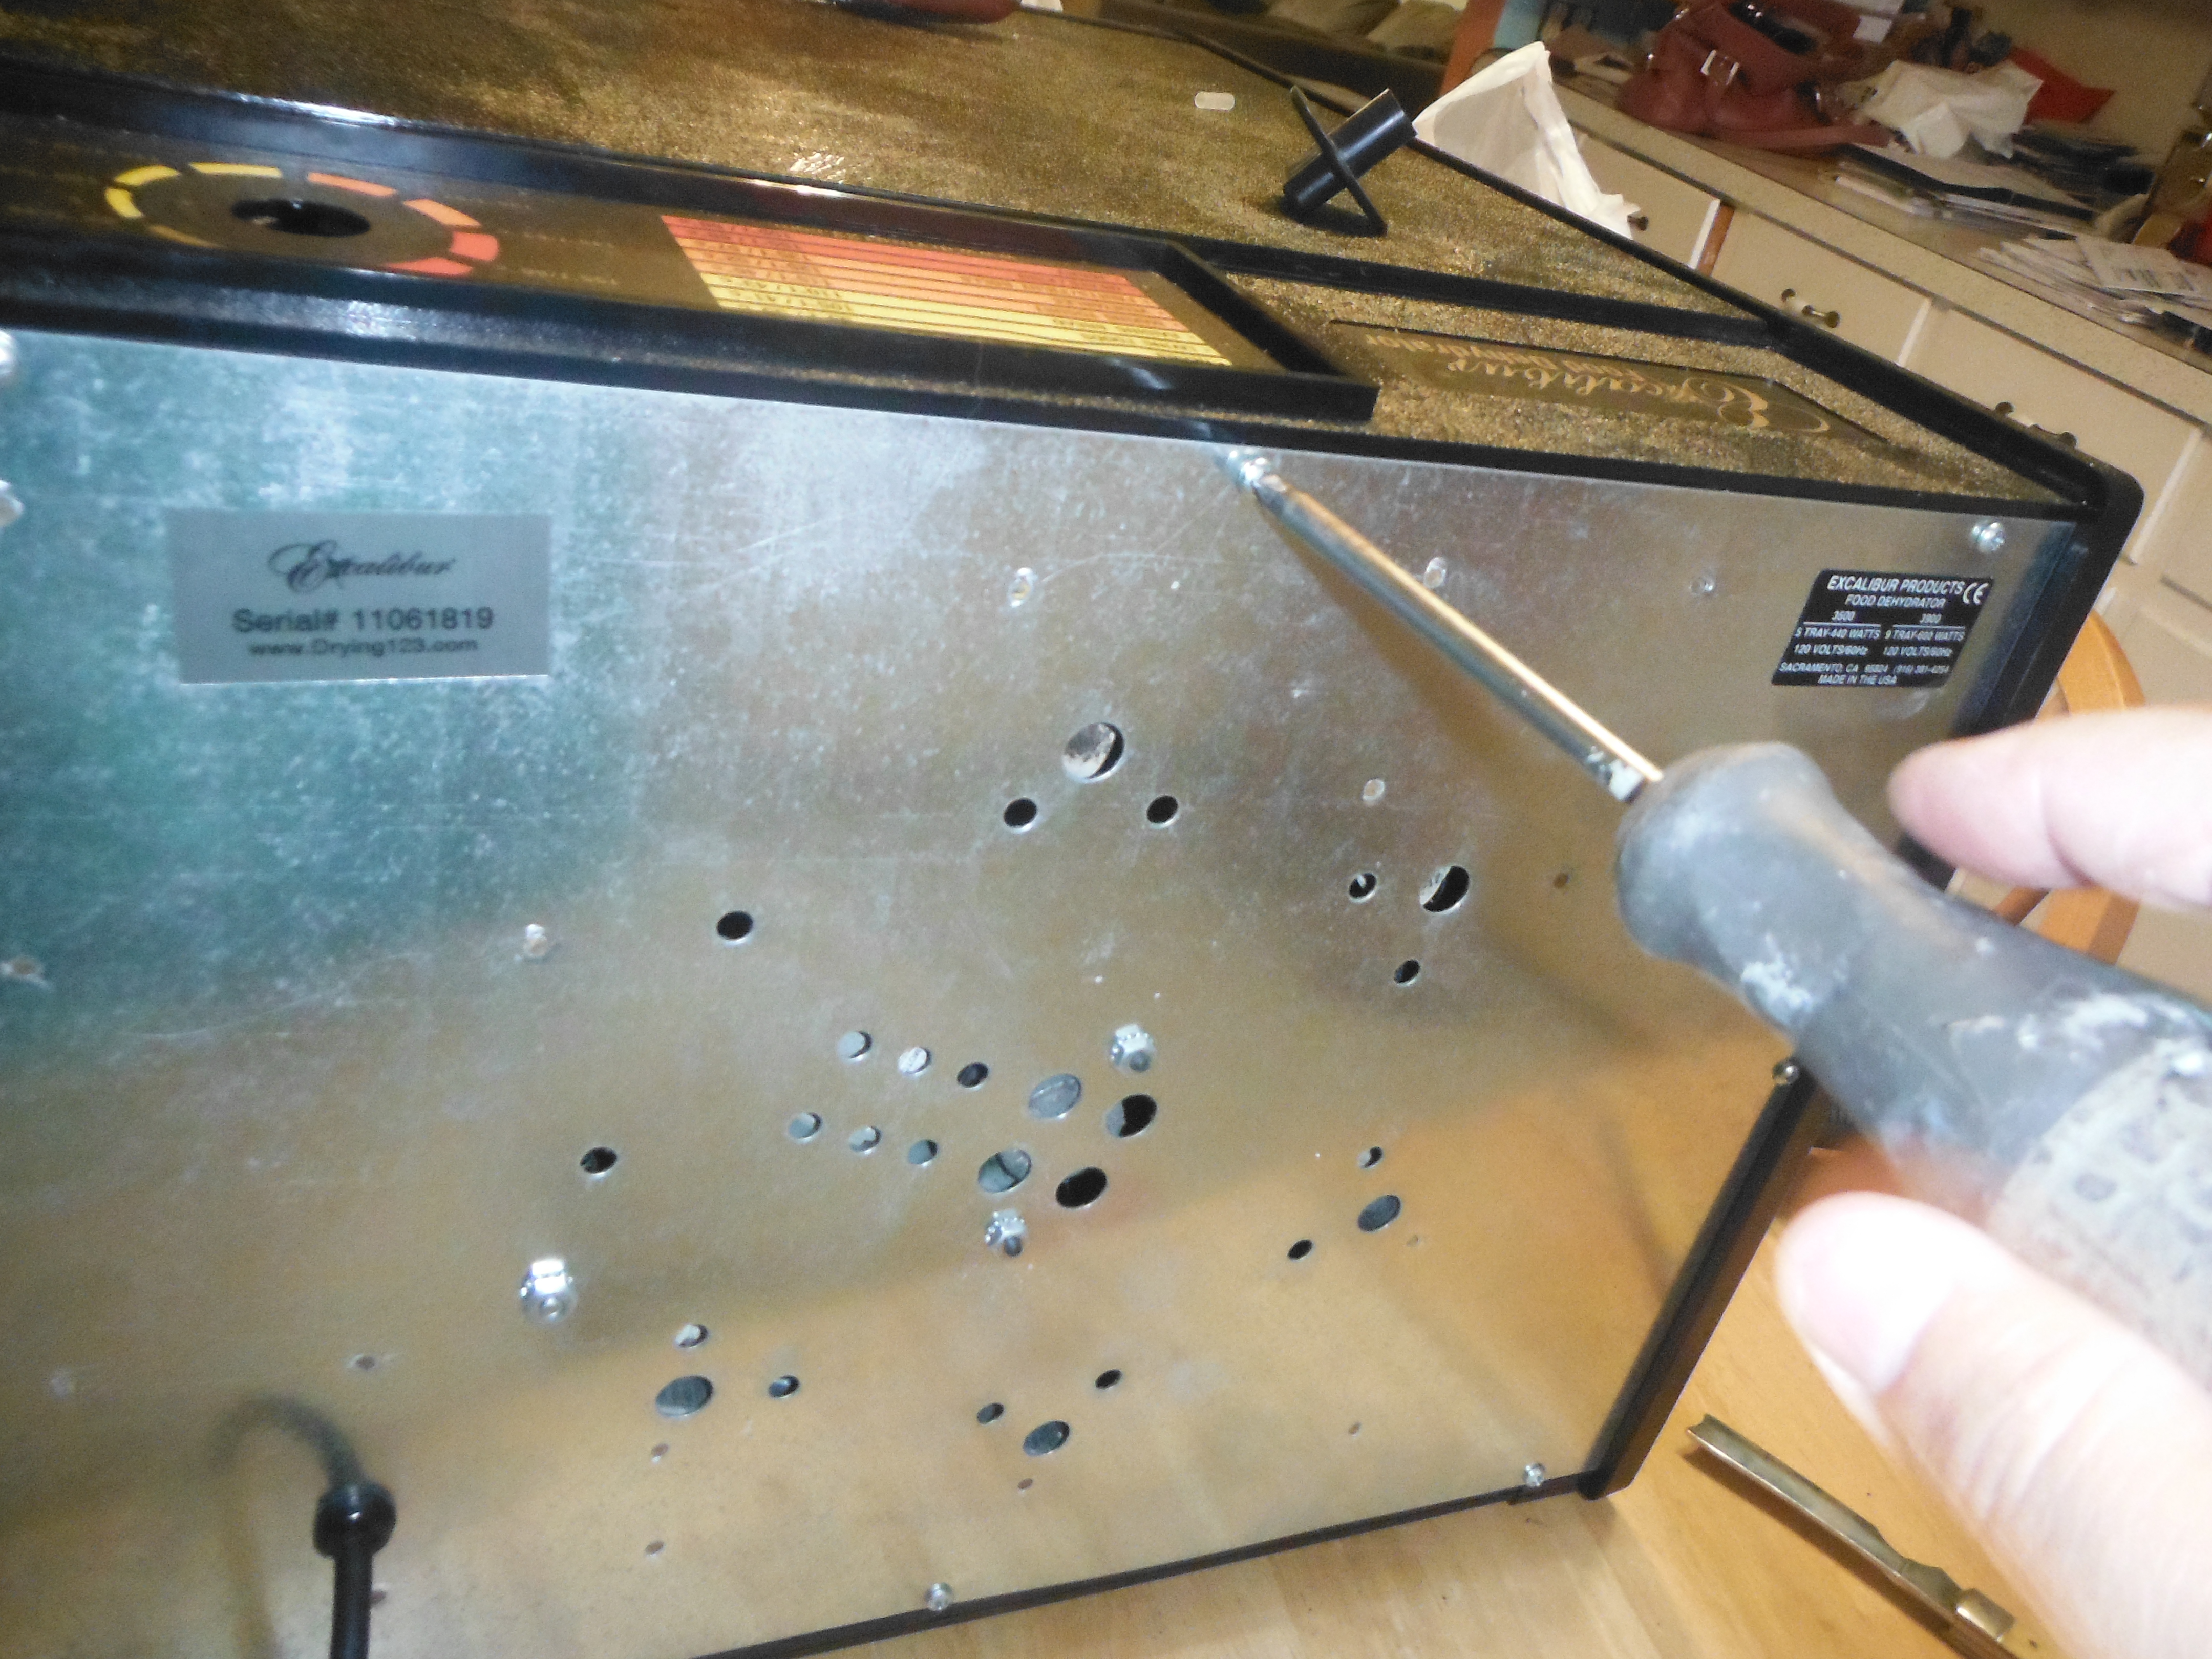
The process is a straightforward parts swap. Unplug from wall. Disassemble the back plate until you can replace the two parts. Replace the parts. Reassemble.
Here it is in pictures:

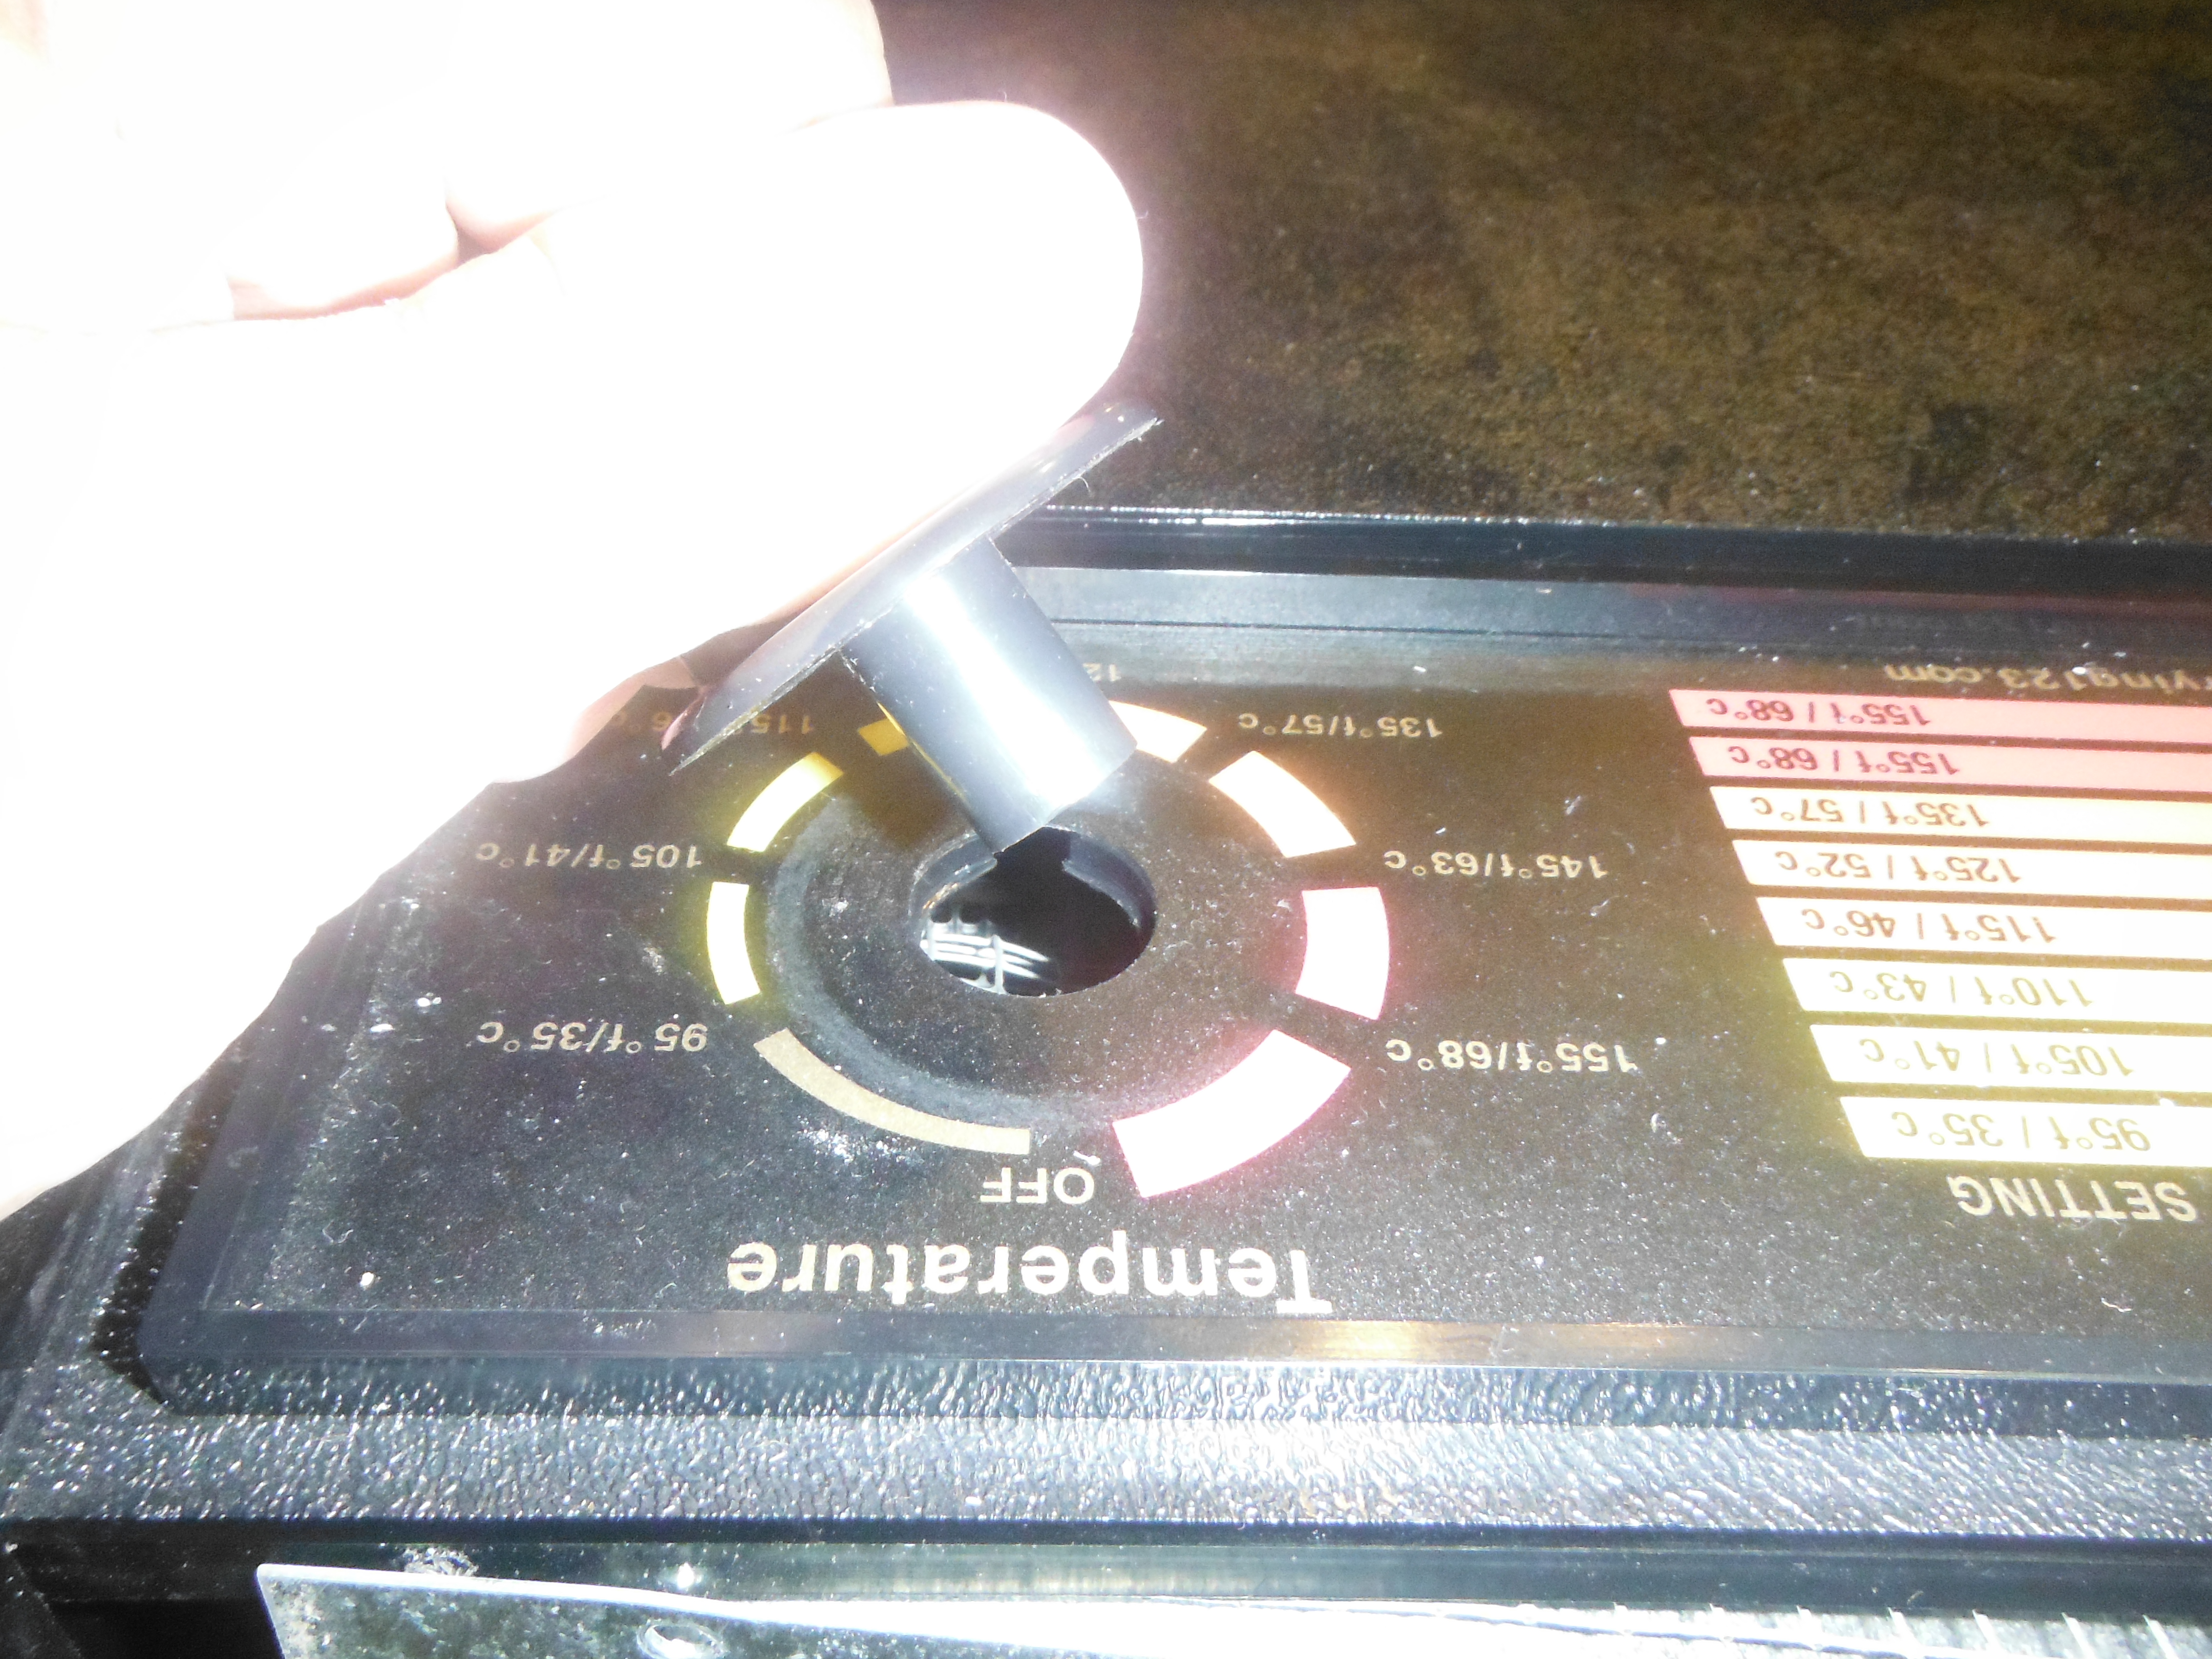

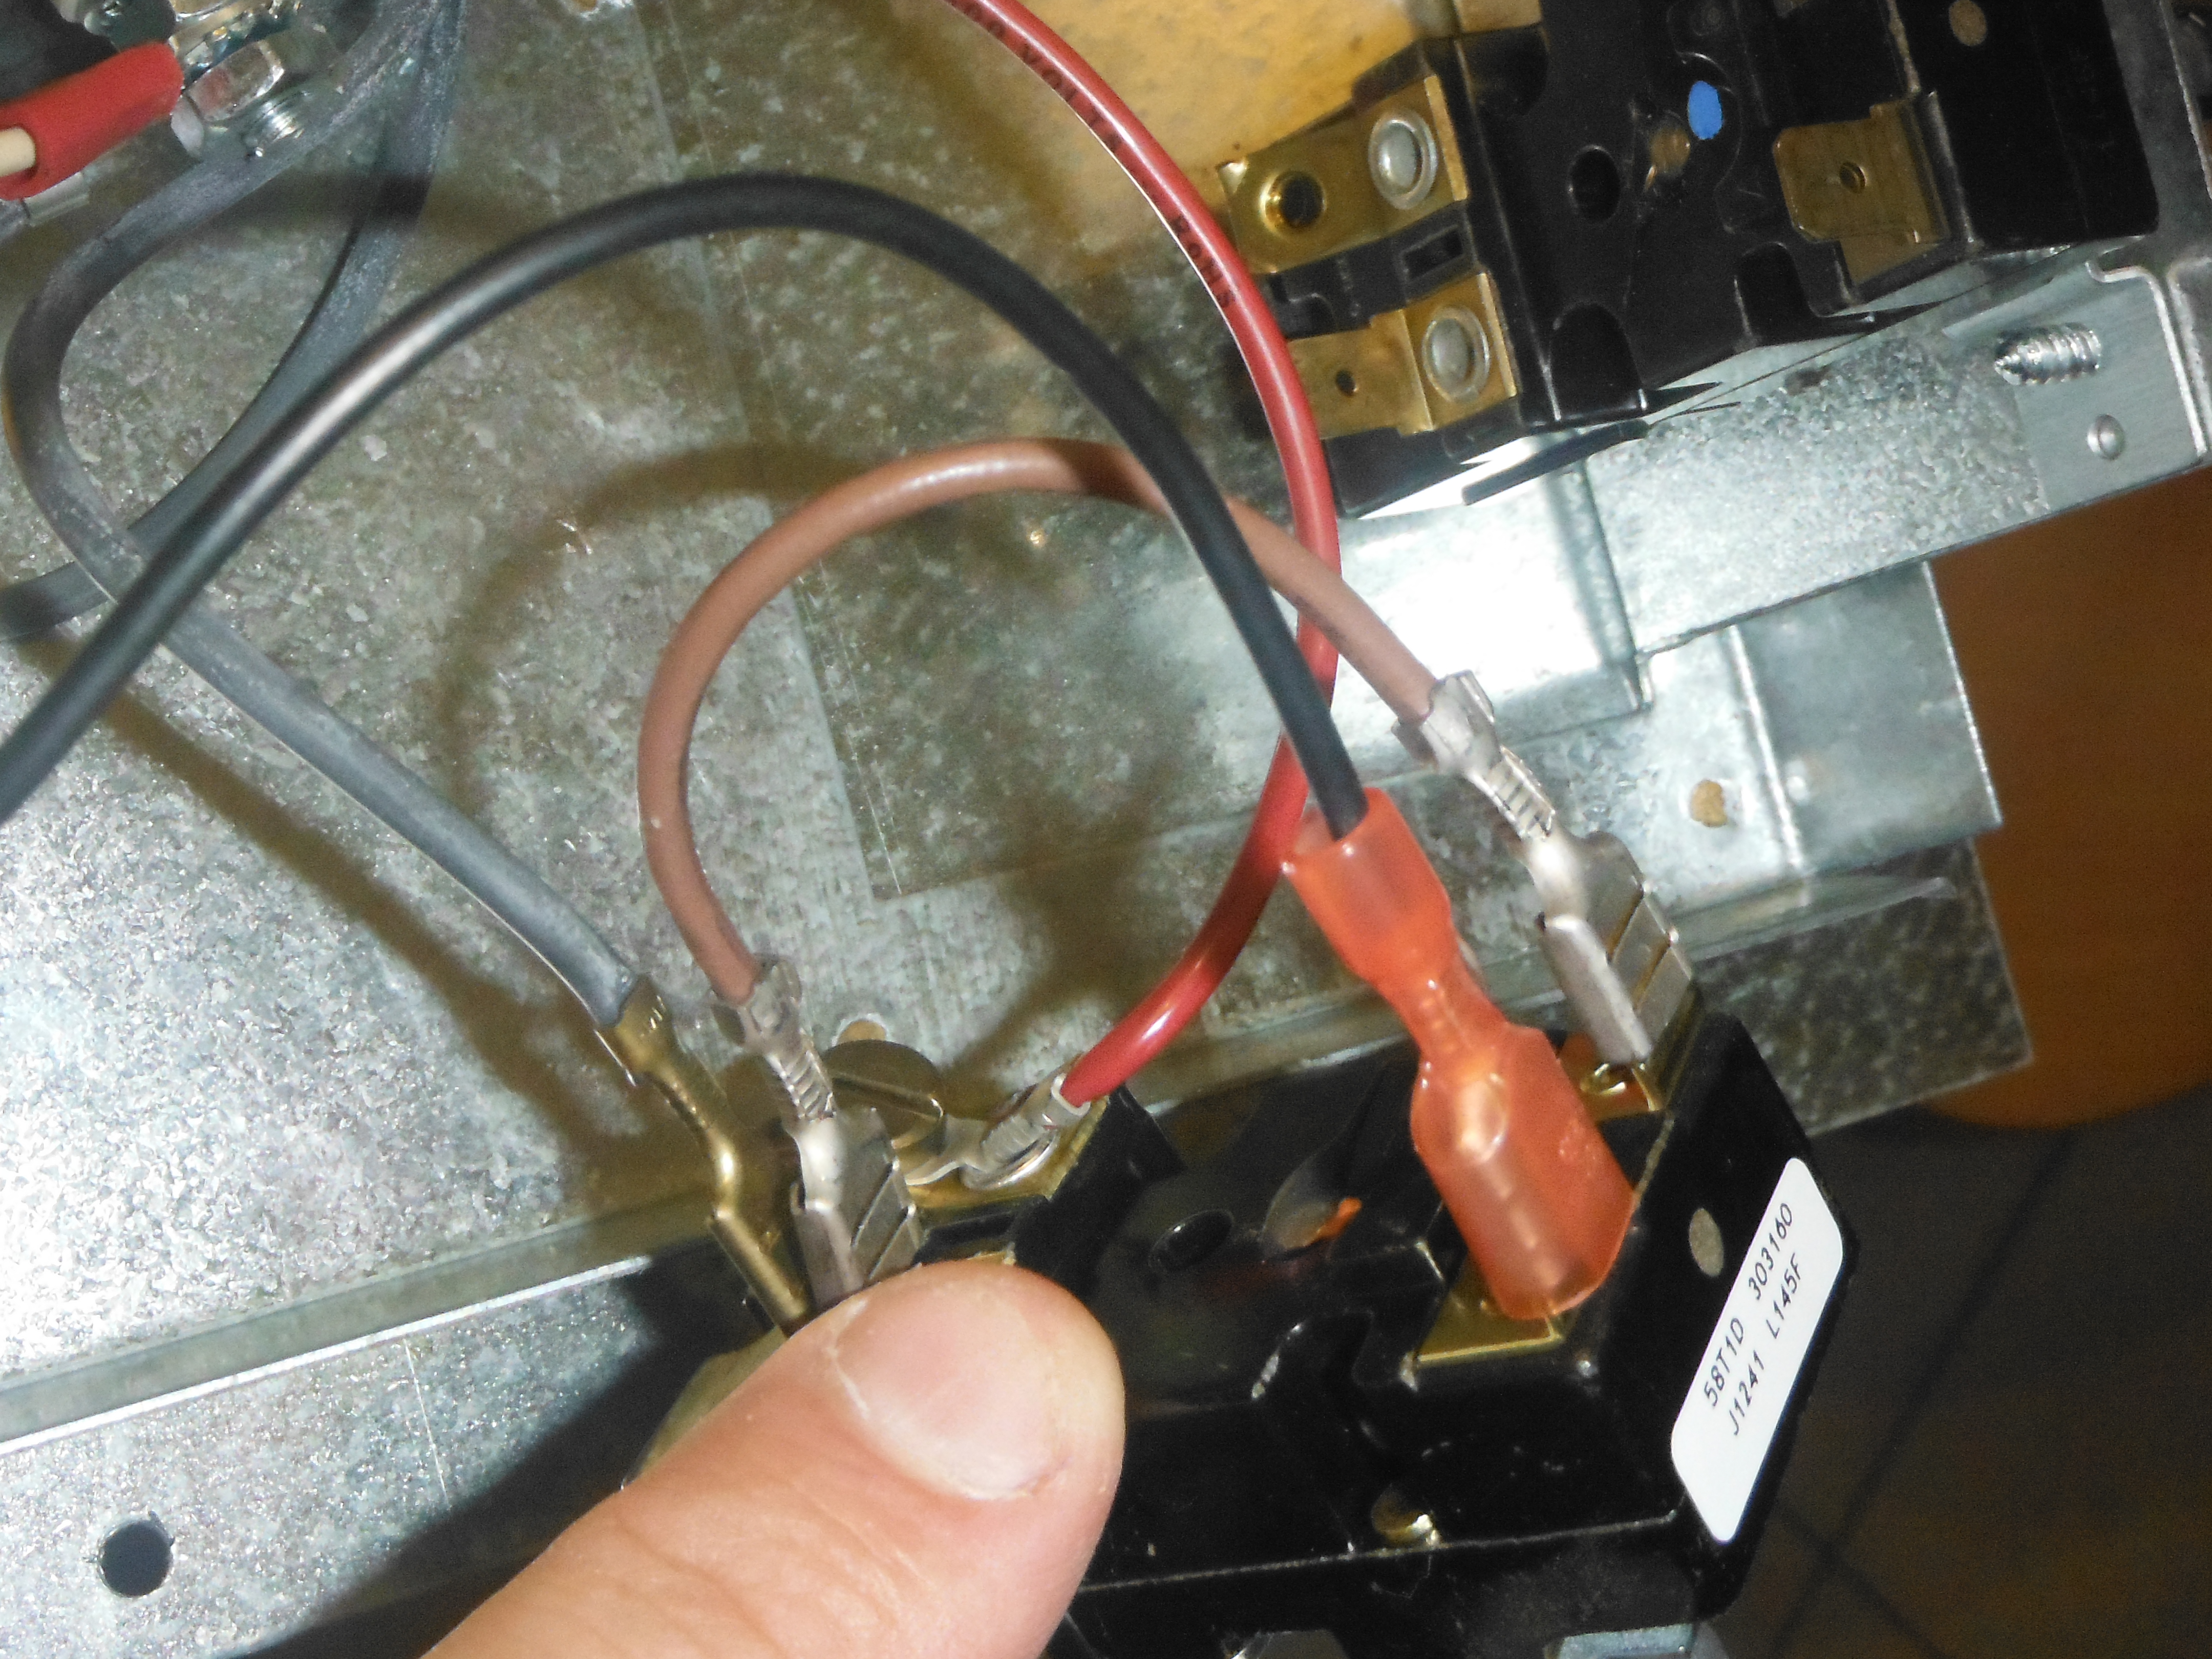
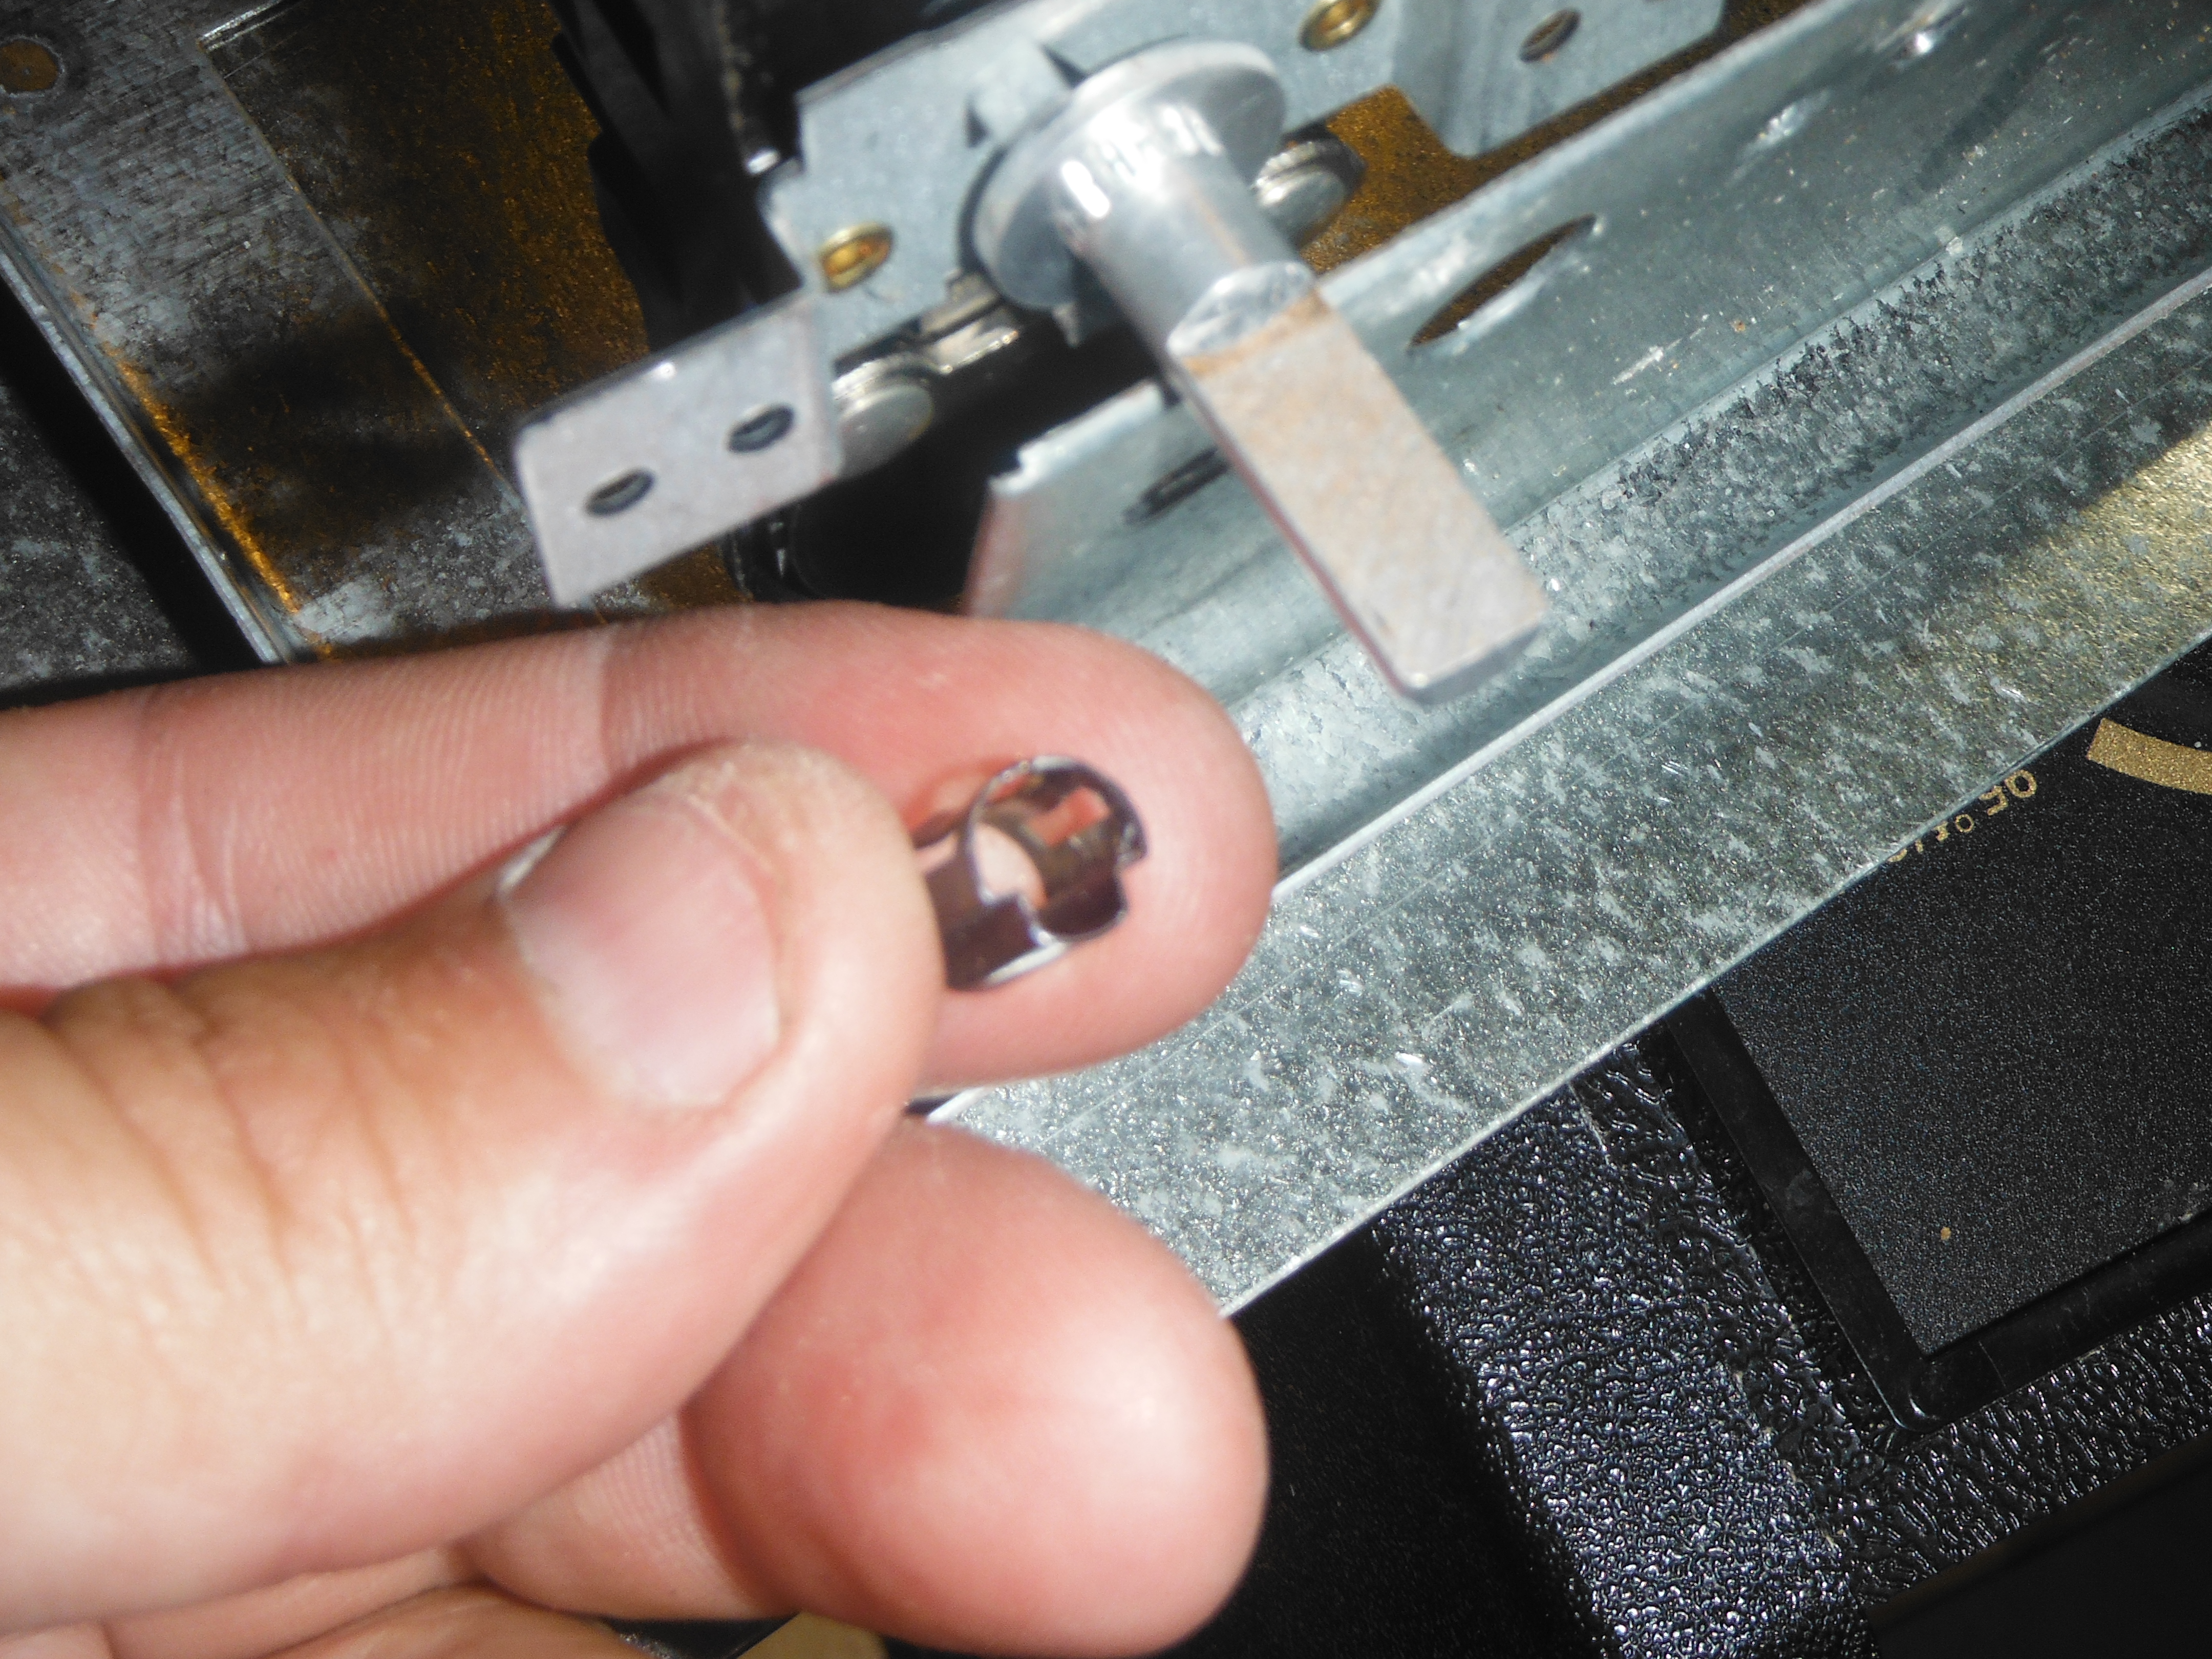
Swap the Knob Retainer from the old thermostat to the new one.

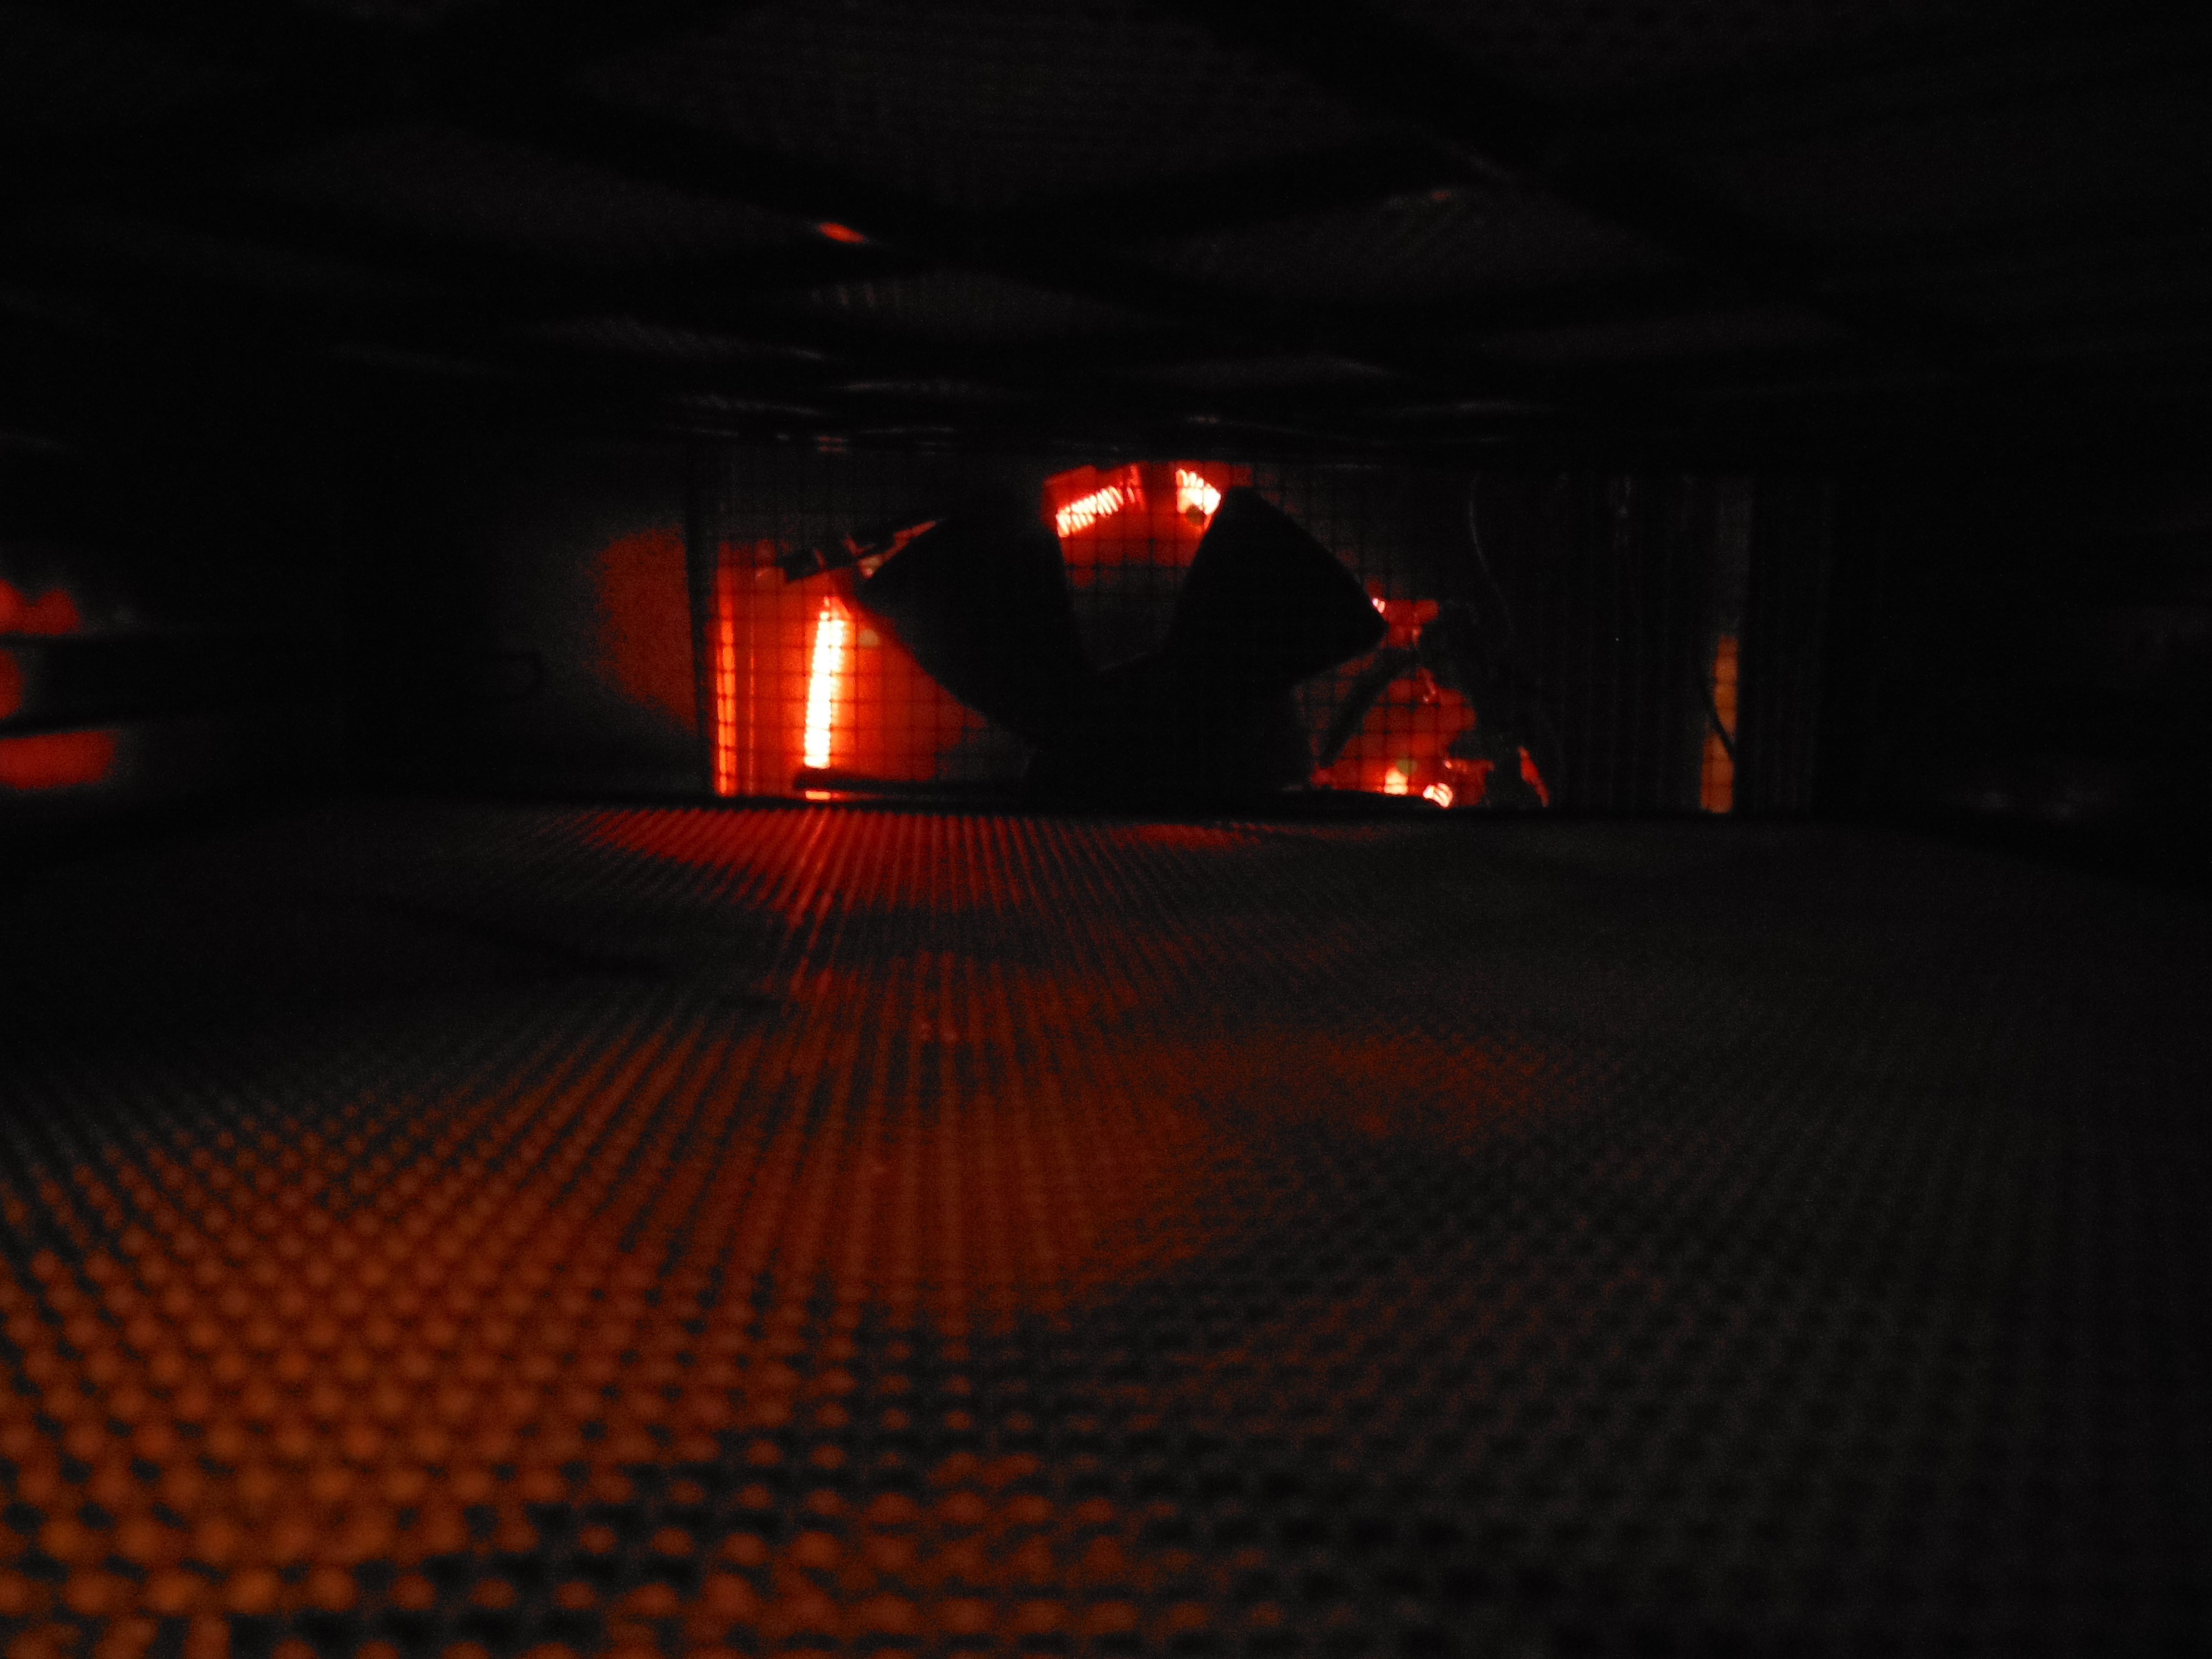
That’s it! Now plug it in to test it. You should see the heating coil start to glow, and feel hot air blowing out. If you do, you’ve done it right!
Things NOT to do.
- Don’t work on the unit while it is plugged in!
- Don’t put the safety screen back in place and put all the screws in with the control knob inside. Like I did.

DOH!
It took me about 15-20 minutes, not counting distractions. Its a very simple, straightforward job, and if you know how to operate a screwdriver, you should be able to make this repair.
Mine is now running, with all the trays full of sweet peppers. The house smells like peppers, and it is a lovely thing. When they are done, I’ll vacuum seal them into jars for future use.
The gallon of dried peppers I ended up with from last year are almost all gone, so I’ll be increasing the amount to two gallons of dried peppers this year. Hopefully I’ll then be able to carry some forward to the following season.
Peace,
db
As always, please “like” FloridaHillbilly on Facebook, subscribe to my feed, follow me on Twitter, add it to Google+, Pinterest, Linkdn, Digg, and/or tell your friends! They just might learn to be a little more self reliant.
Need something from Amazon (and who doesn’t)? I earn a small commission from purchases made when you begin your Amazon shopping experience here. You still get great Amazon service and your price is the same, no matter what.
it’s possible to disassemble the case? if so, it’s easy?
I never tried, so I couldn’t answer that. The back came off easy enough though.
Spare parts Excalibur 3900
I have a crash Excalibur 3900 because I have a different voltage is 220 volts and has become a fan does not work, what are the parts that I need to restart the achine?
mr. faisal
Try this for a replacement motor for a 220 volt Excalibur:
http://www.excaliburdehydrator.com/dehydration-accessories/parts-warranty/replacement-motor-220-240-v-50-60hz-international-220-240-voltage-5-9-tray-non-timer-units
Thanks, i was abble to repair my dehydrator with your tutorial wich is not an excalibur. The fuse was burned, will never know where to check without this well made tutorial.
Rather ironic that you’d contact me today, I just had an issue this week with mine. I did a search , I found my own website at the top of the list 🙂
Glad it helped!
db
Thanks for your tutorial. It is a very good one!!
My 3900 is down too, but I have a problem you didn’t mention. My EXISTING (OLD) thermostat has a two-pole connection on the bottom right. Your picture #6 (with the thumb in the picture) shows the double connection, and although I can’t really see the bottom right pole on the new thermostat which is already screwed into place, it looks like a ‘single’ pole. The wire that goes from the bottom right to the top left can be seen (again in picture #6) and this is the reason for the two-pole connection.
The NEW thermostat which has been sent to me has only a single pole connection on the bottom right! I.e., I can’t hook up the wire from the bottom right to the top left.
Is the cross-connection (bottom right to top left) no longer needed? Is that connection pre-wired into the thermostat itself?
Thanks, and thanks again for your tutorial.
Jim
PS – This visitor lives in Honolulu, Hawaii. 🙂
Honestly, I couldn’t tell you myself, I was only repeating the stuff I was told by the manufacturer. I realize my reply is less than timely, but in this case Excalibur was REALLY good about answering the questions I had, anyone needing more info should try direct…..definitely be faster than asking me 🙁